


Disclosure: We may earn a commission if you purchase through any affiliate links on our website. Thank you for your support.


My Step-by-Step Guide to Perfecting Gel Nails at Home
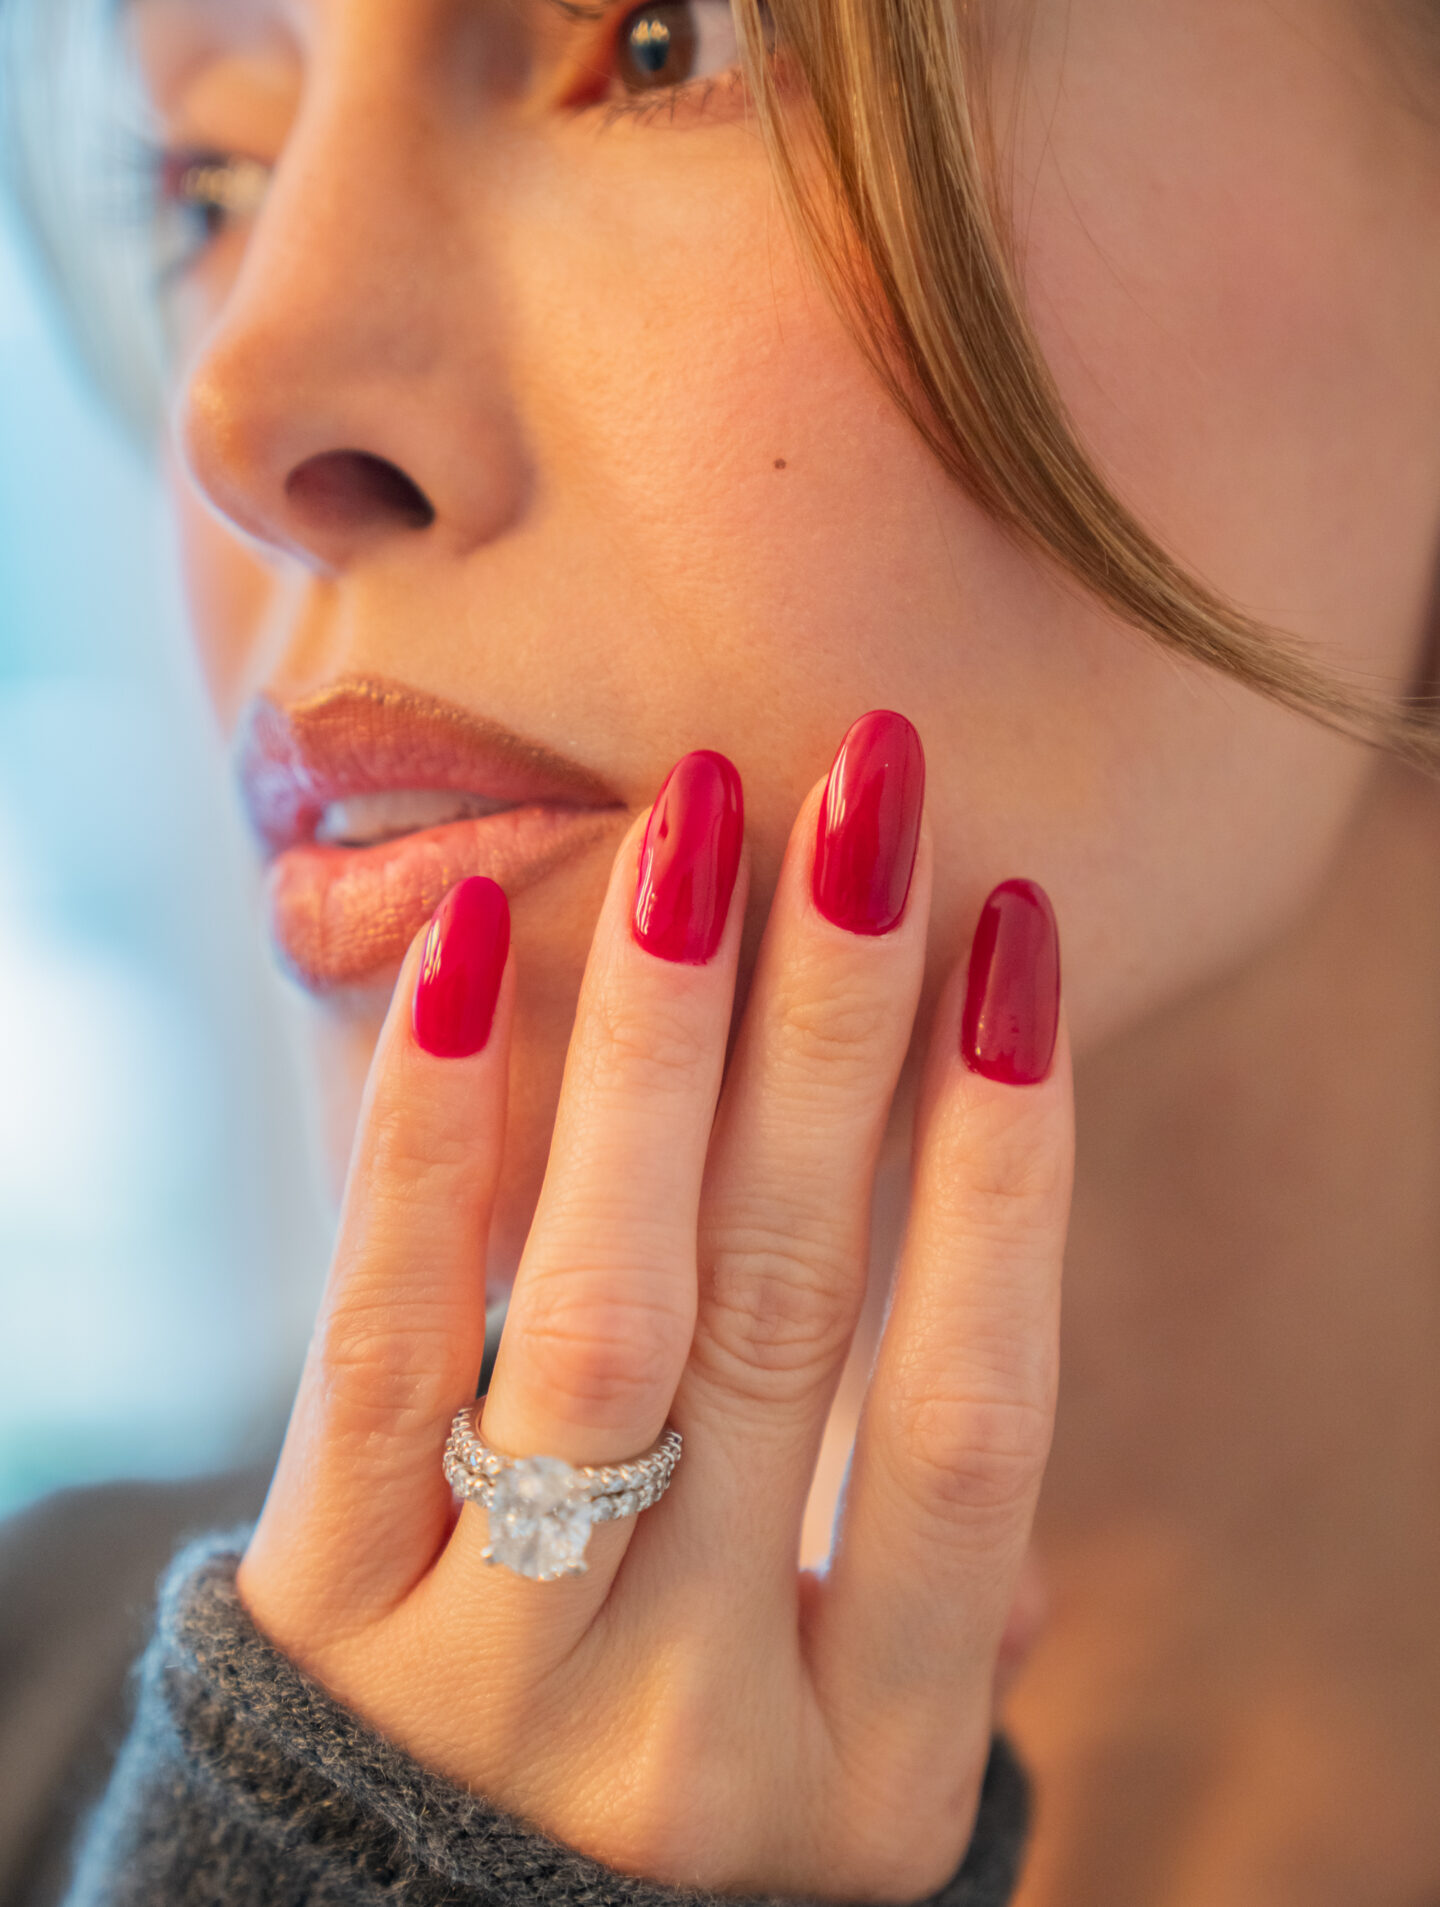
I’ve spent way too much time and money at nail salons over the years. Unfortunately, most of the time, I questioned if it was worth it. Finding a good manicurist is difficult! The frustration of paying for a service that didn’t always meet my expectations pushed me to take matters into my own hands—literally. So, I decided to perfect the art of doing gel nails at home, and today, I’m excited to share everything I’ve learned with you. Let’s get started!
My favorite technique is called “The Russian Manicure.” This is where a lot of time is spent on nail preparation, primarily focusing on the cuticles. I’ve learned to use an electric file to trim my cuticles and remove dead skin. The process is precise and results in a longer-lasting manicure, which is what I love! Don’t get me wrong, doing your own nails can be time-consuming, but with practice, it gets better and is worth it!
Must-Have Tools For An At-Home Gel Manicure
First, gel nails at home wouldn’t be possible without the right tools. Everything I use is linked on my Amazon Storefront, but here’s a quick rundown of my go-to items:
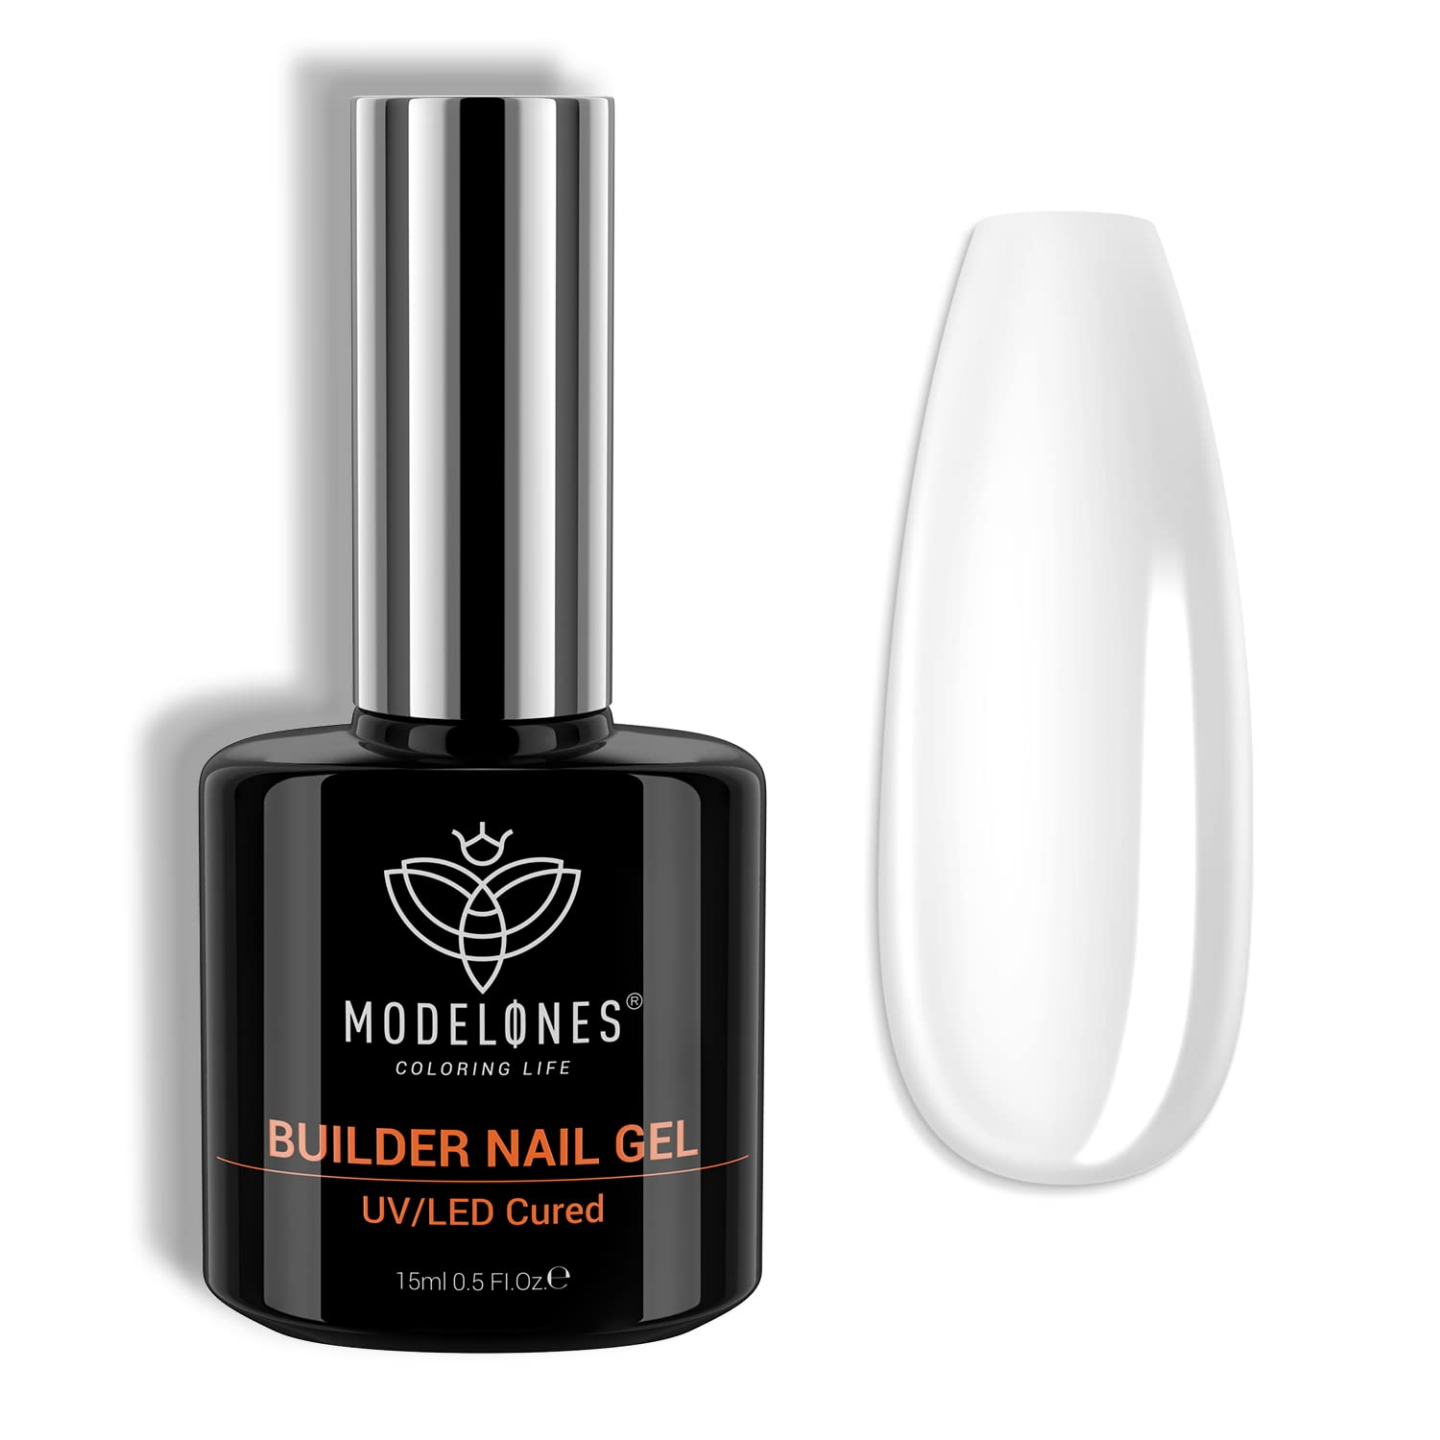
- Hard Gel Builder
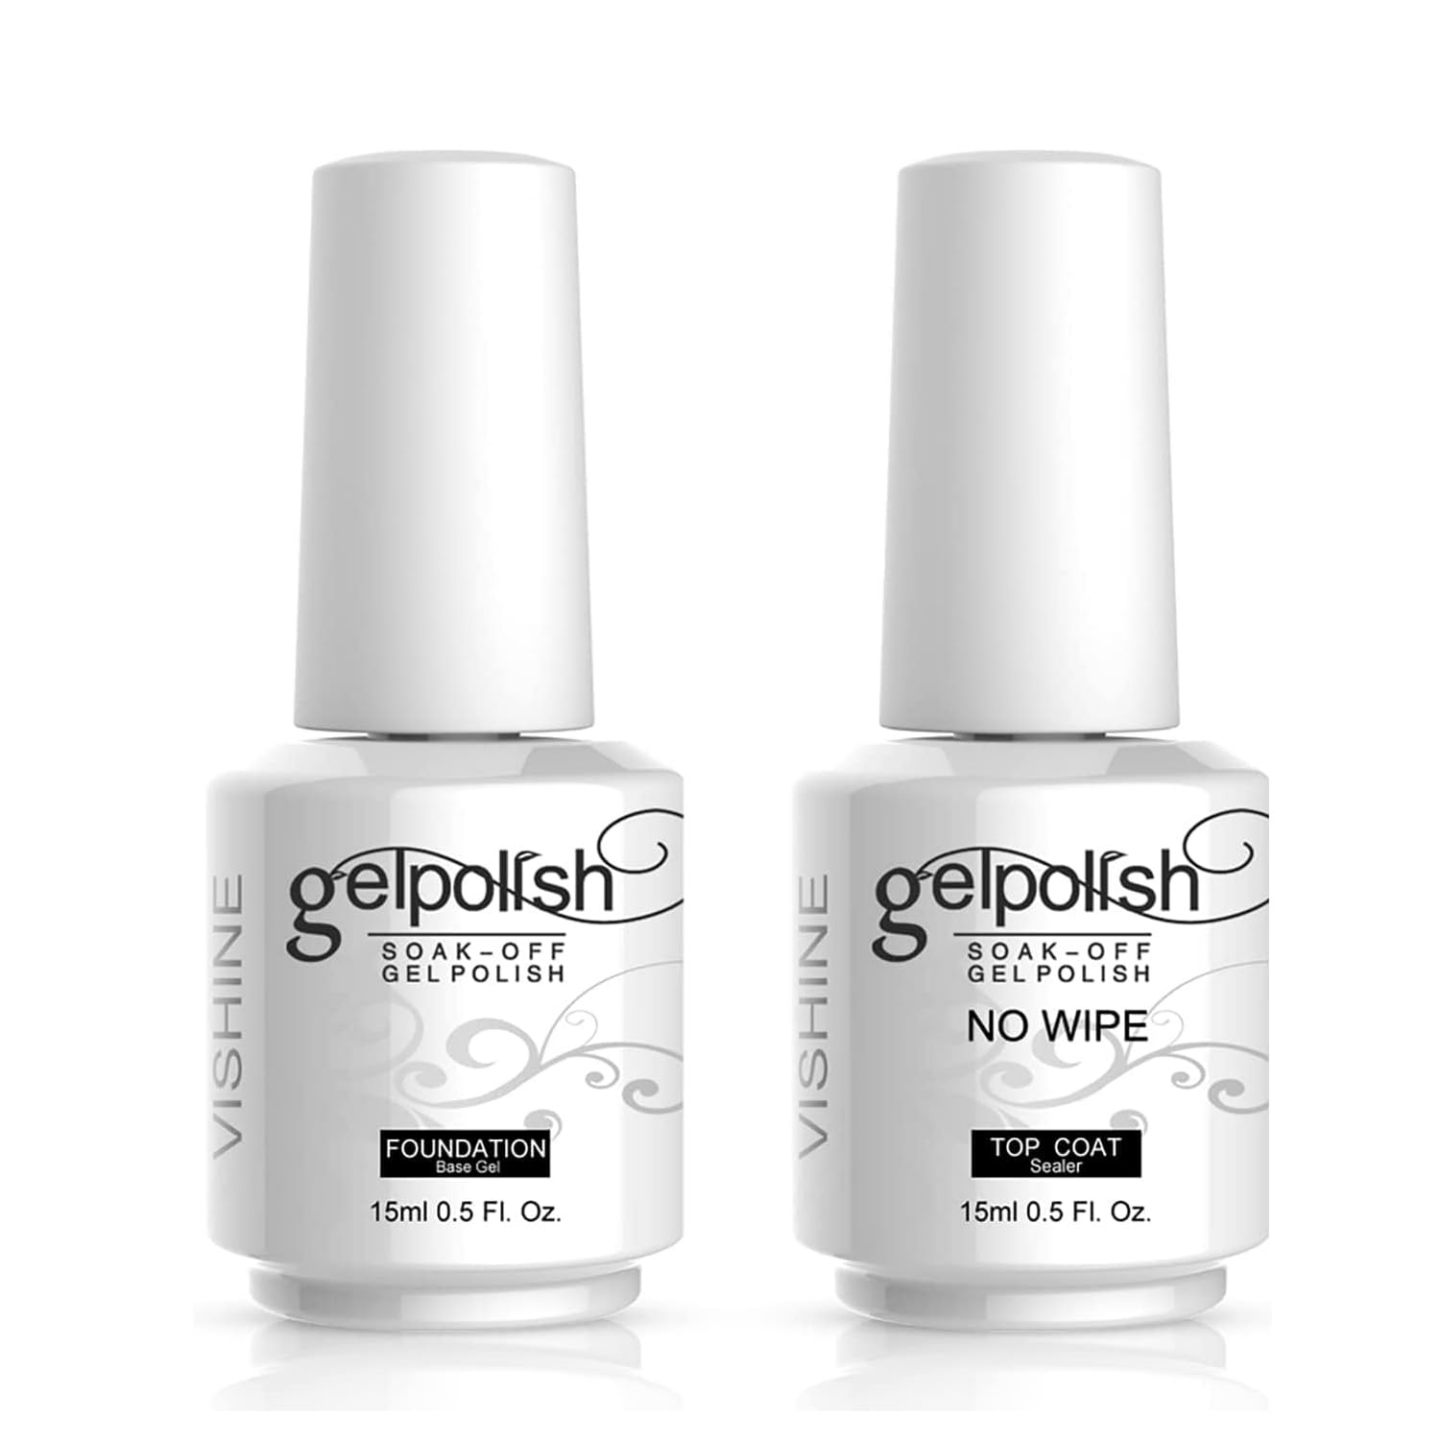
- Base Coat & No Wipe Top Coat
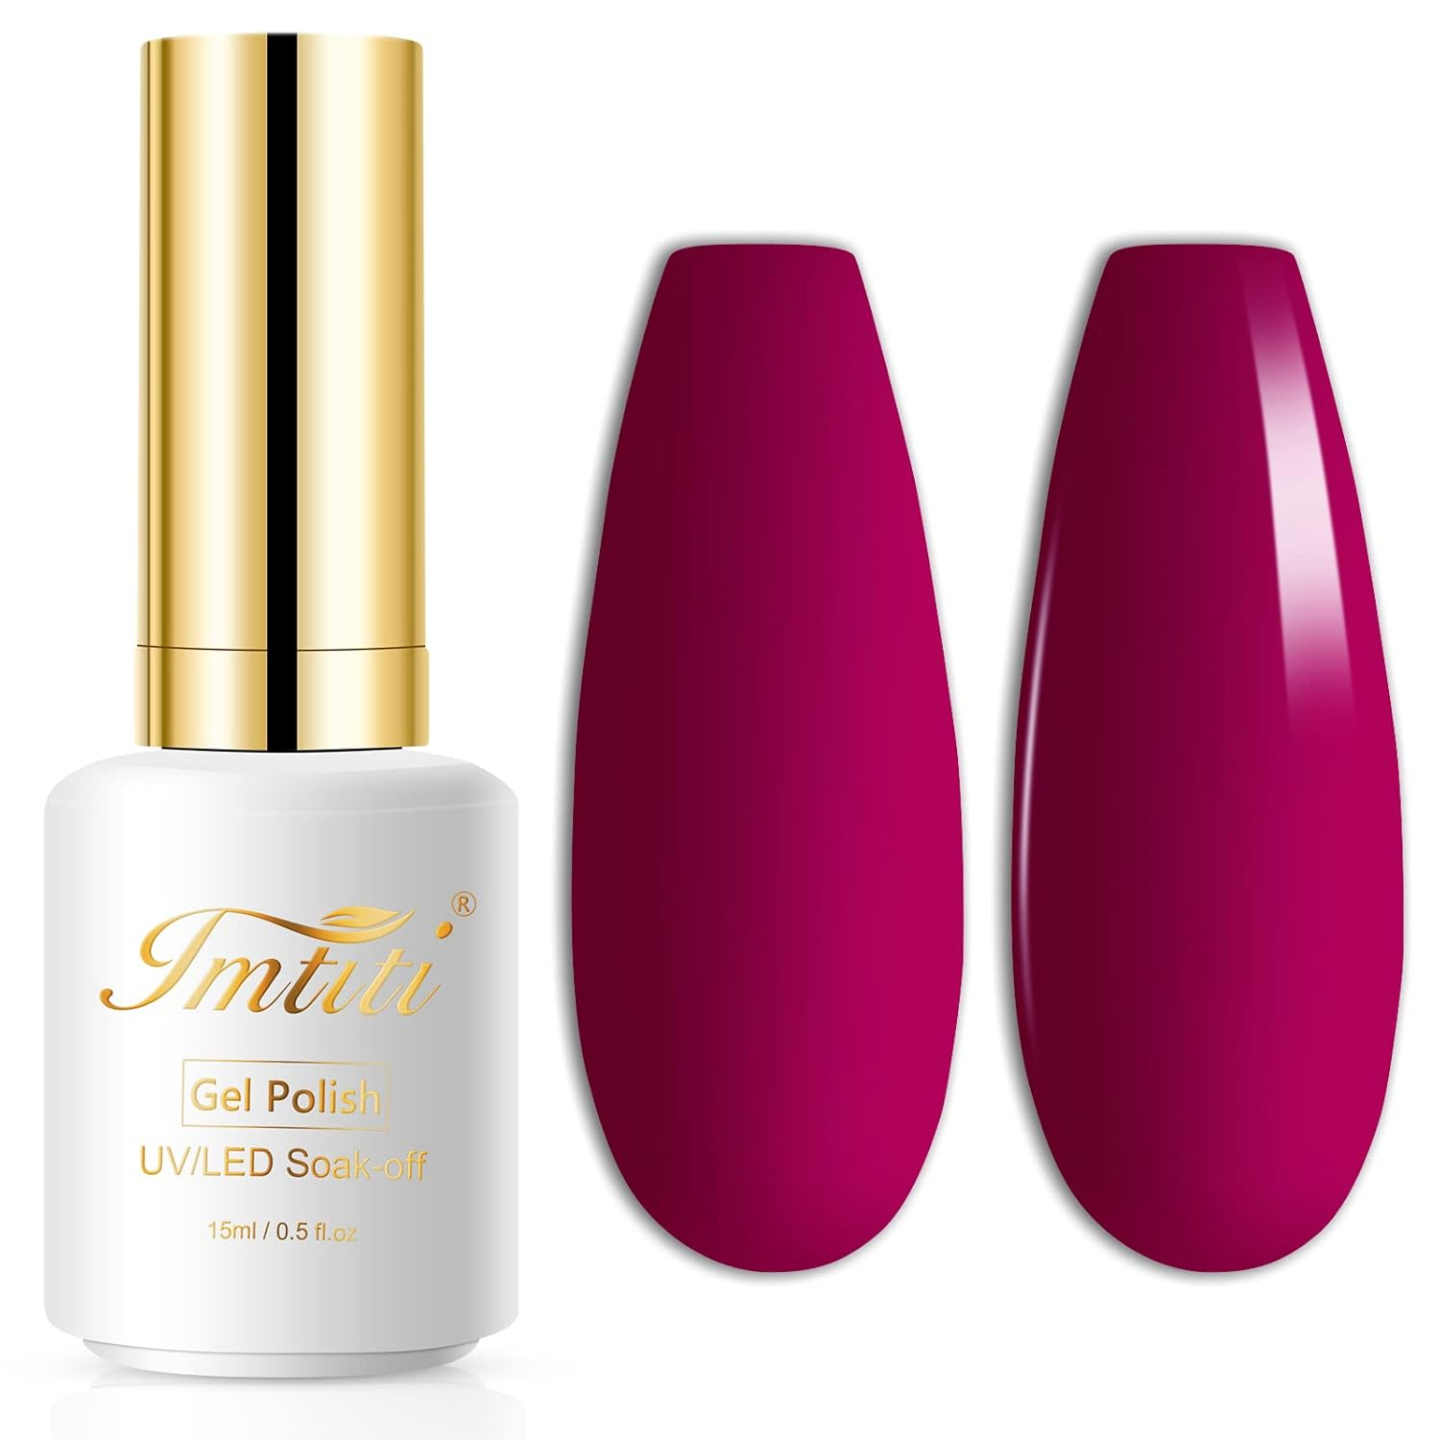
- Gel Polish (color I used for this post)
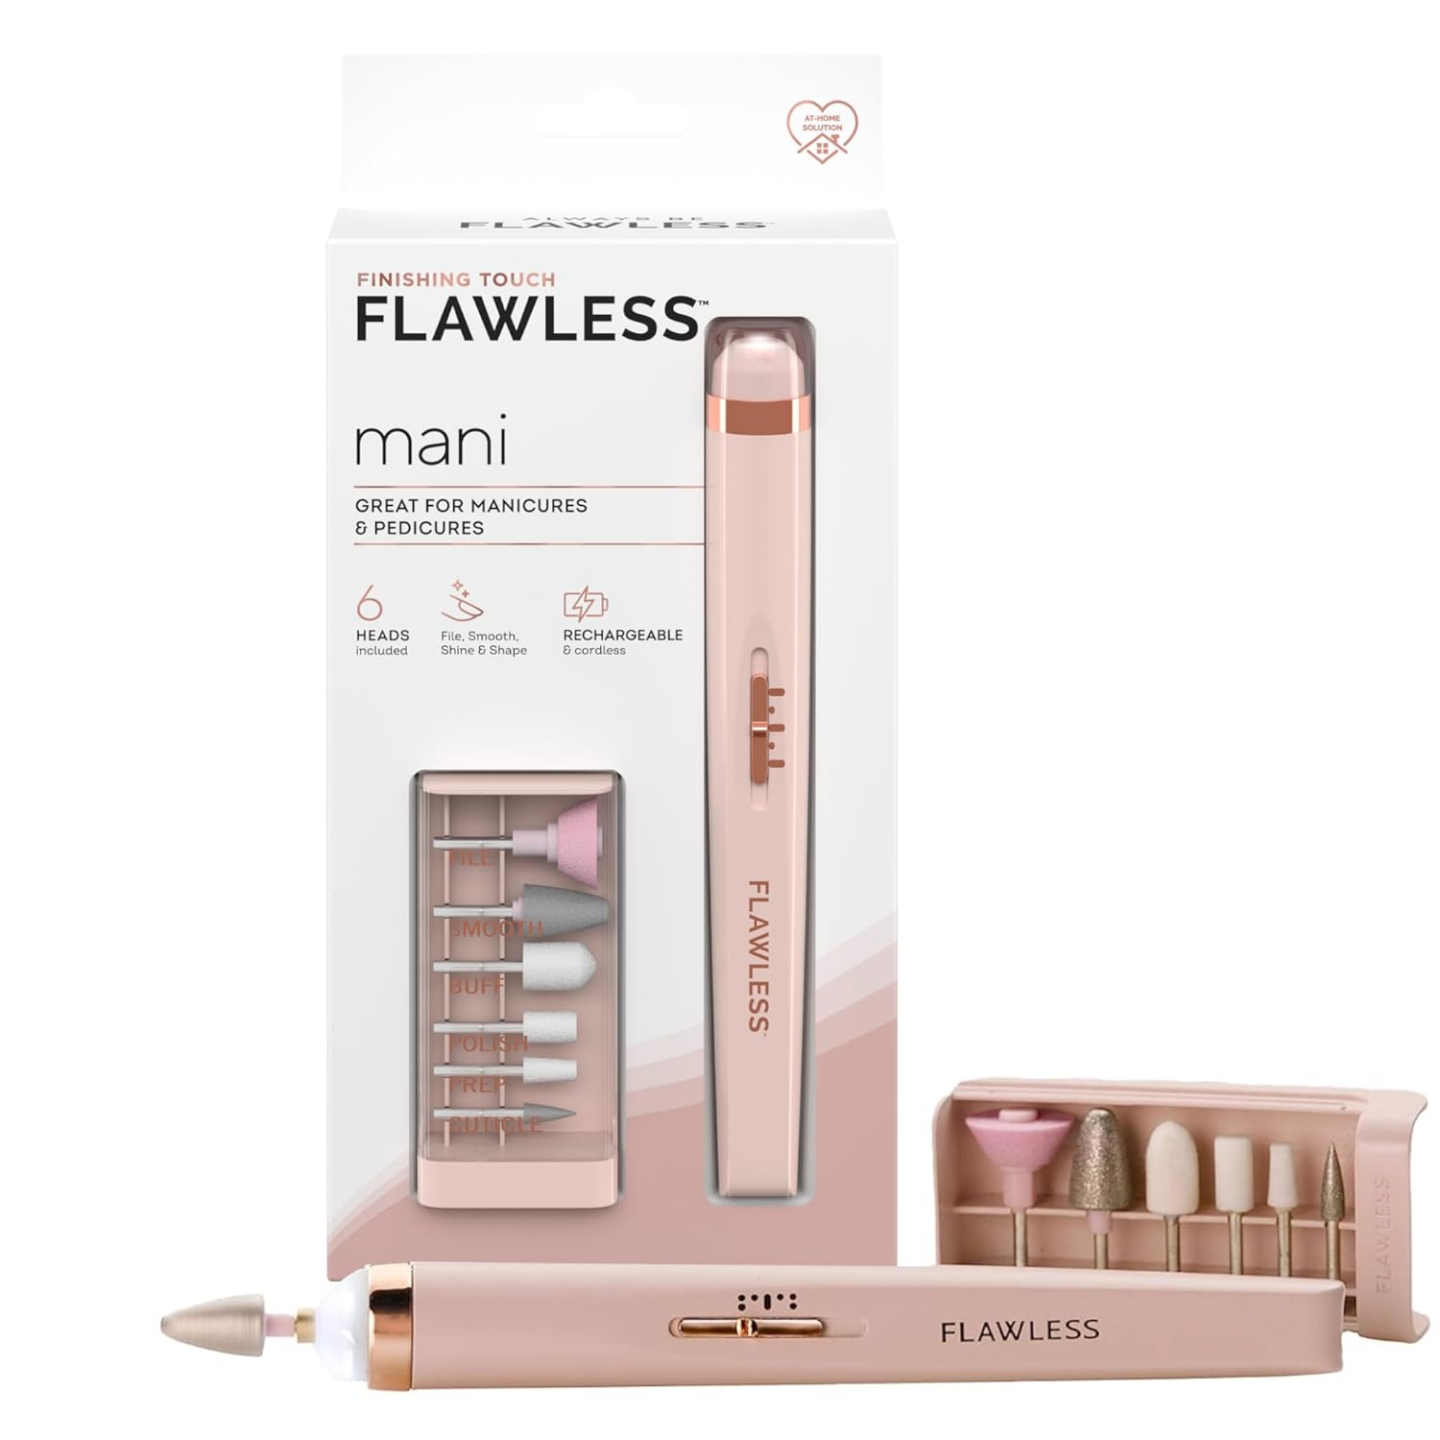
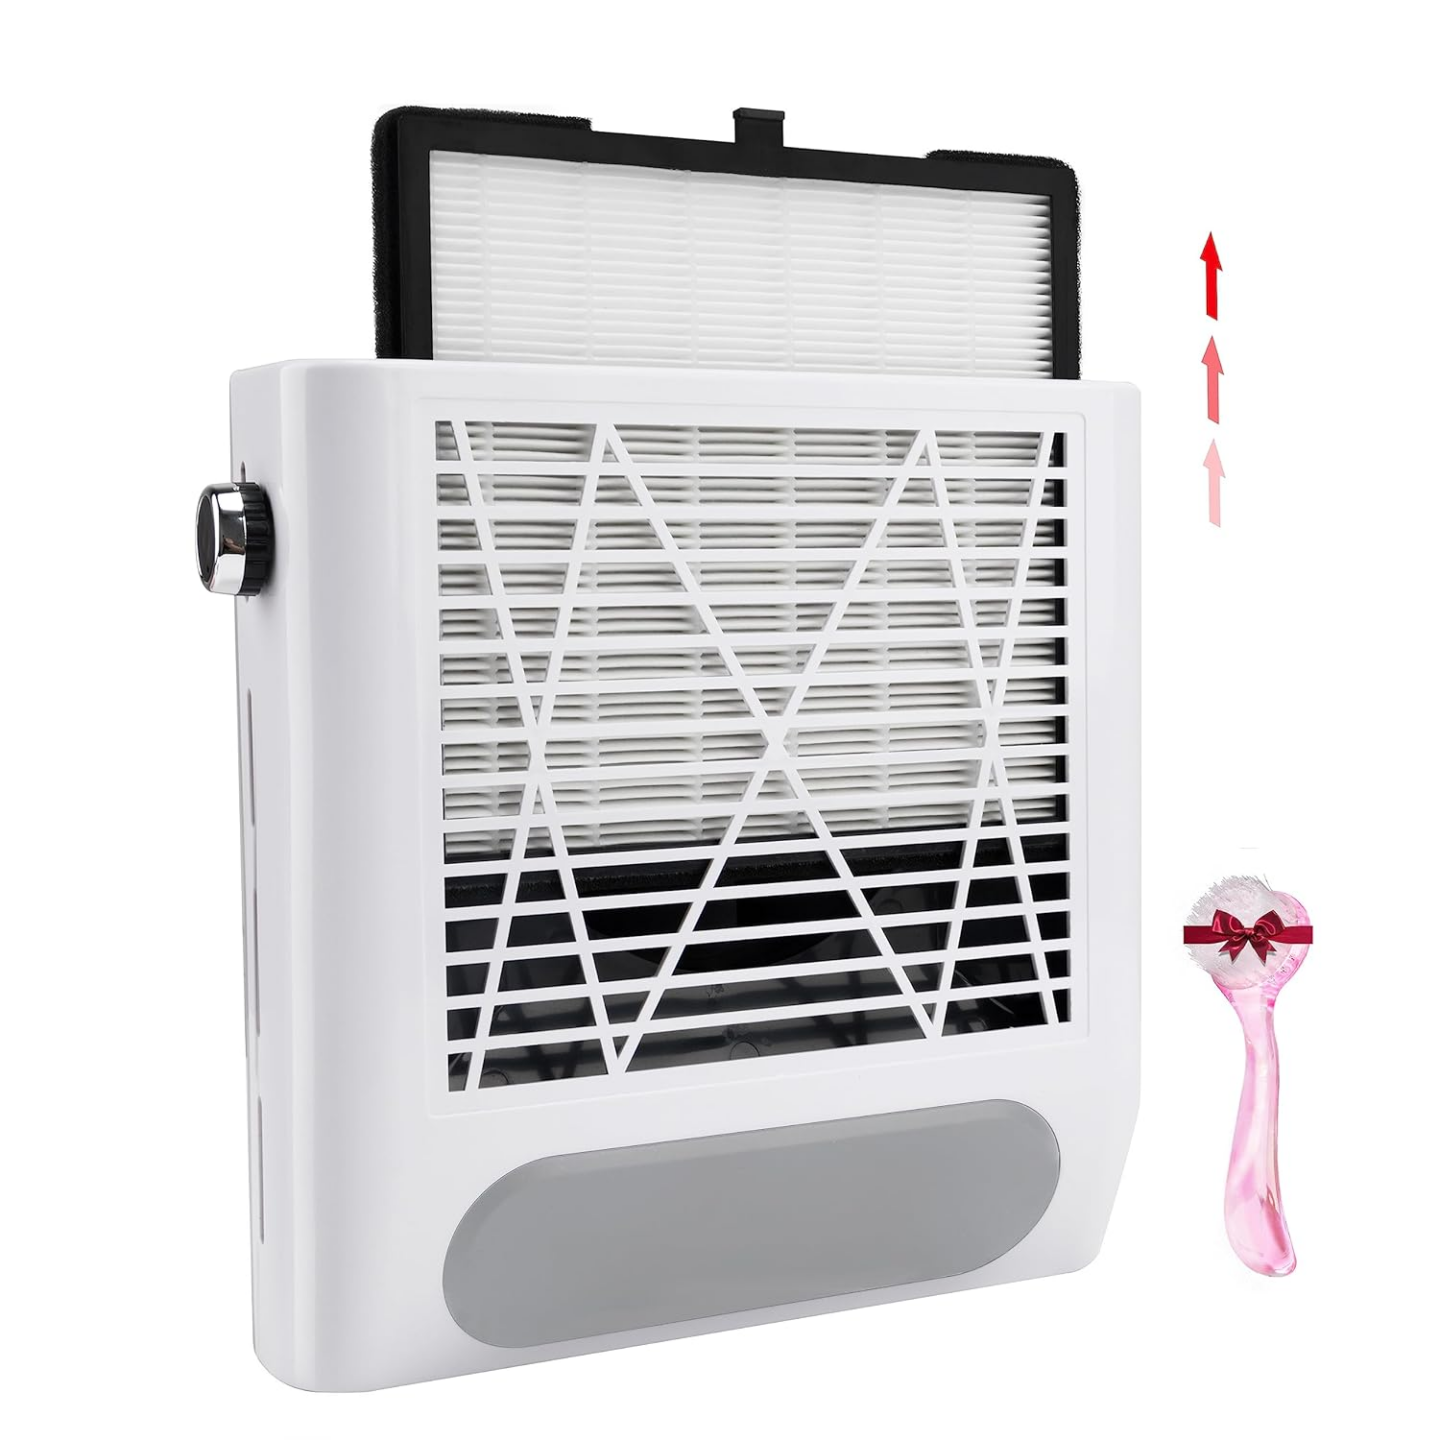
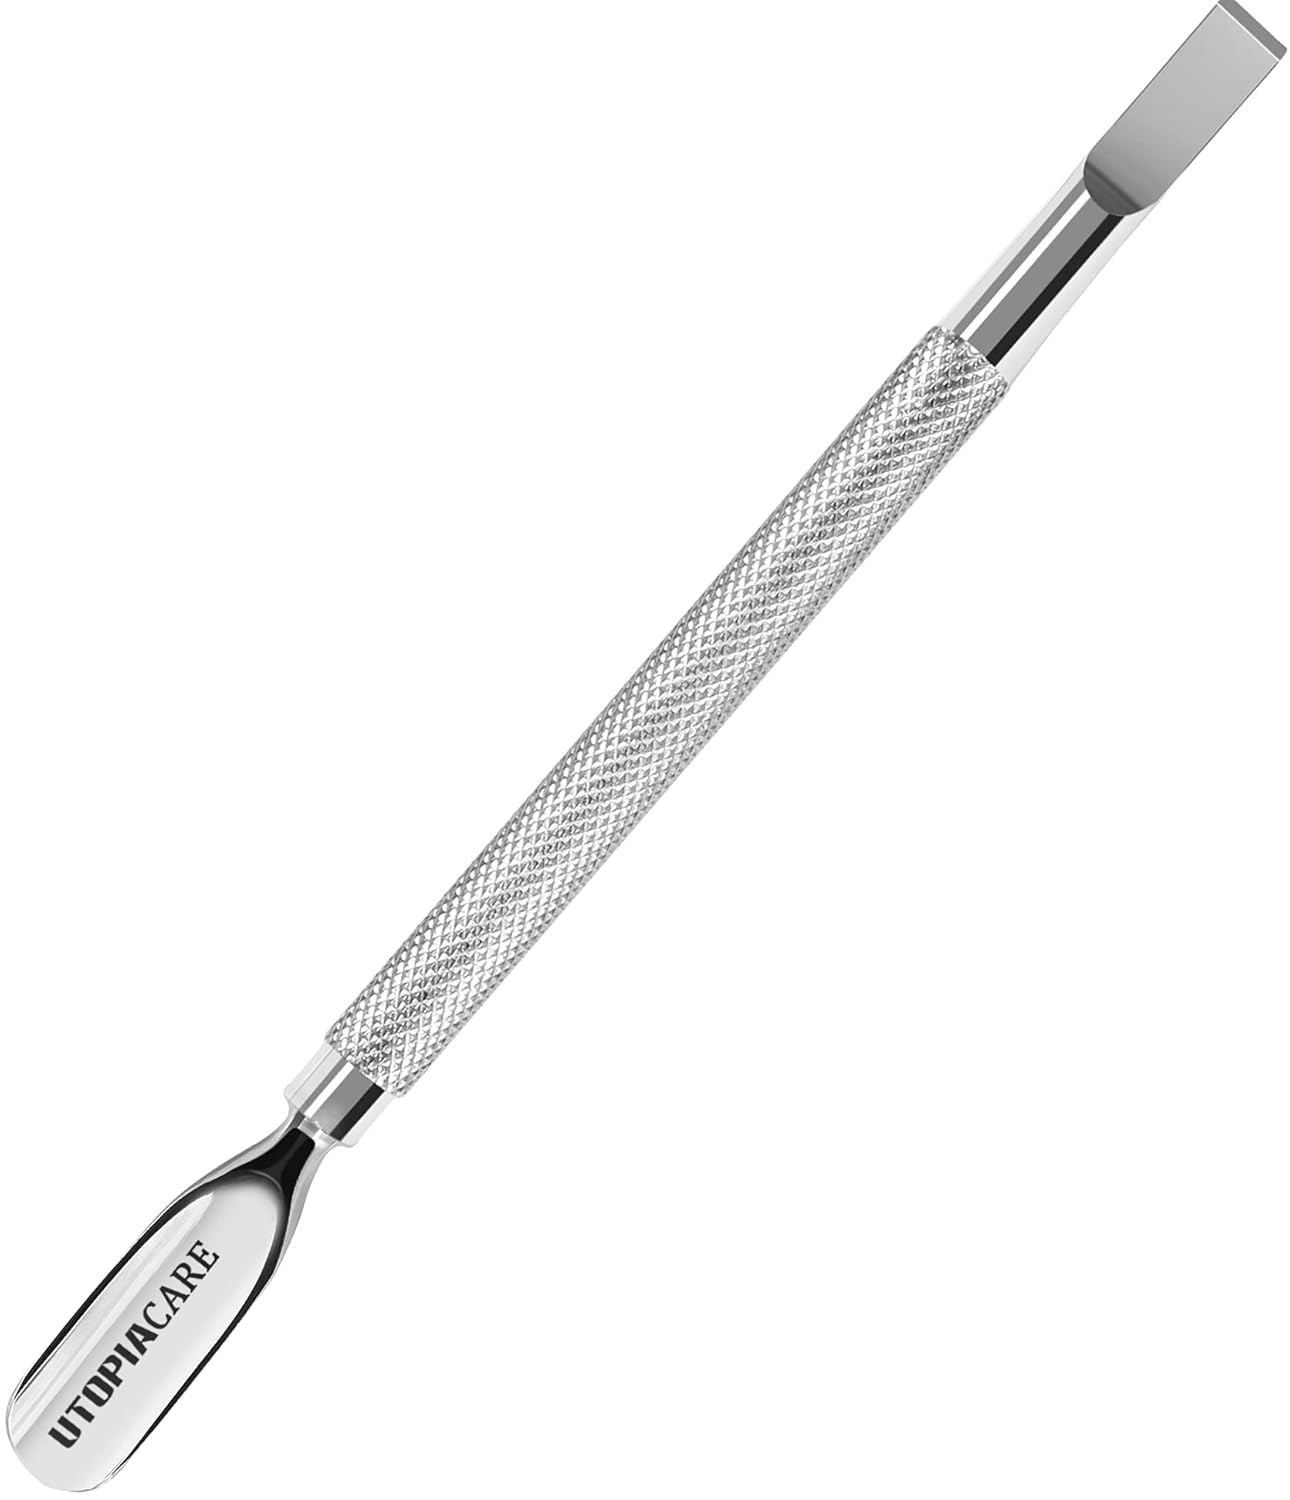
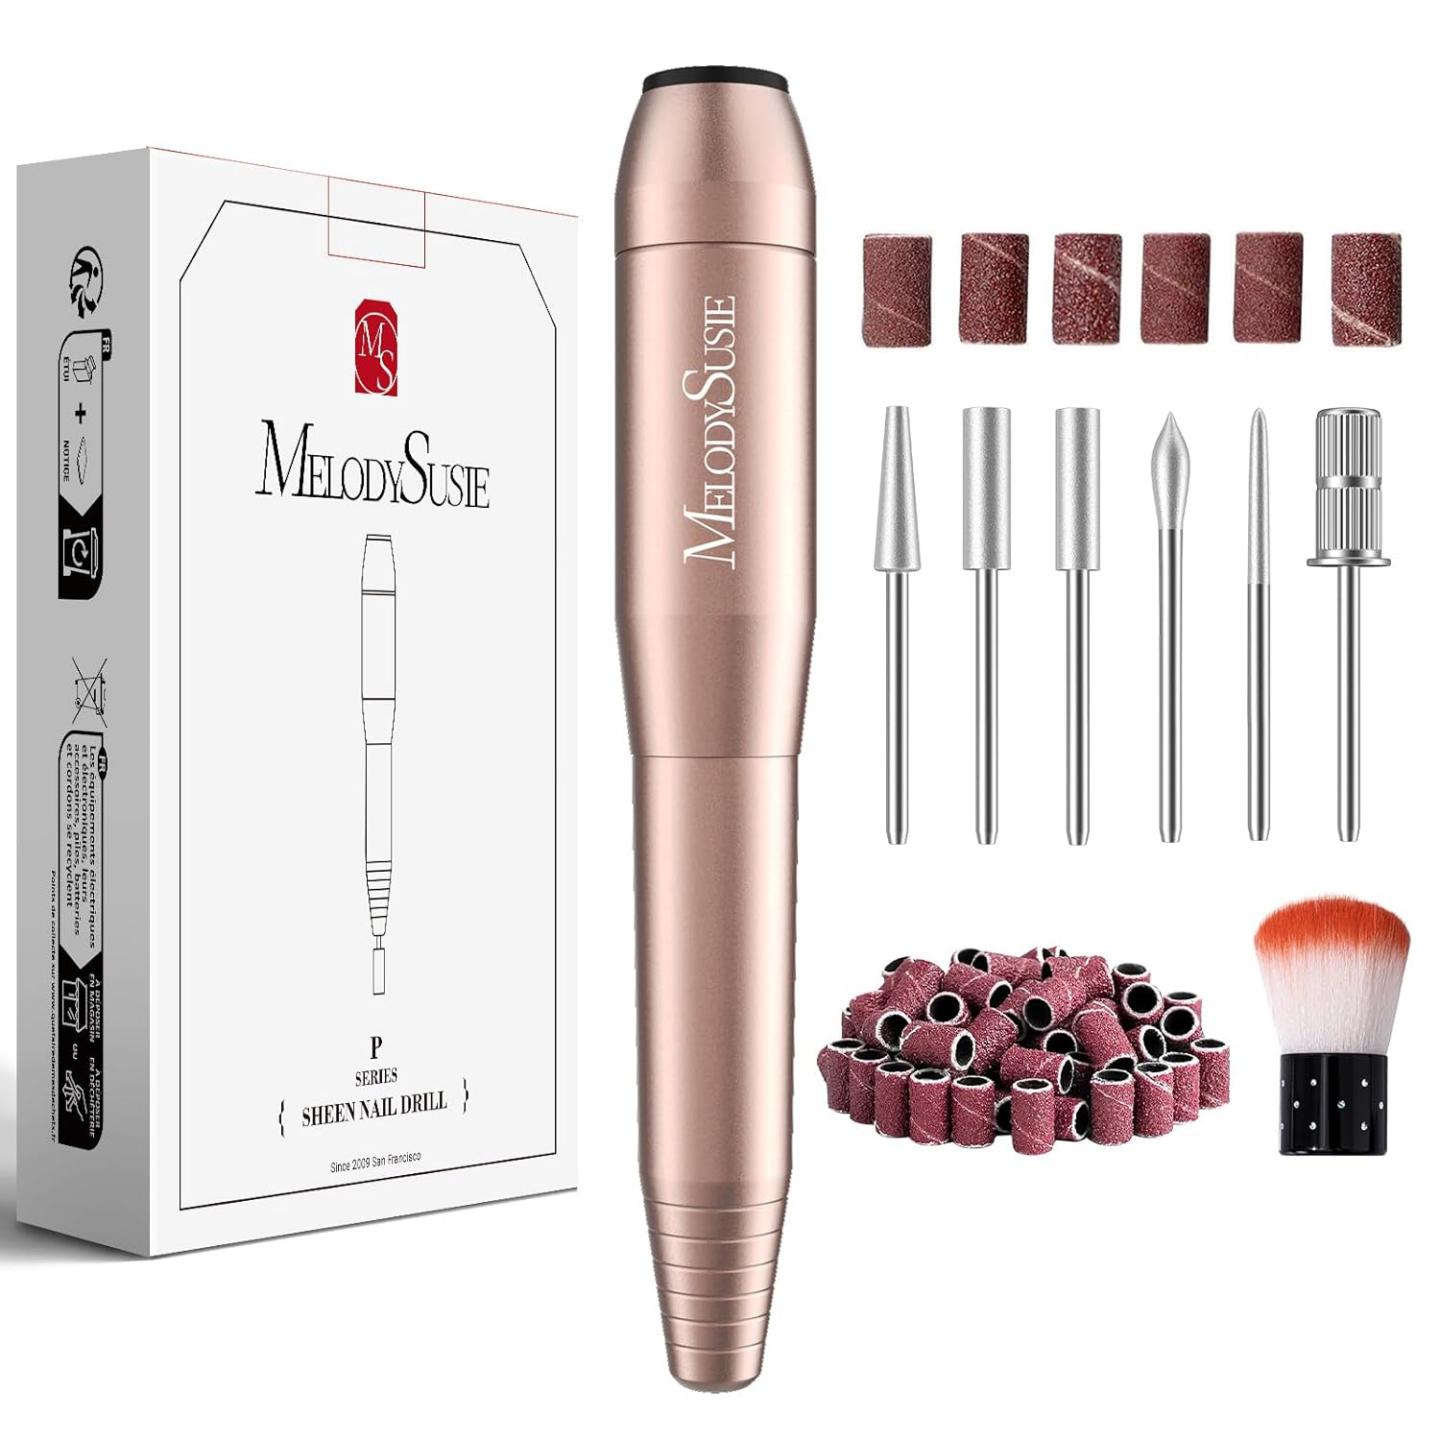
- Power File (cleaning cuticle area)
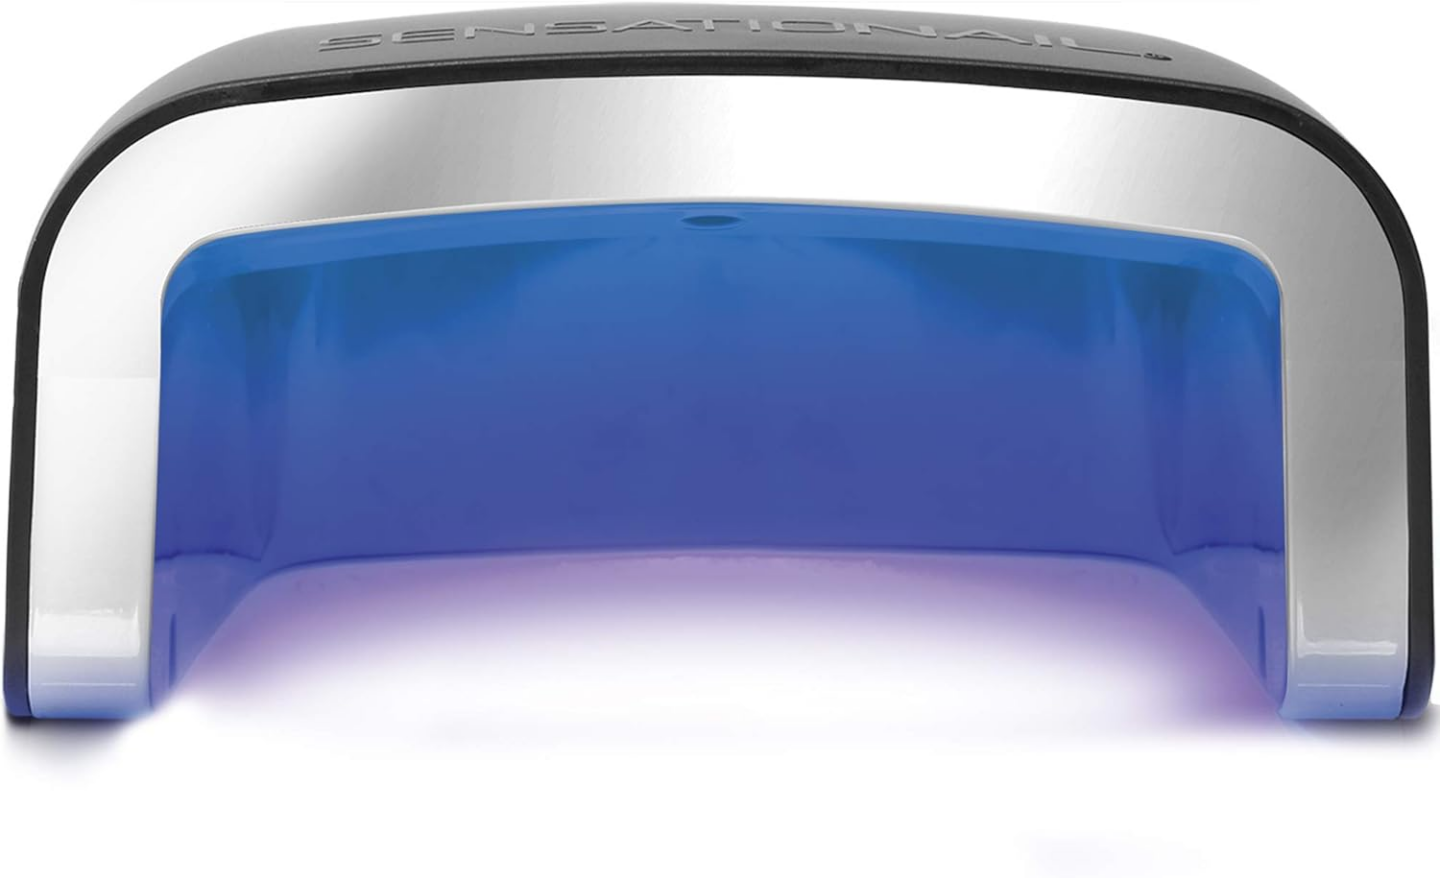
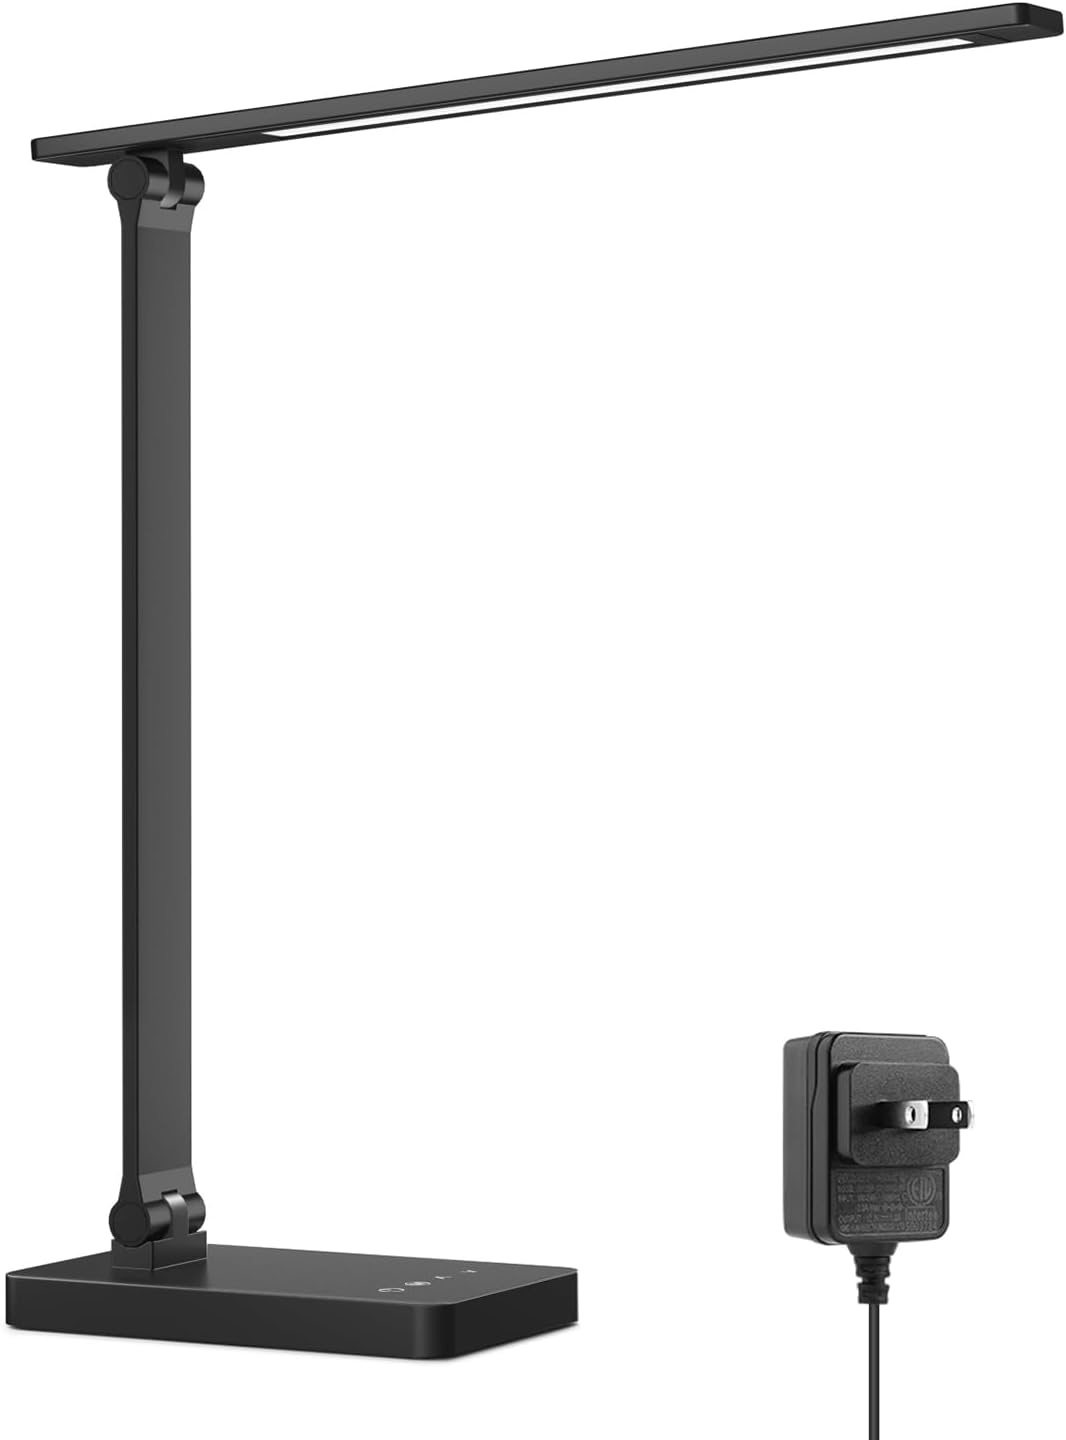
- LED Lamp
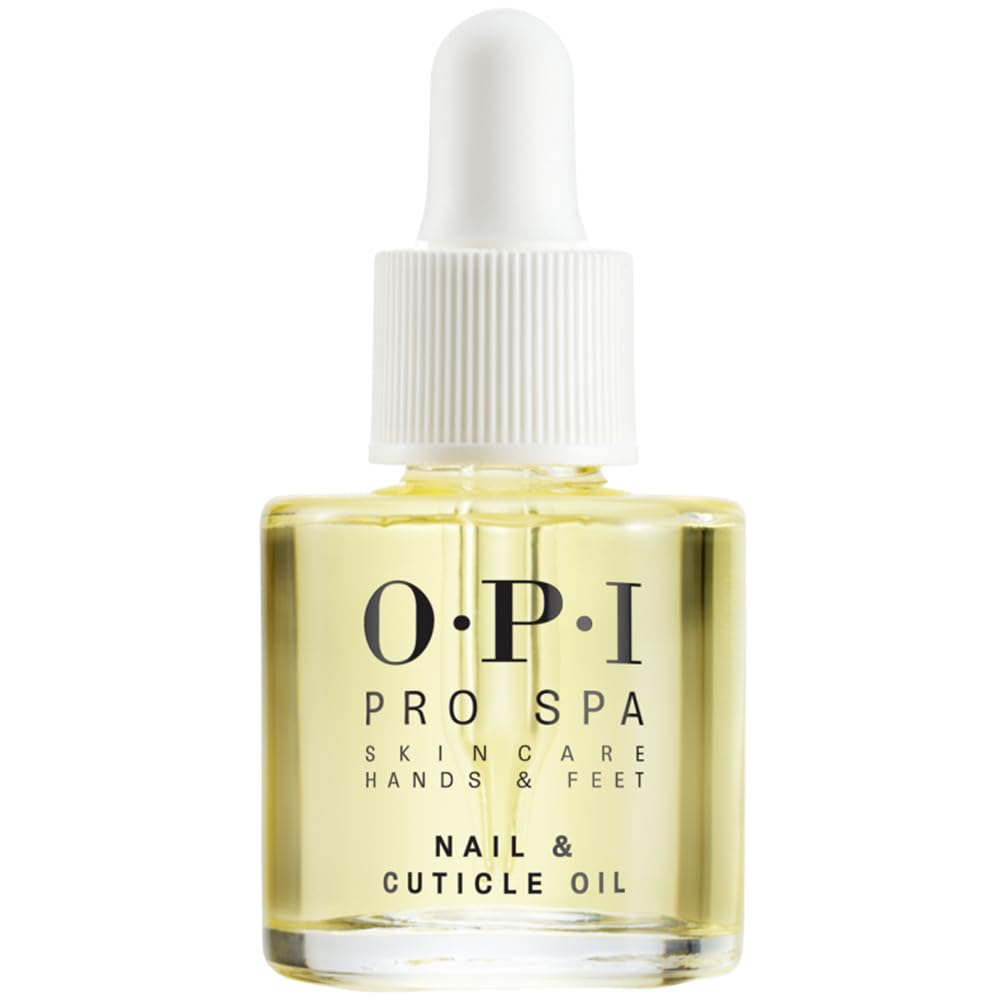
- Cuticle Oil
Over time, I’ve learned that using the right tools can make all the difference in achieving a perfect gel manicure at home. Good-quality tools ensure that each step is smooth and effective, from shaping the nails to curing the gel. I promise it’s not as intimidating as it seems; be patient!
A Step By Step Guide To The Perfect At-Home Gel Manicure
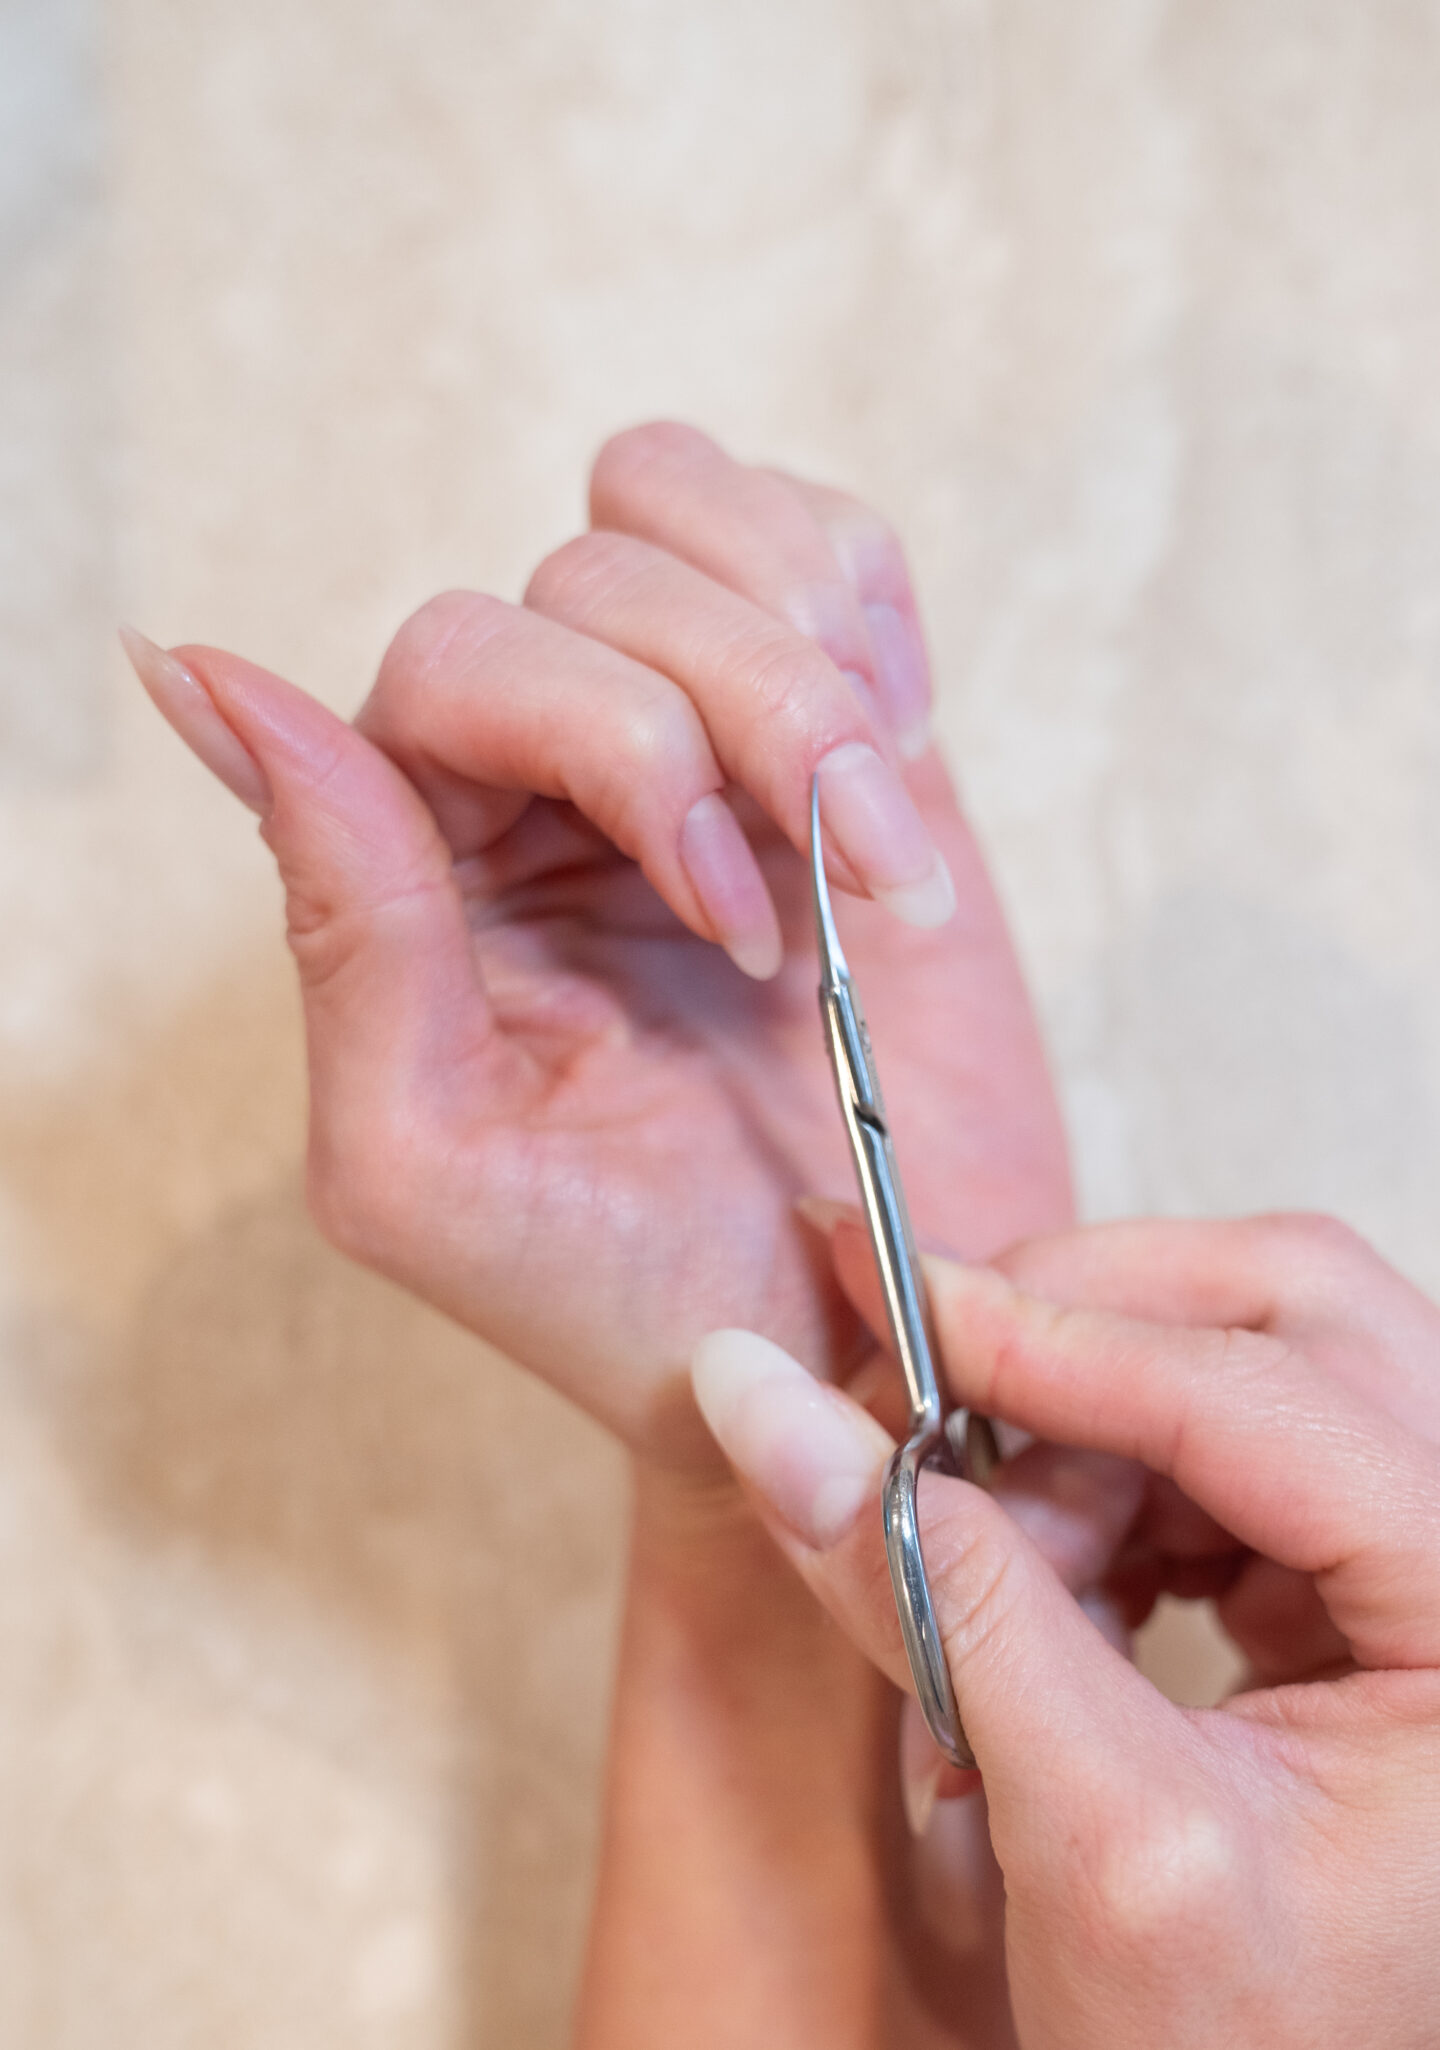
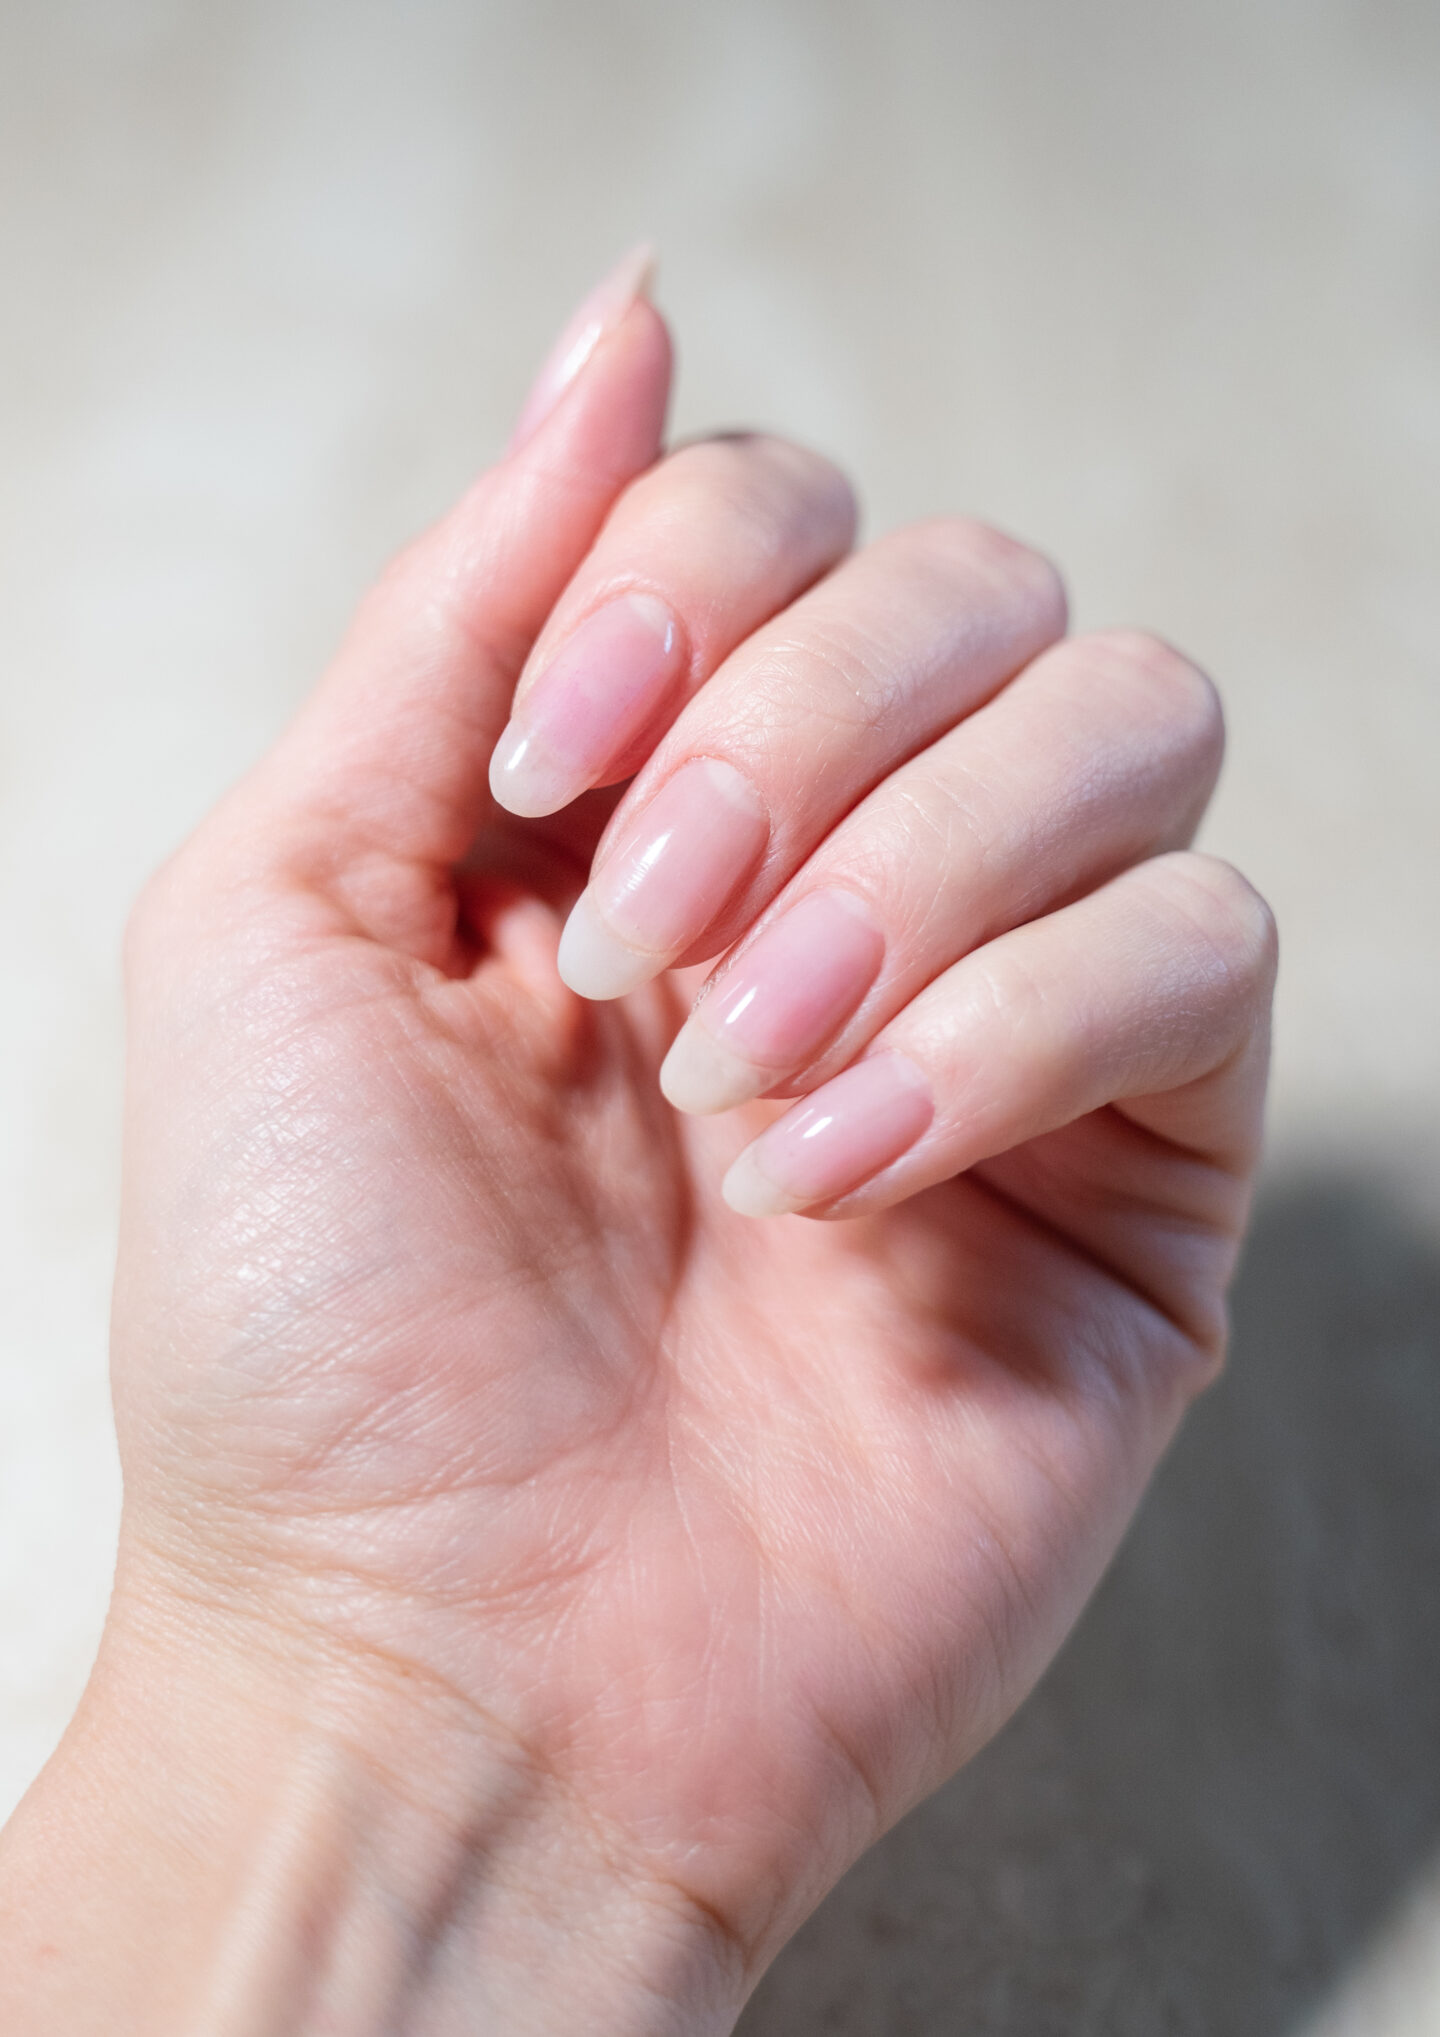
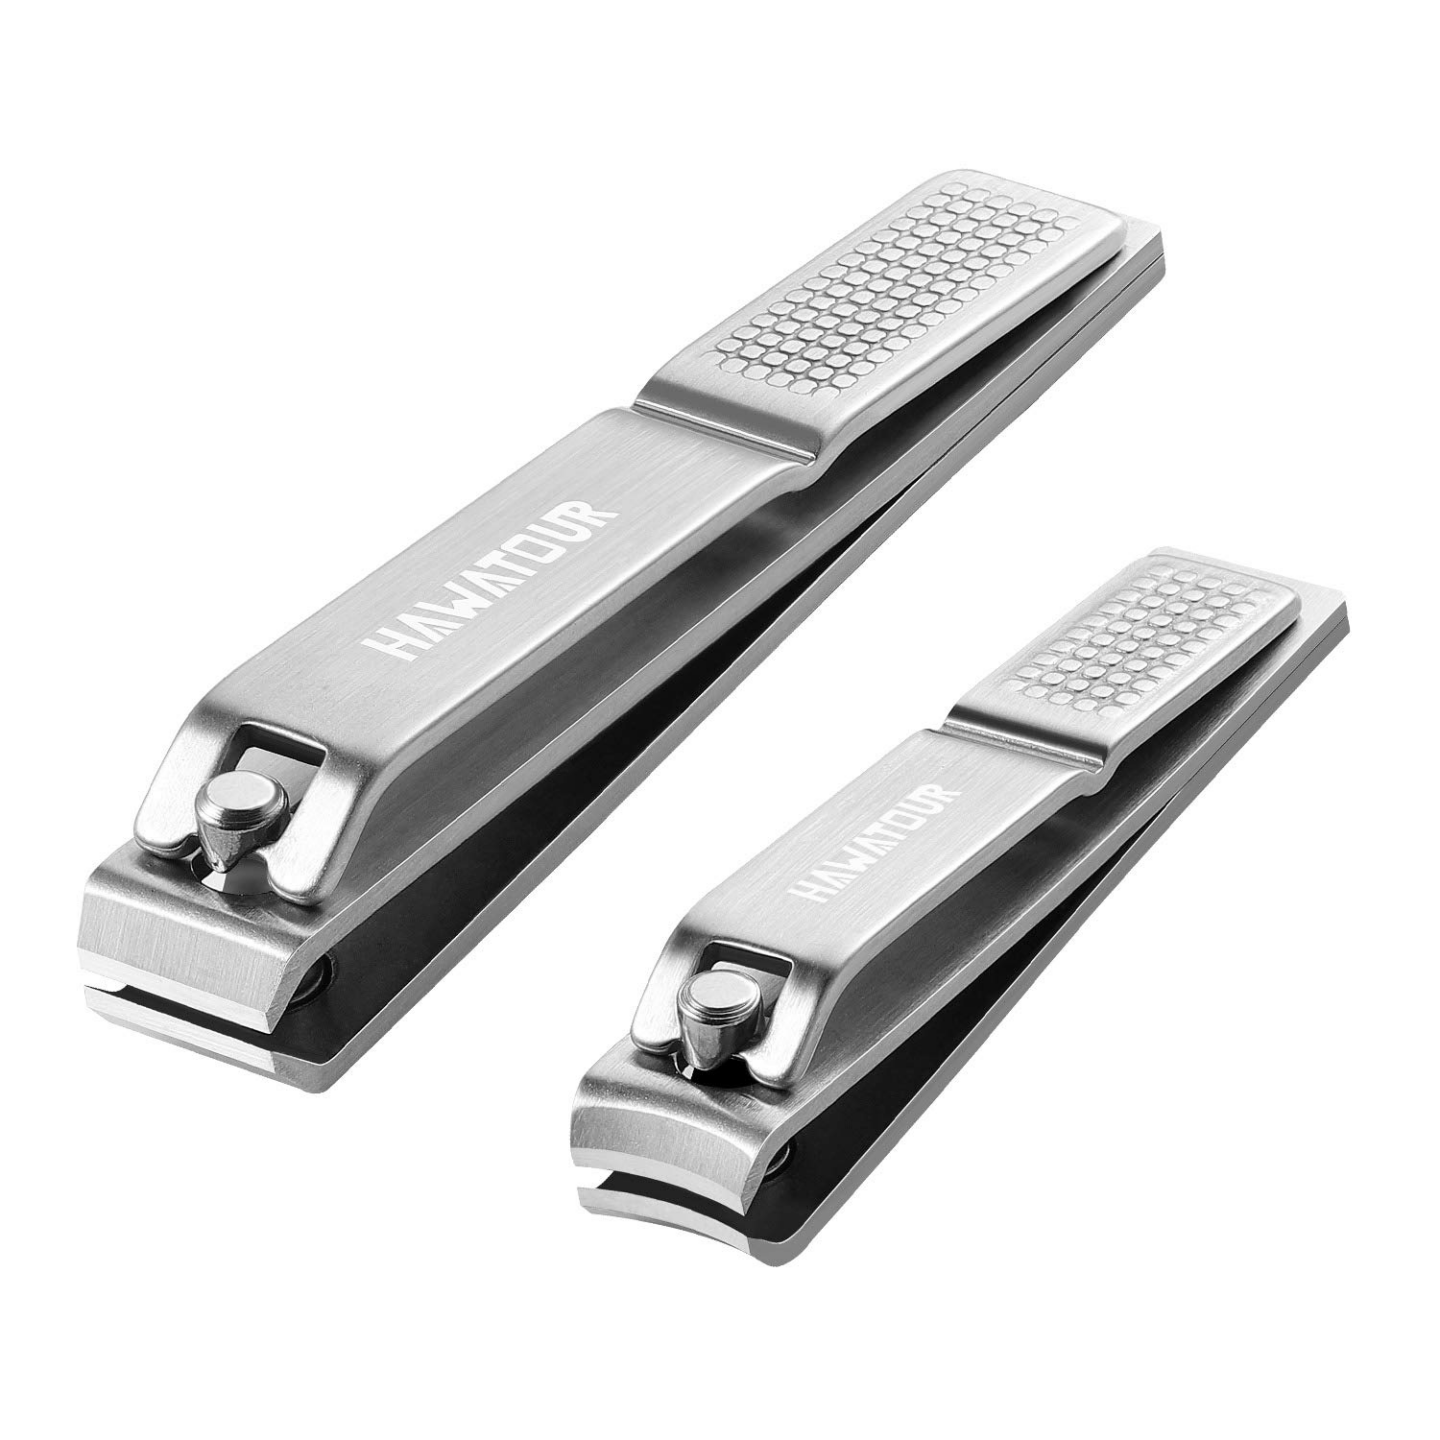
1. Preparing My Nails


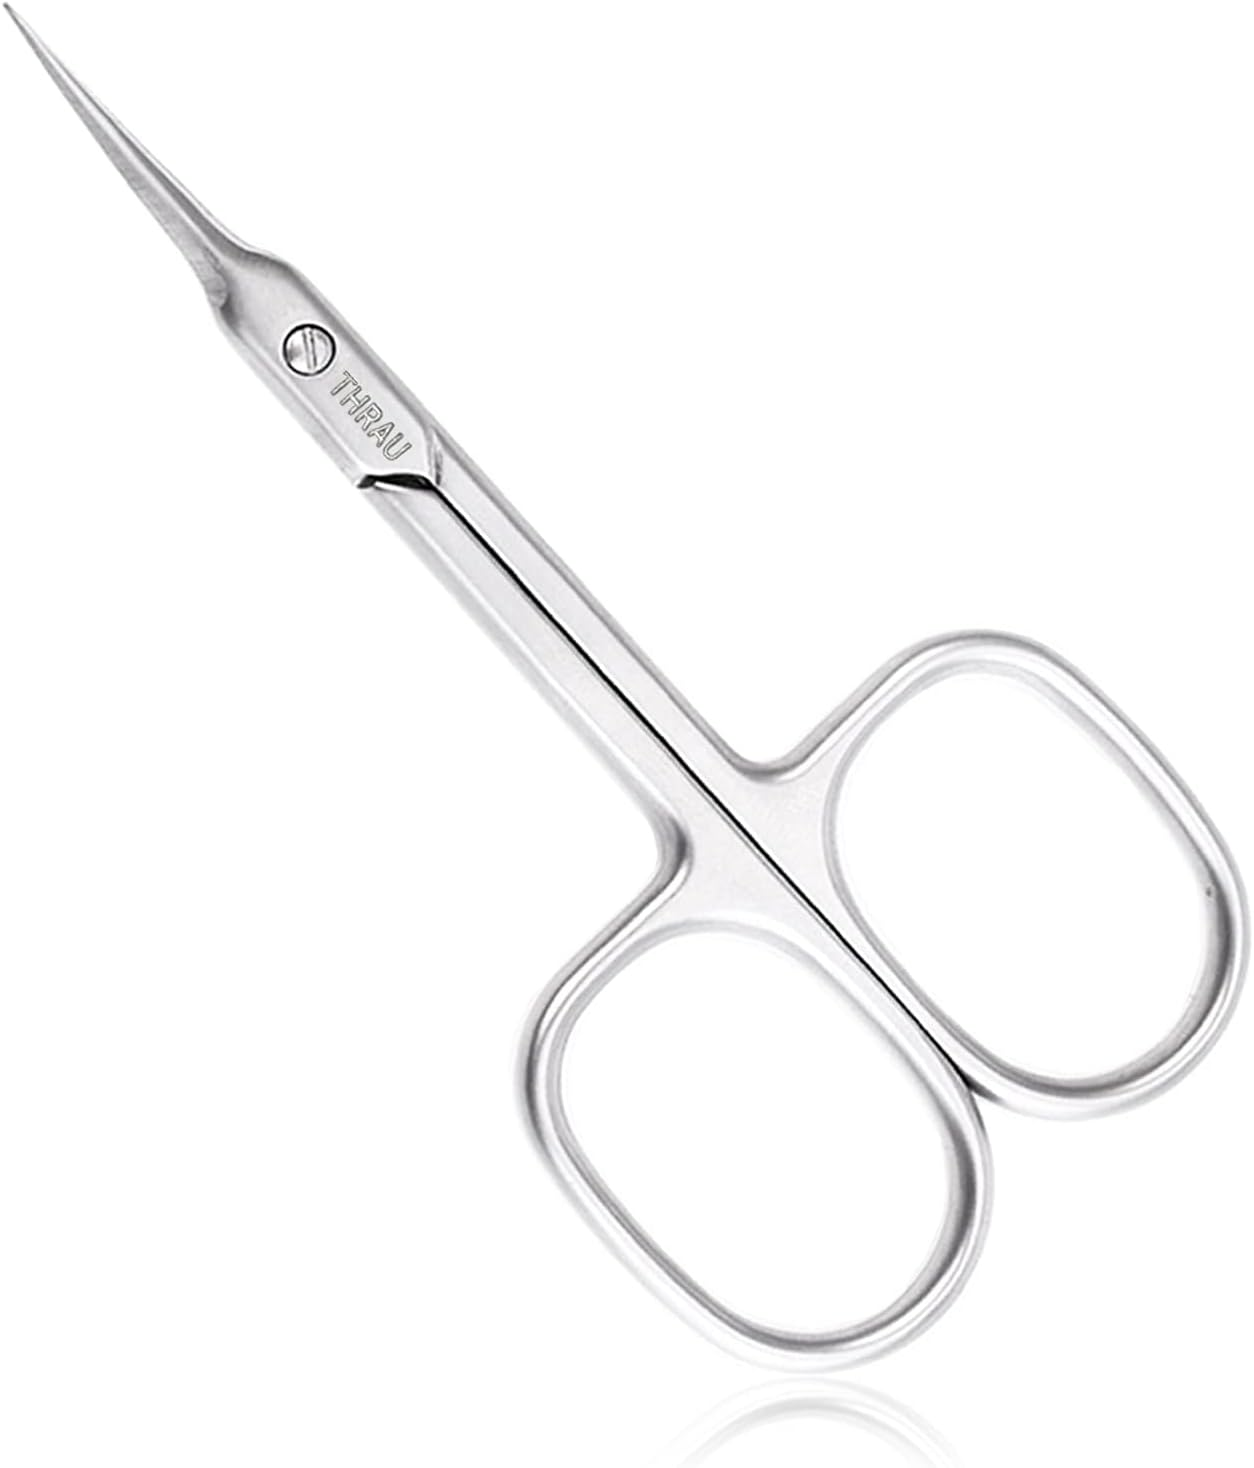
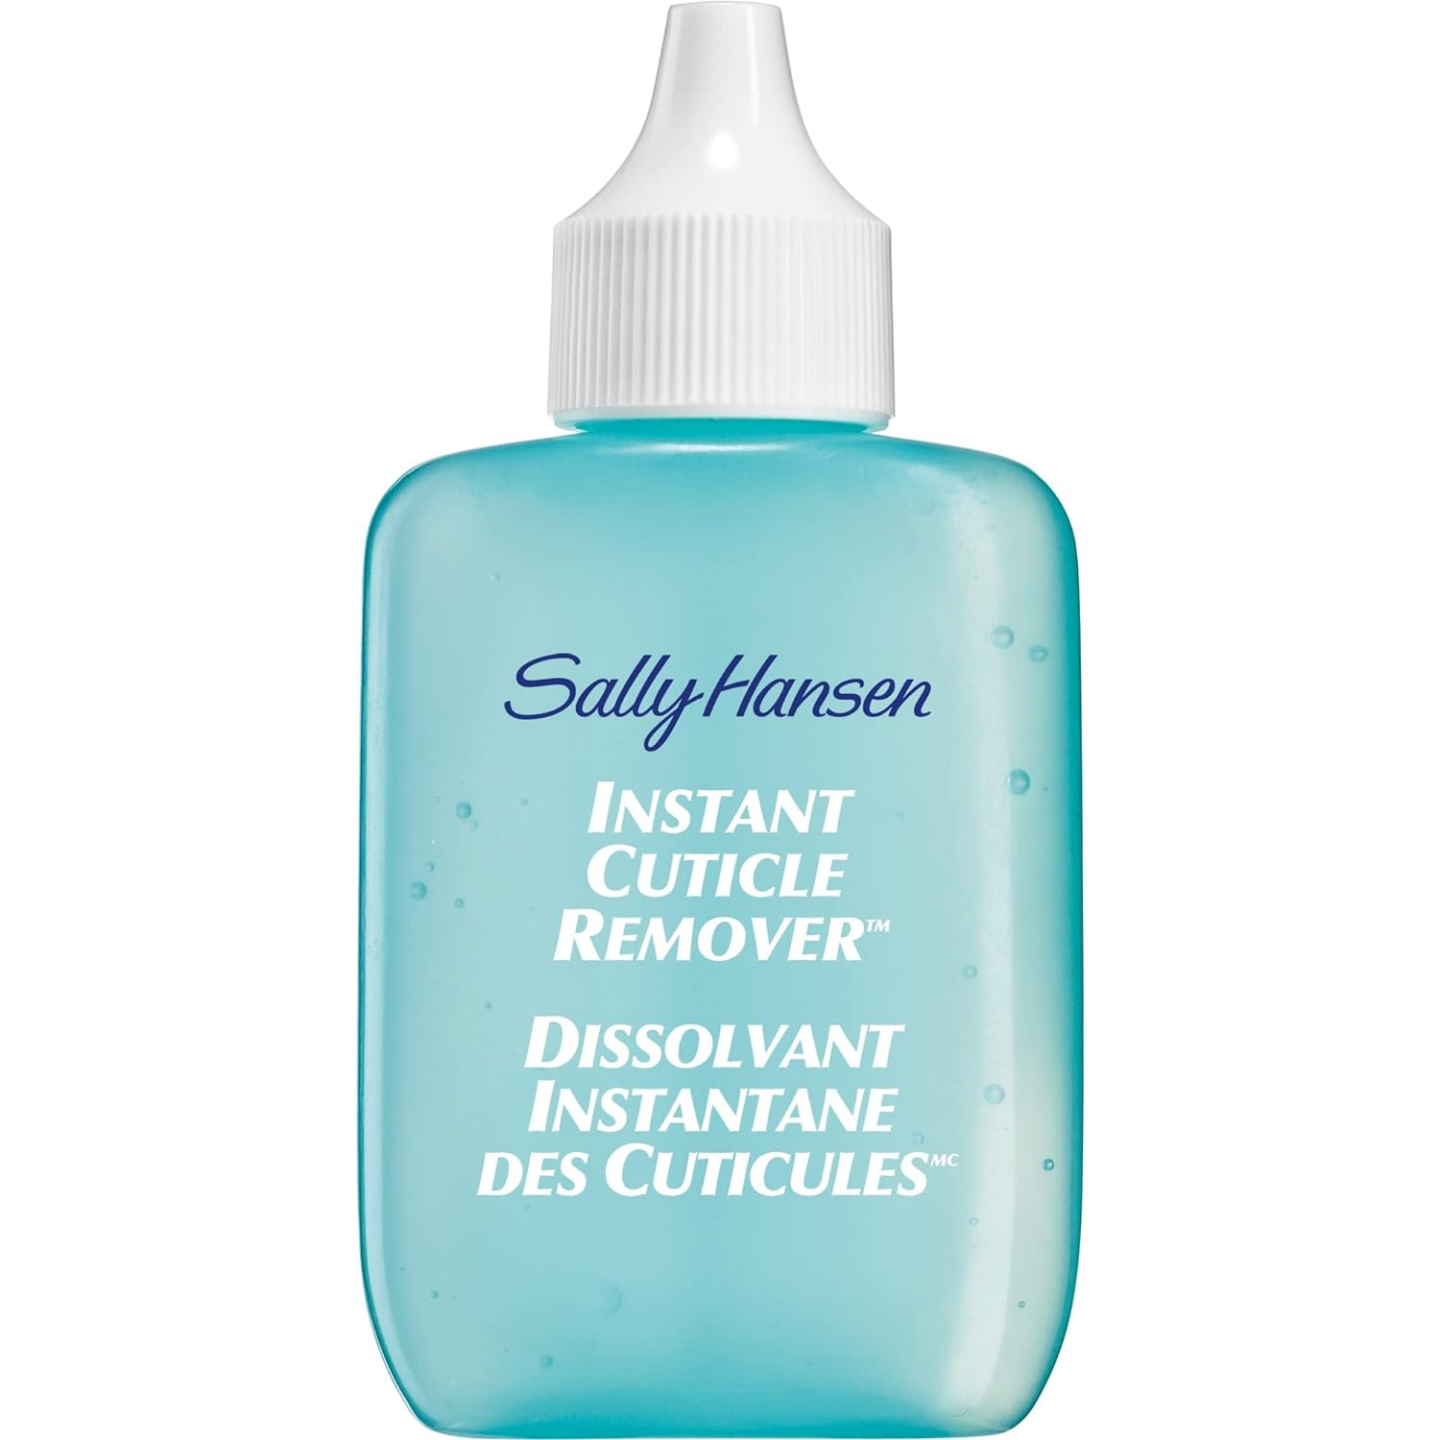
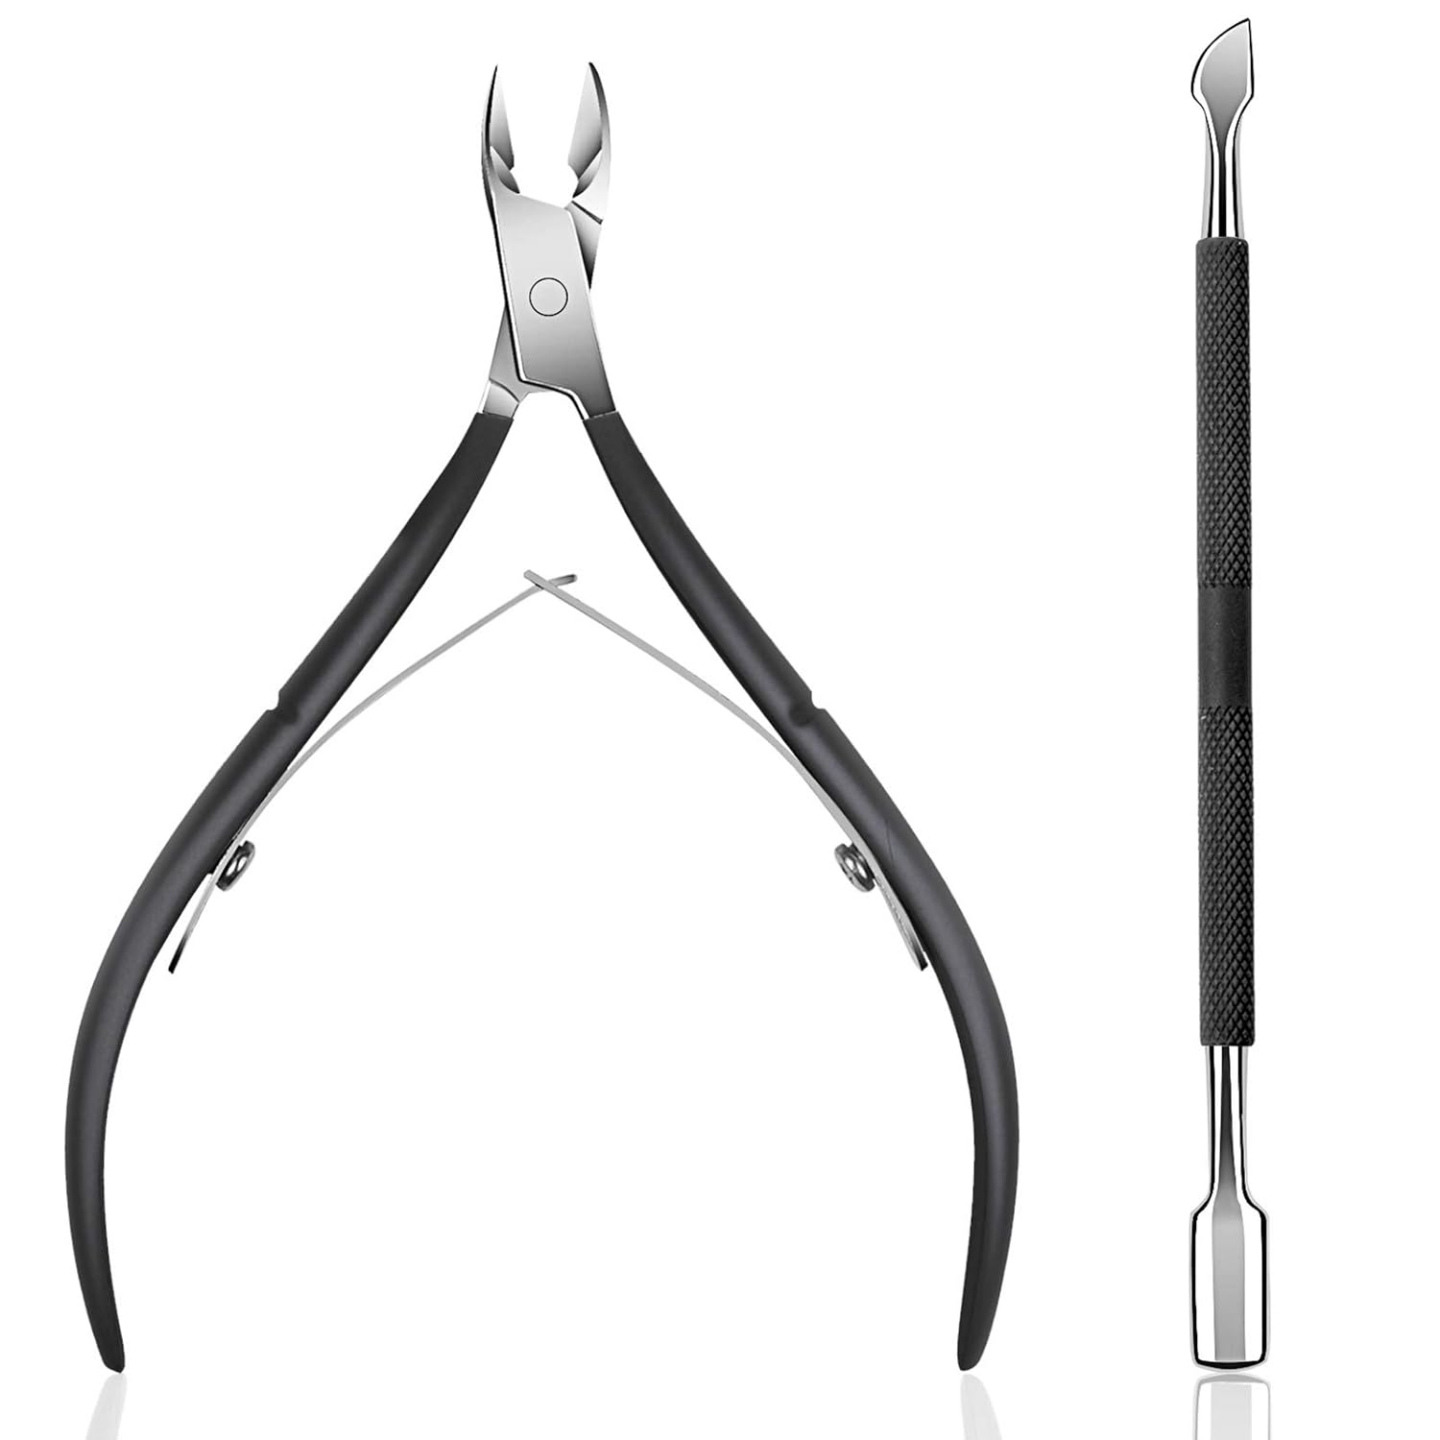
Laying a good foundation is critical! First, I always start by buffing or removing old polish. For this step, I like to use the nail drill in a gentle setting. Next, I gently push back my cuticles with a cuticle pusher and follow through with the power file to clean the cuticle area and lift the cuticle just enough to trim any excess skin.
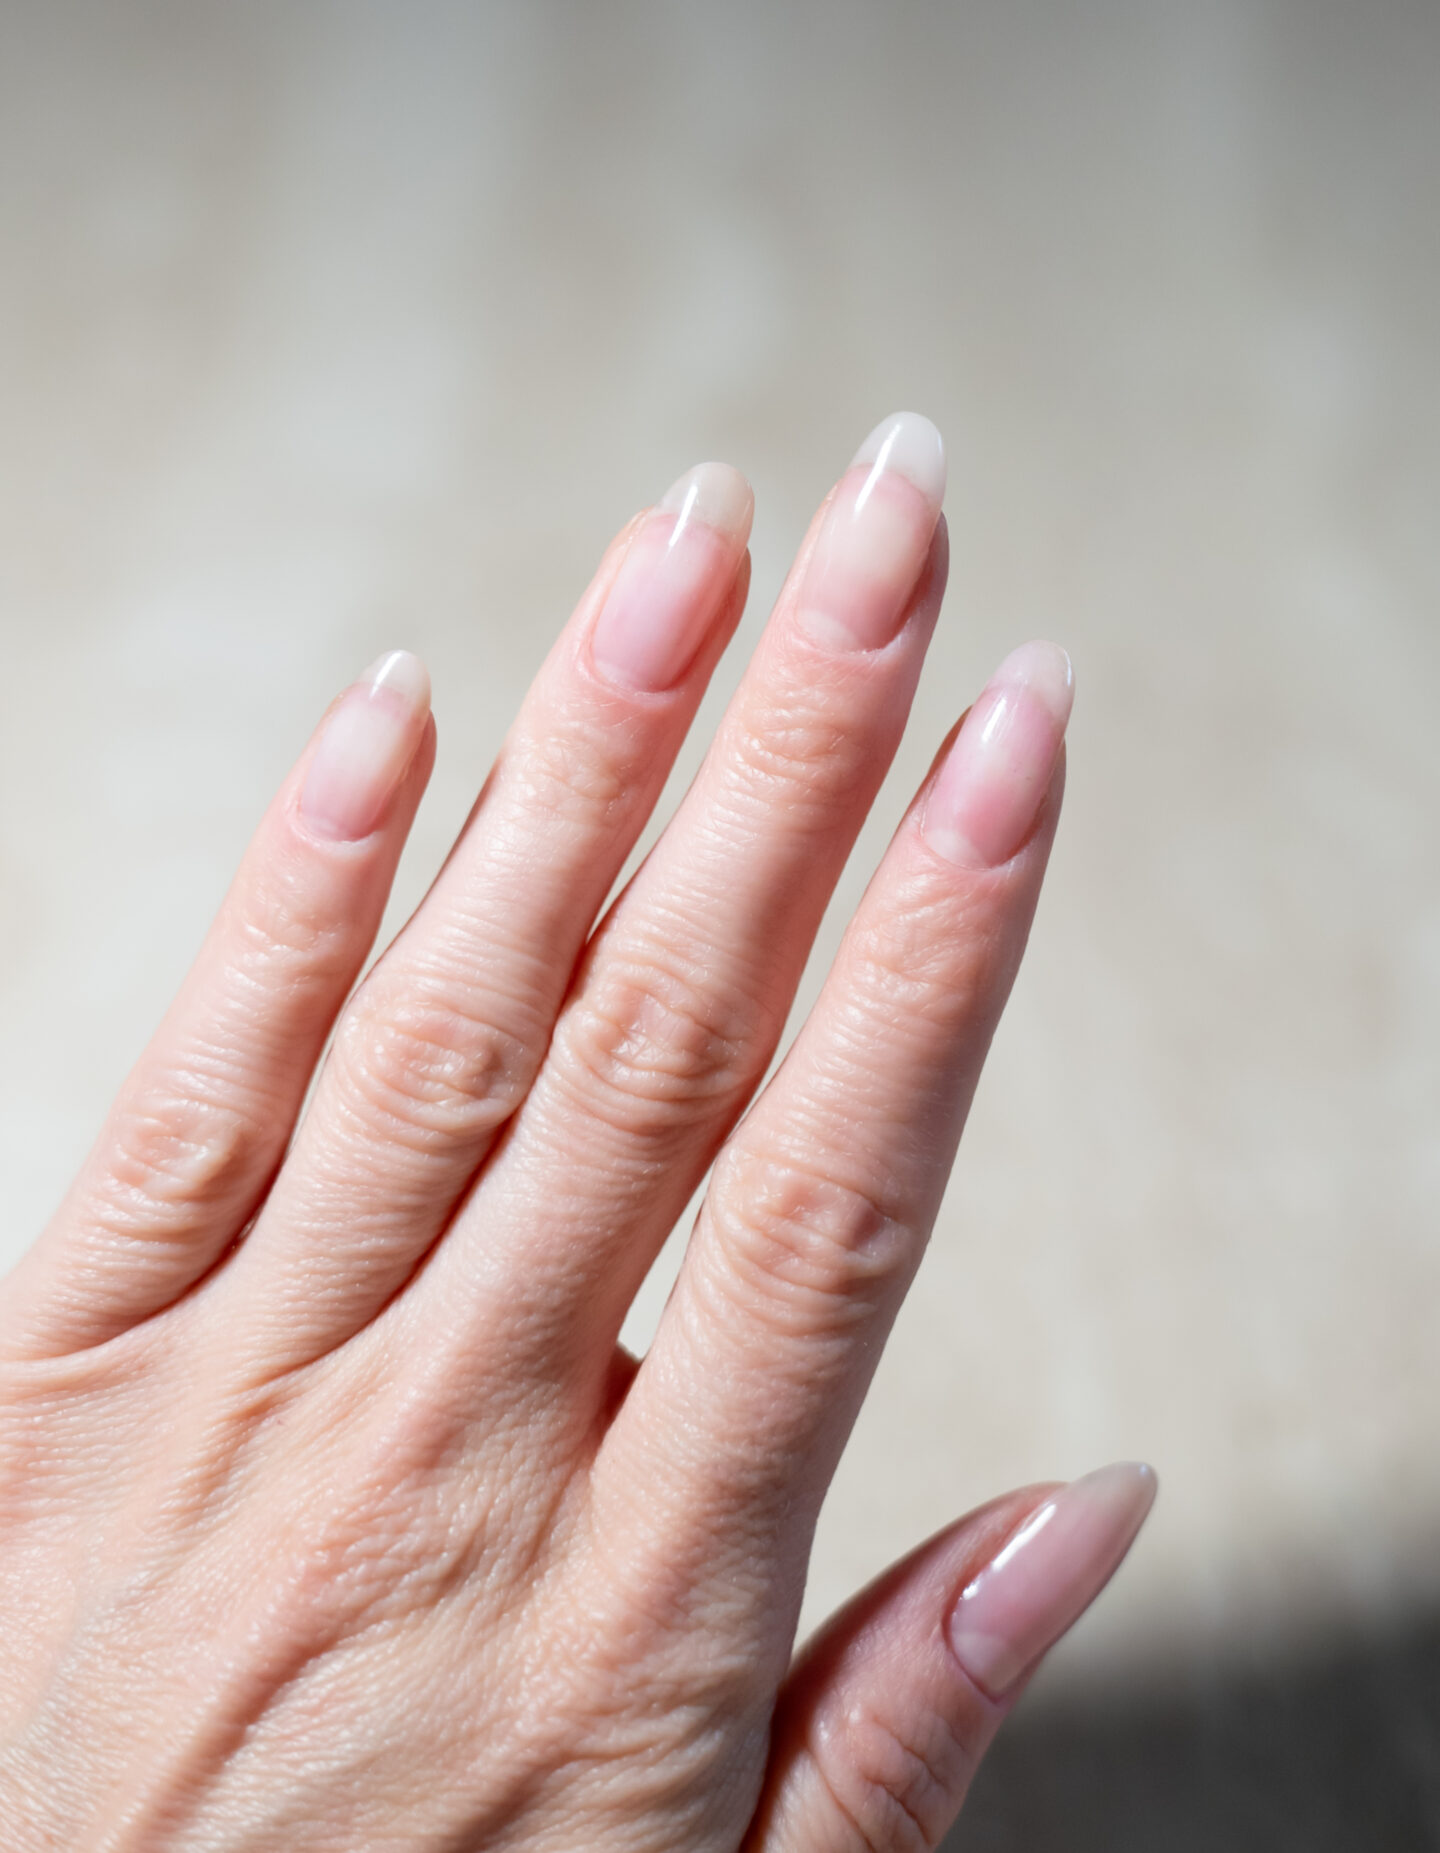
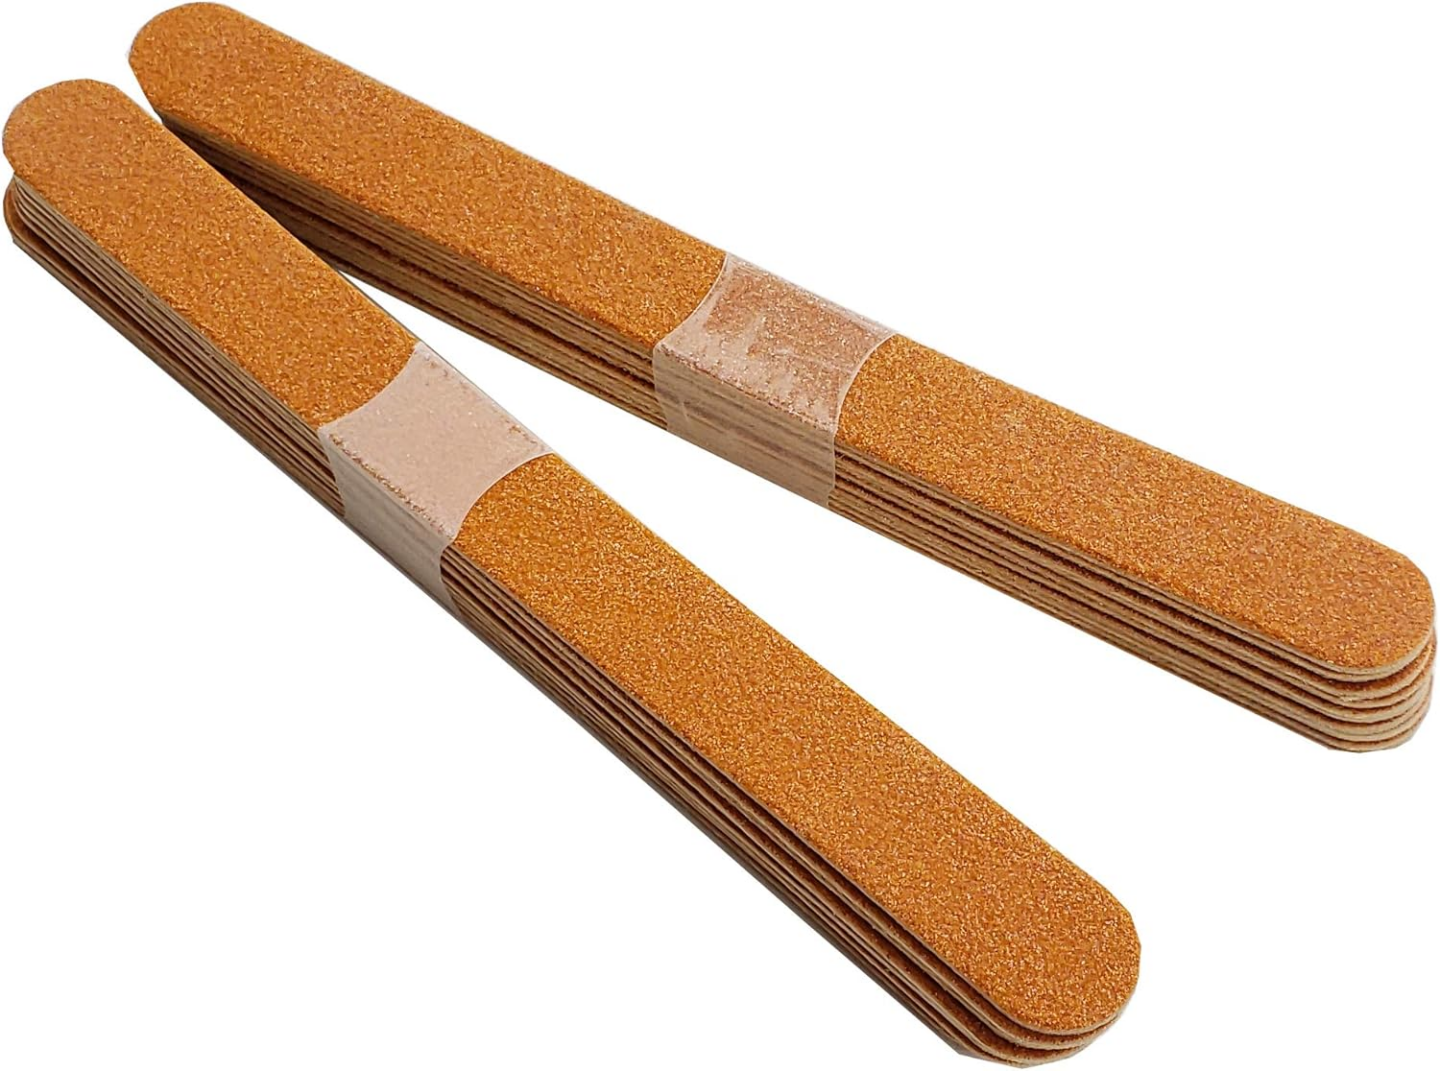
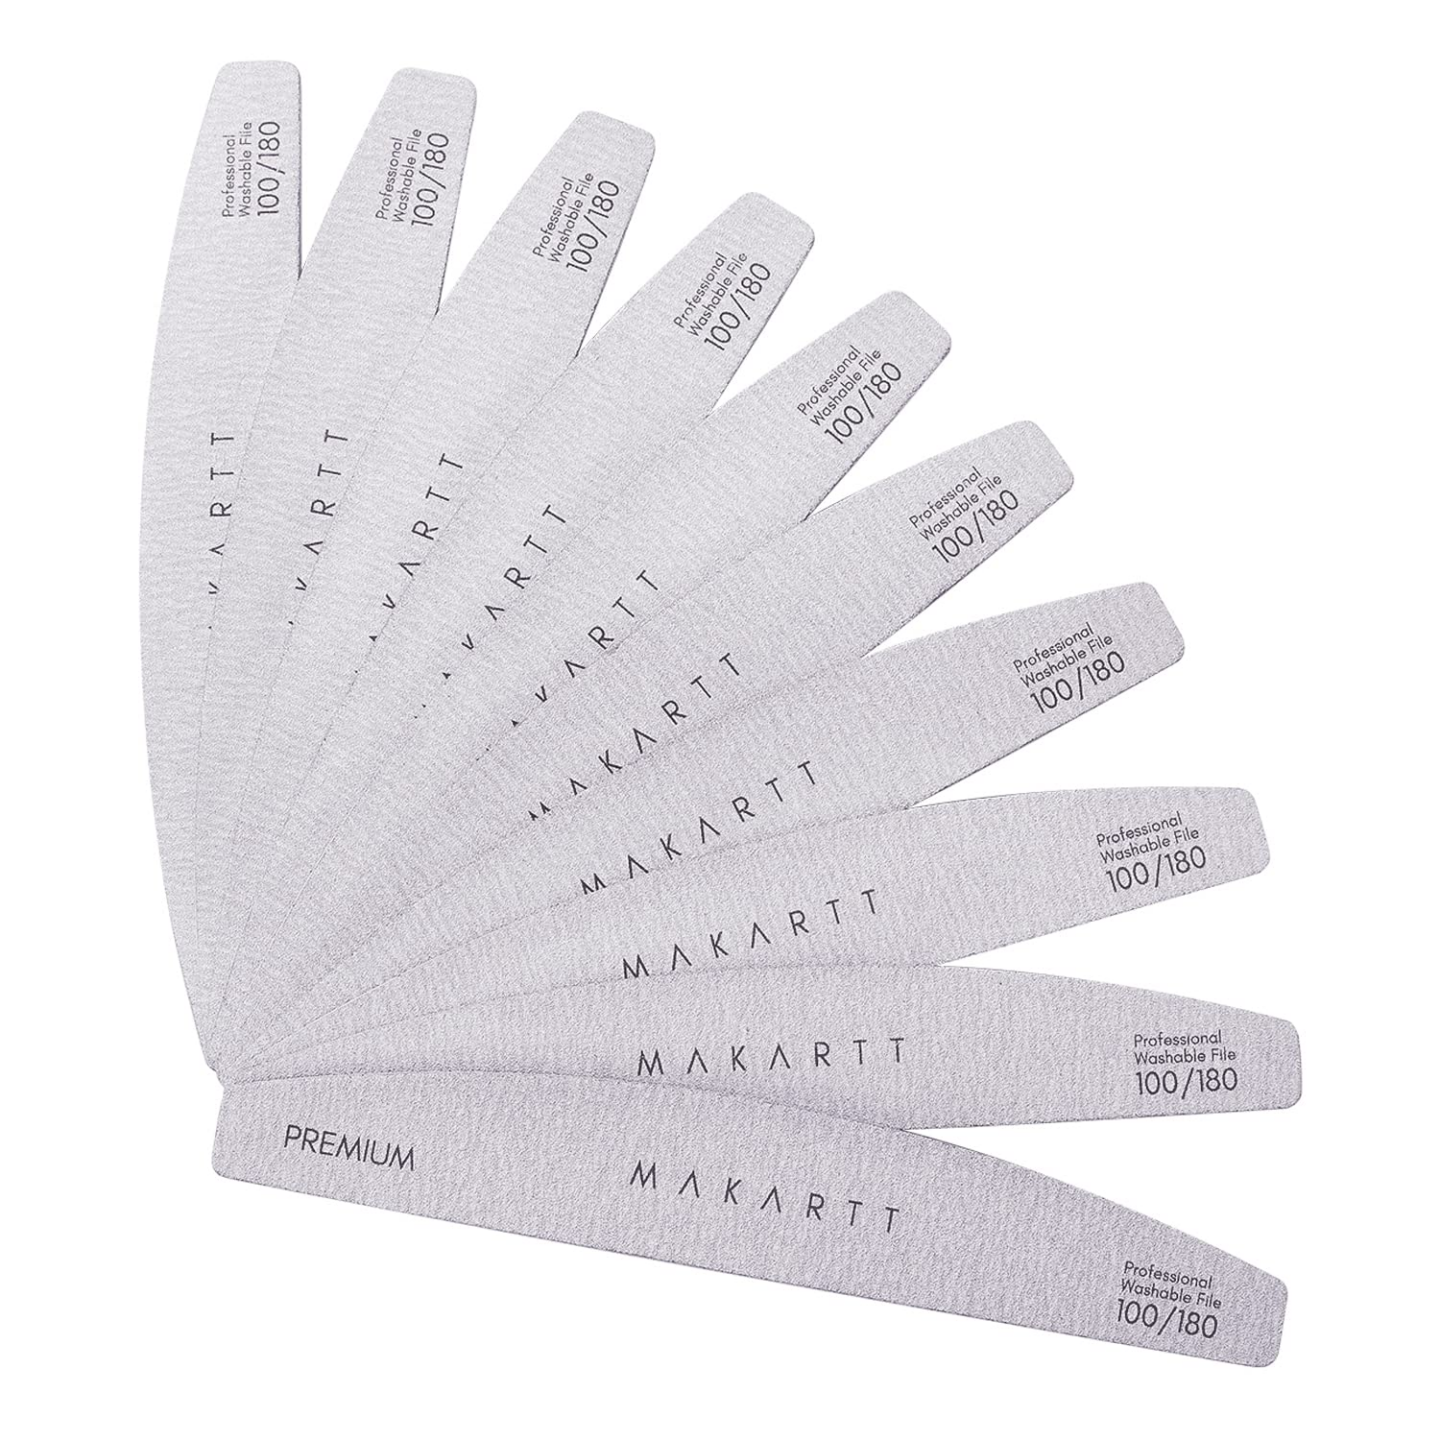
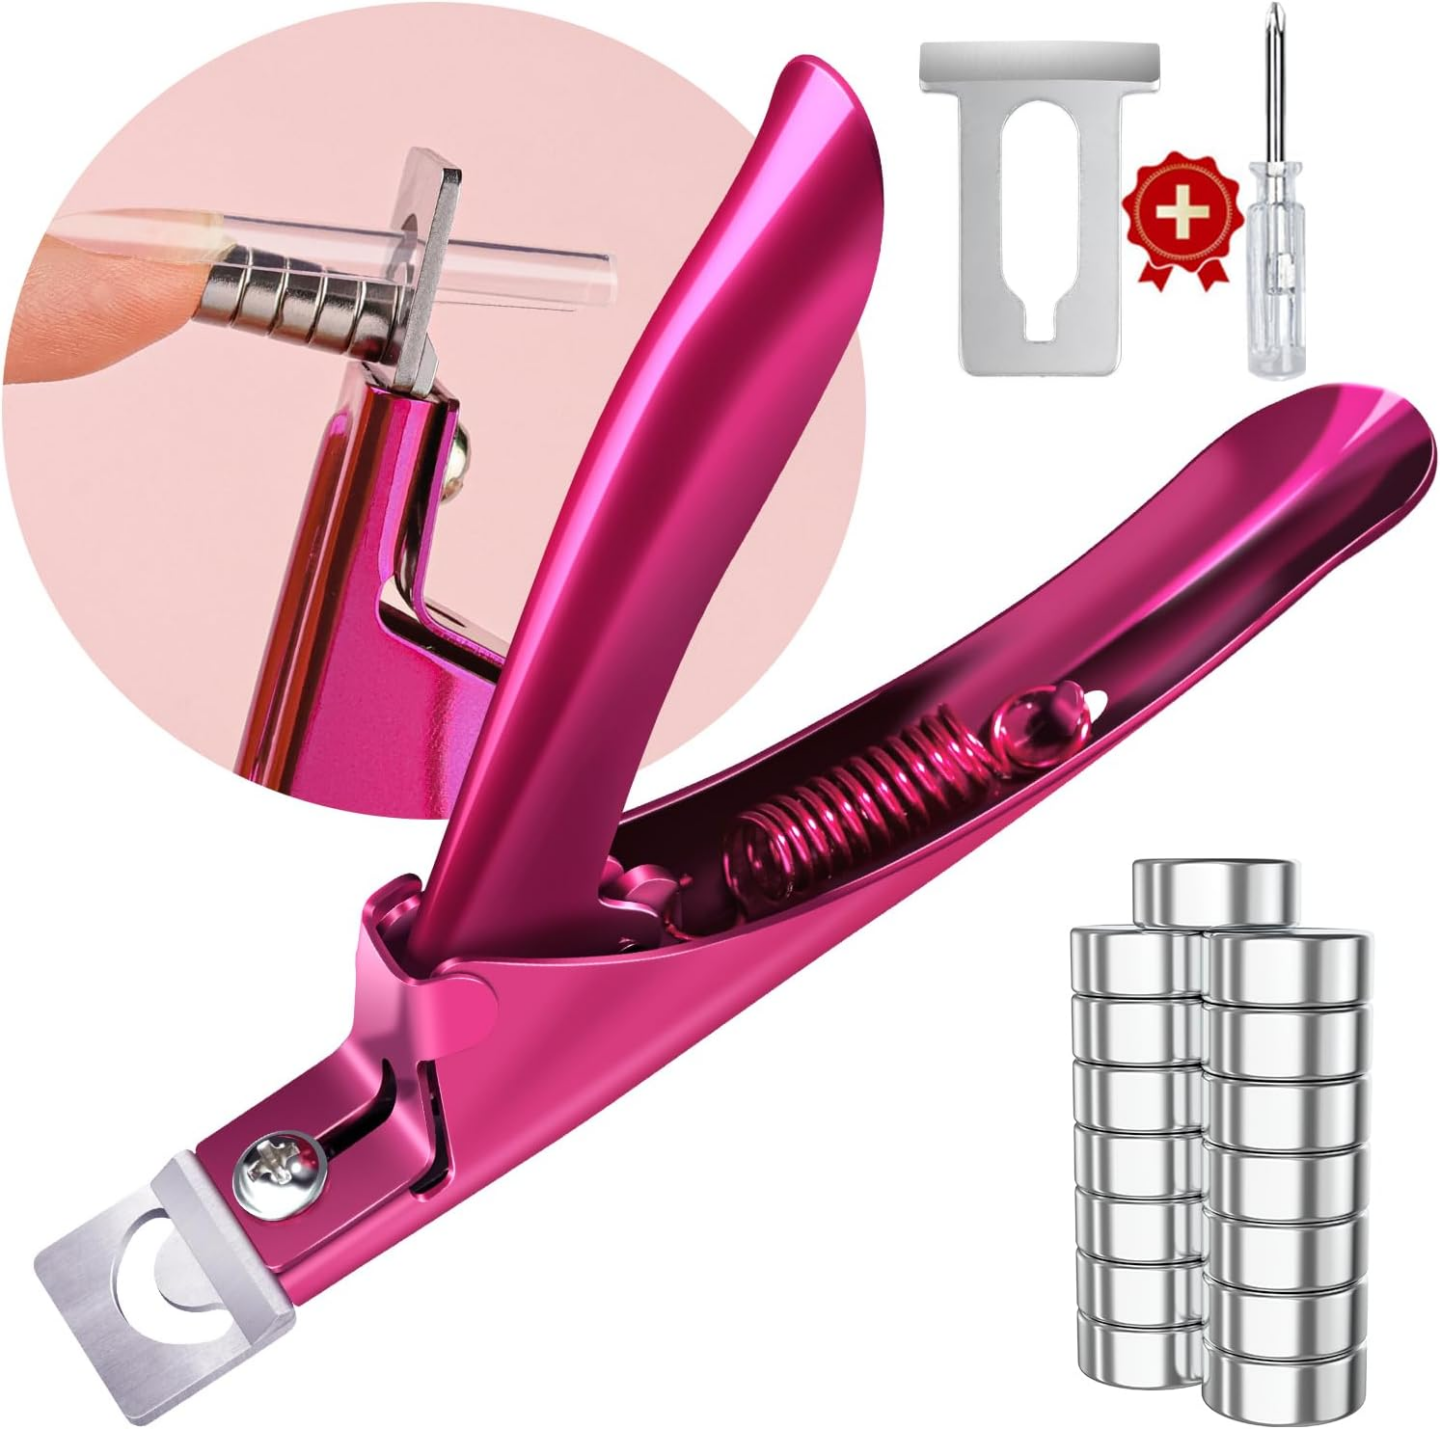
2. Shaping My Nails

Then, I use a nail file to shape my nails. I like to file in one direction to prevent splits and keep my nails strong. Consistent shaping is key to a polished look.
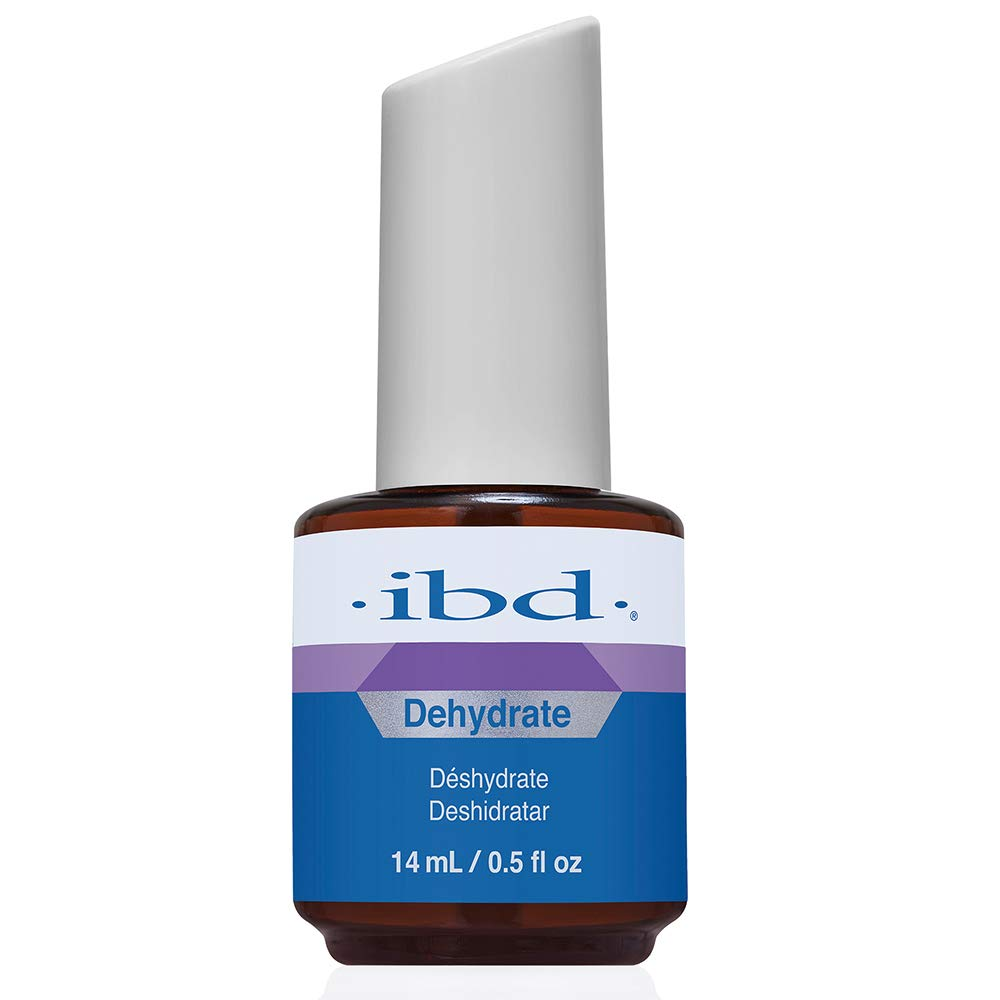
3. Applying a dehydrator
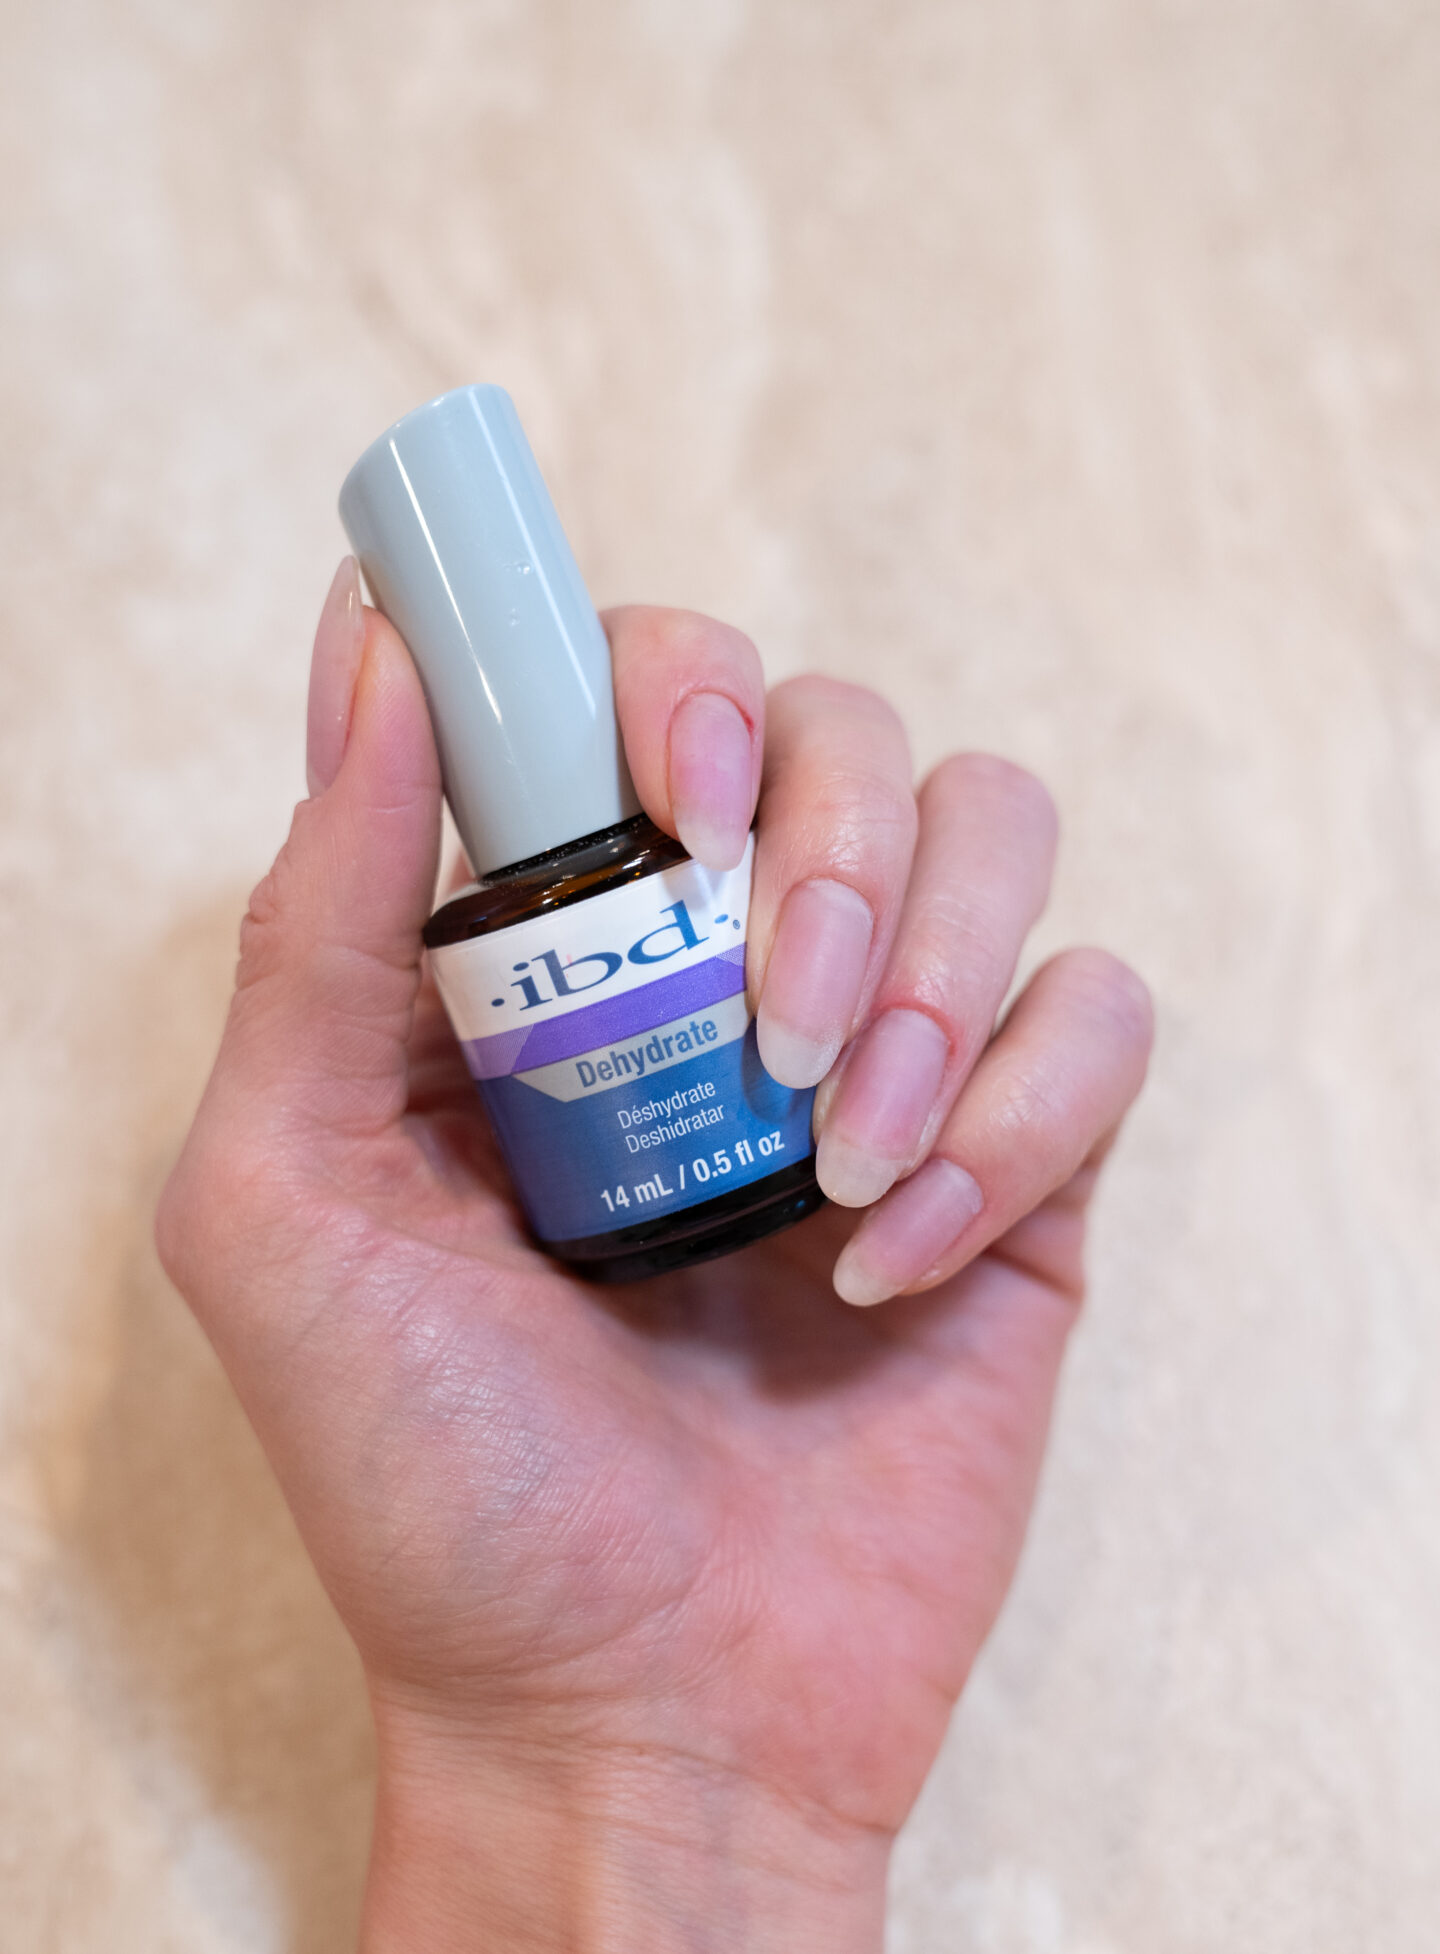
Then, when nails are prepped and ready for polish, I always start with a dehydrator. This is a very important step. A dehydrator removes all dirt and oil from the surface of your nails at a molecular level, helping to prevent chipping and lifting.
4. Applying a Hard Gel for Extra Strength (STEP OPTIONAL)
One of my secrets to achieving a long-lasting gel manicure is applying a layer of hard gel before the color. For this, I use a gel base coat followed by All in One BIAB (Builder in a Bottle) or you can also use Clear Gel Builder from Amazon. I apply a thin layer, covering the entire nail, and then cure it under my LED lamp. This step adds a layer of strength, making my nails less prone to breakage. You can skip this step altogether if you don’t need an extra layer of thickness and nail strength.
Tip: Turning your nail upside down is essential before curing hard gel. You want the gel to self-level, creating an apex in the center of the nail. This takes practice, but you can also file the nails or buff them to even out the shape.
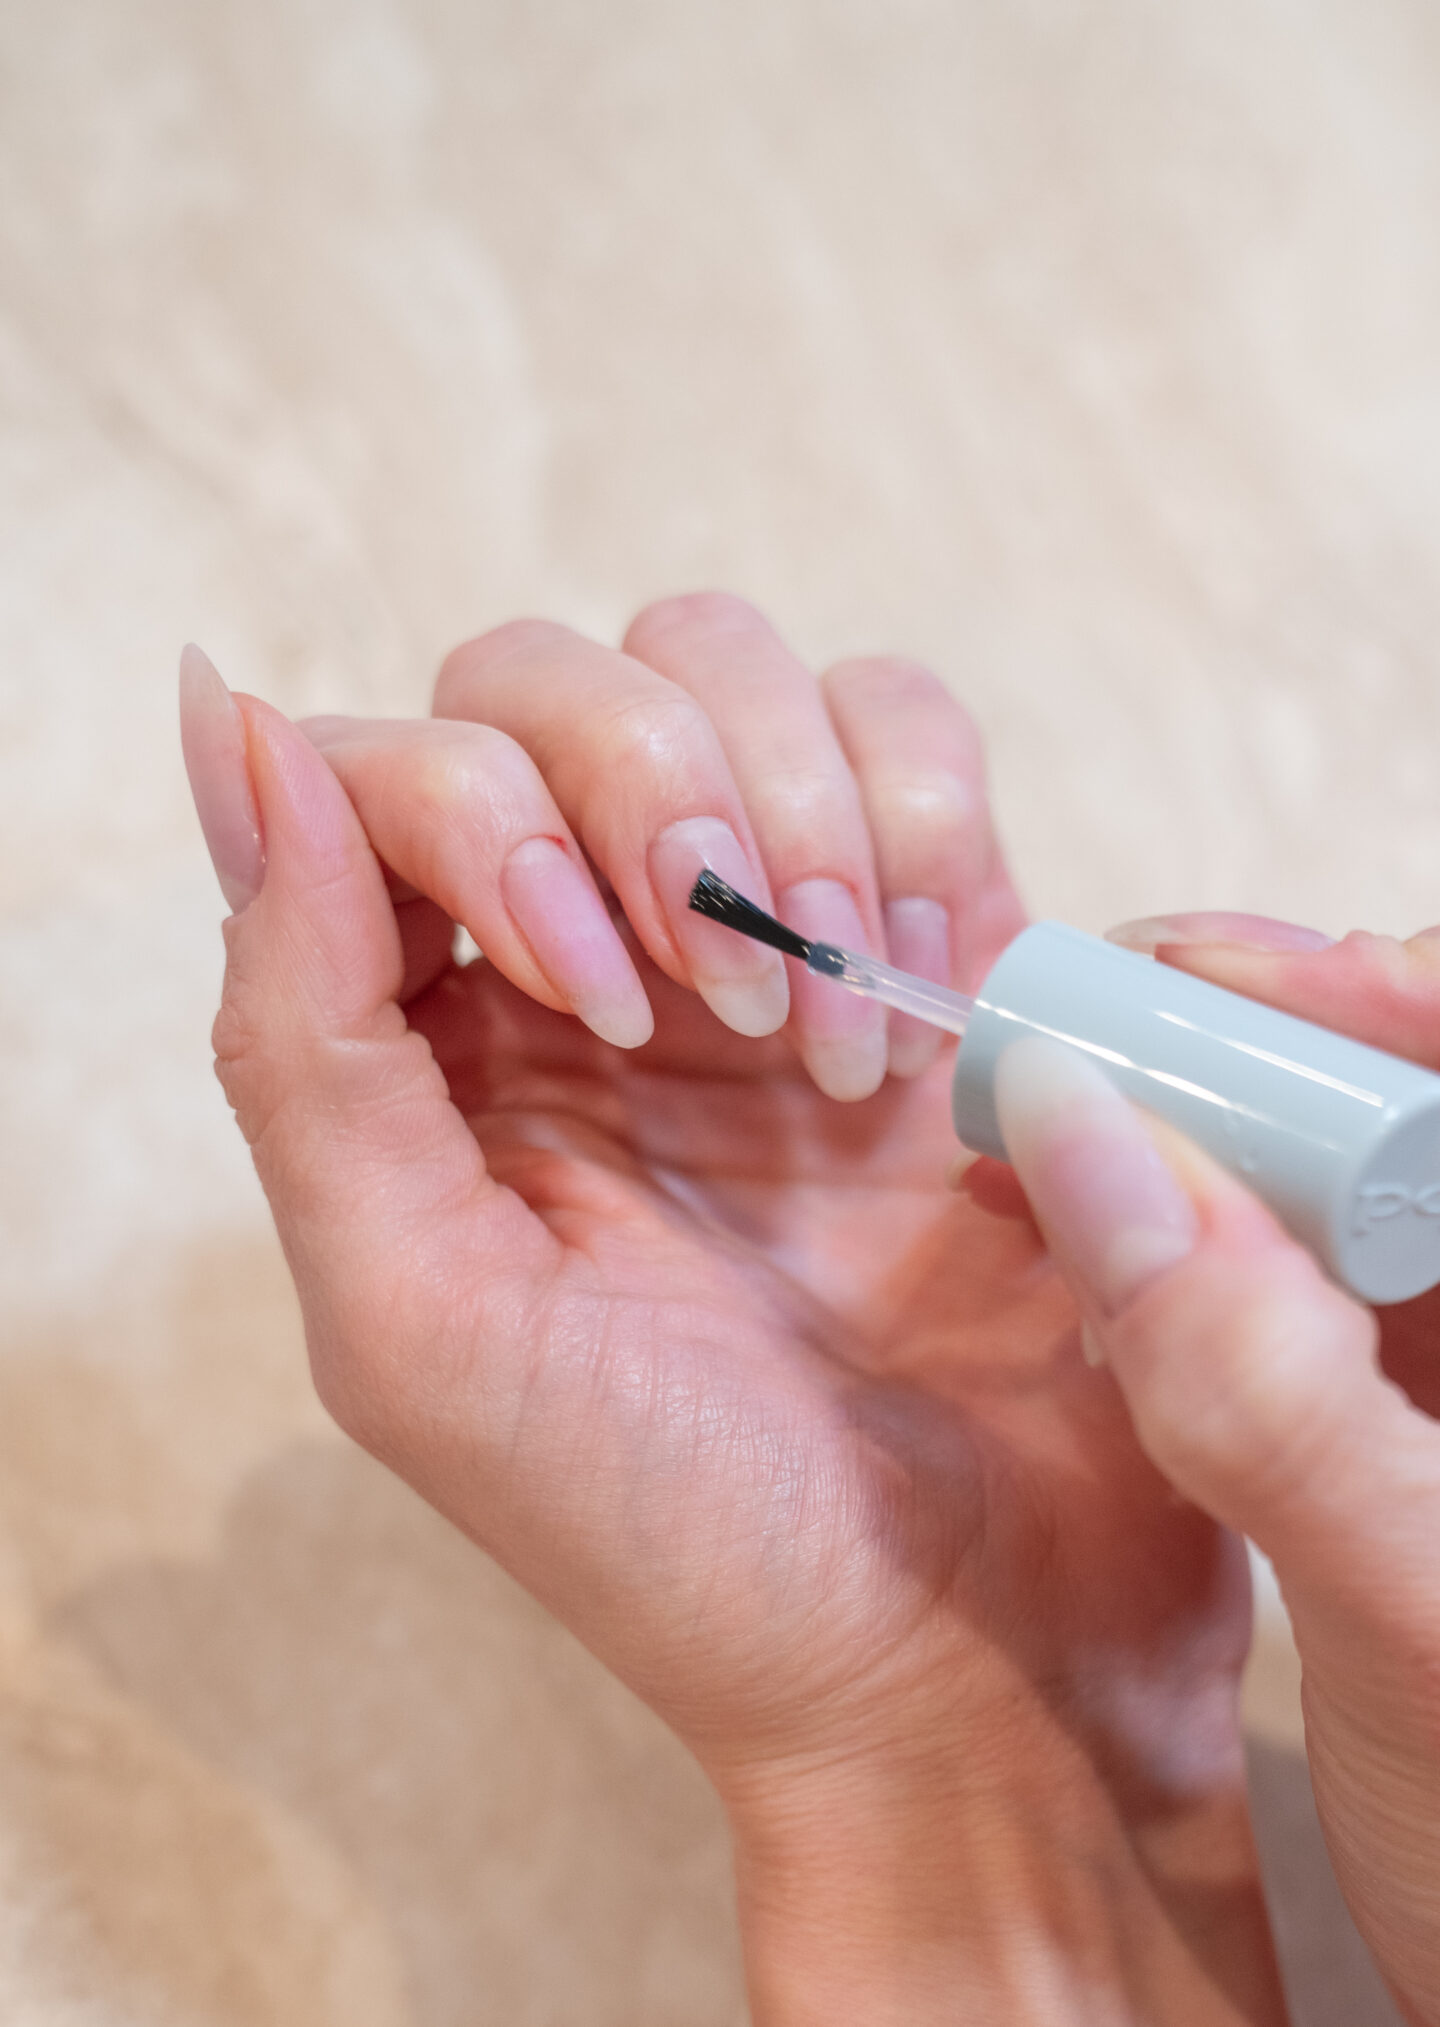
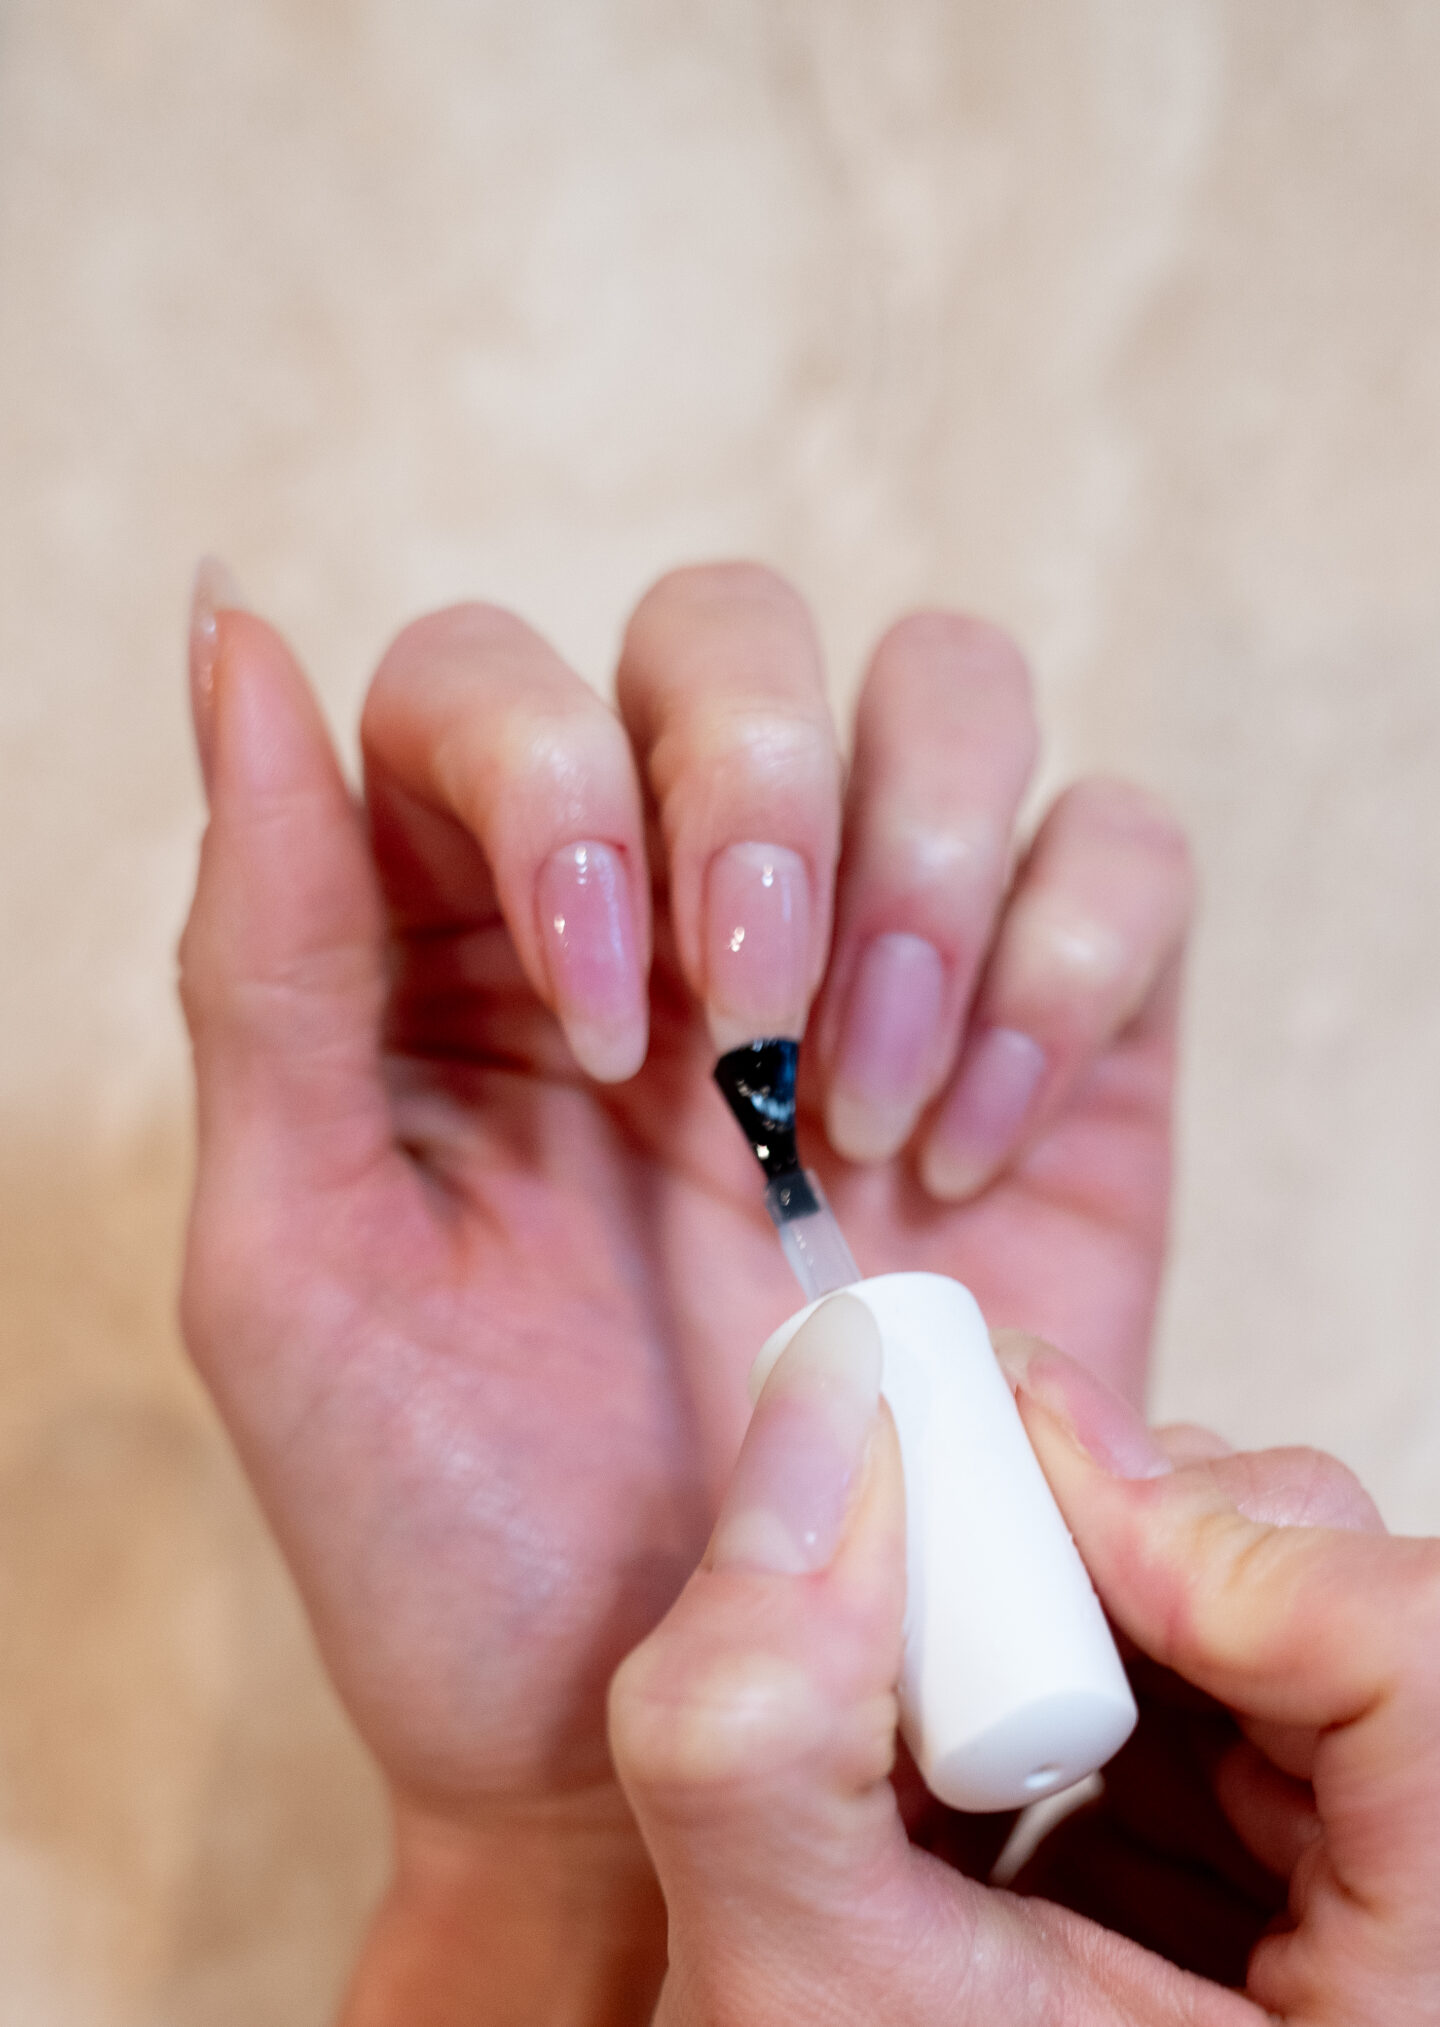
5. Applying the Gel Base Coat (IF SKIPPED STEP 4)
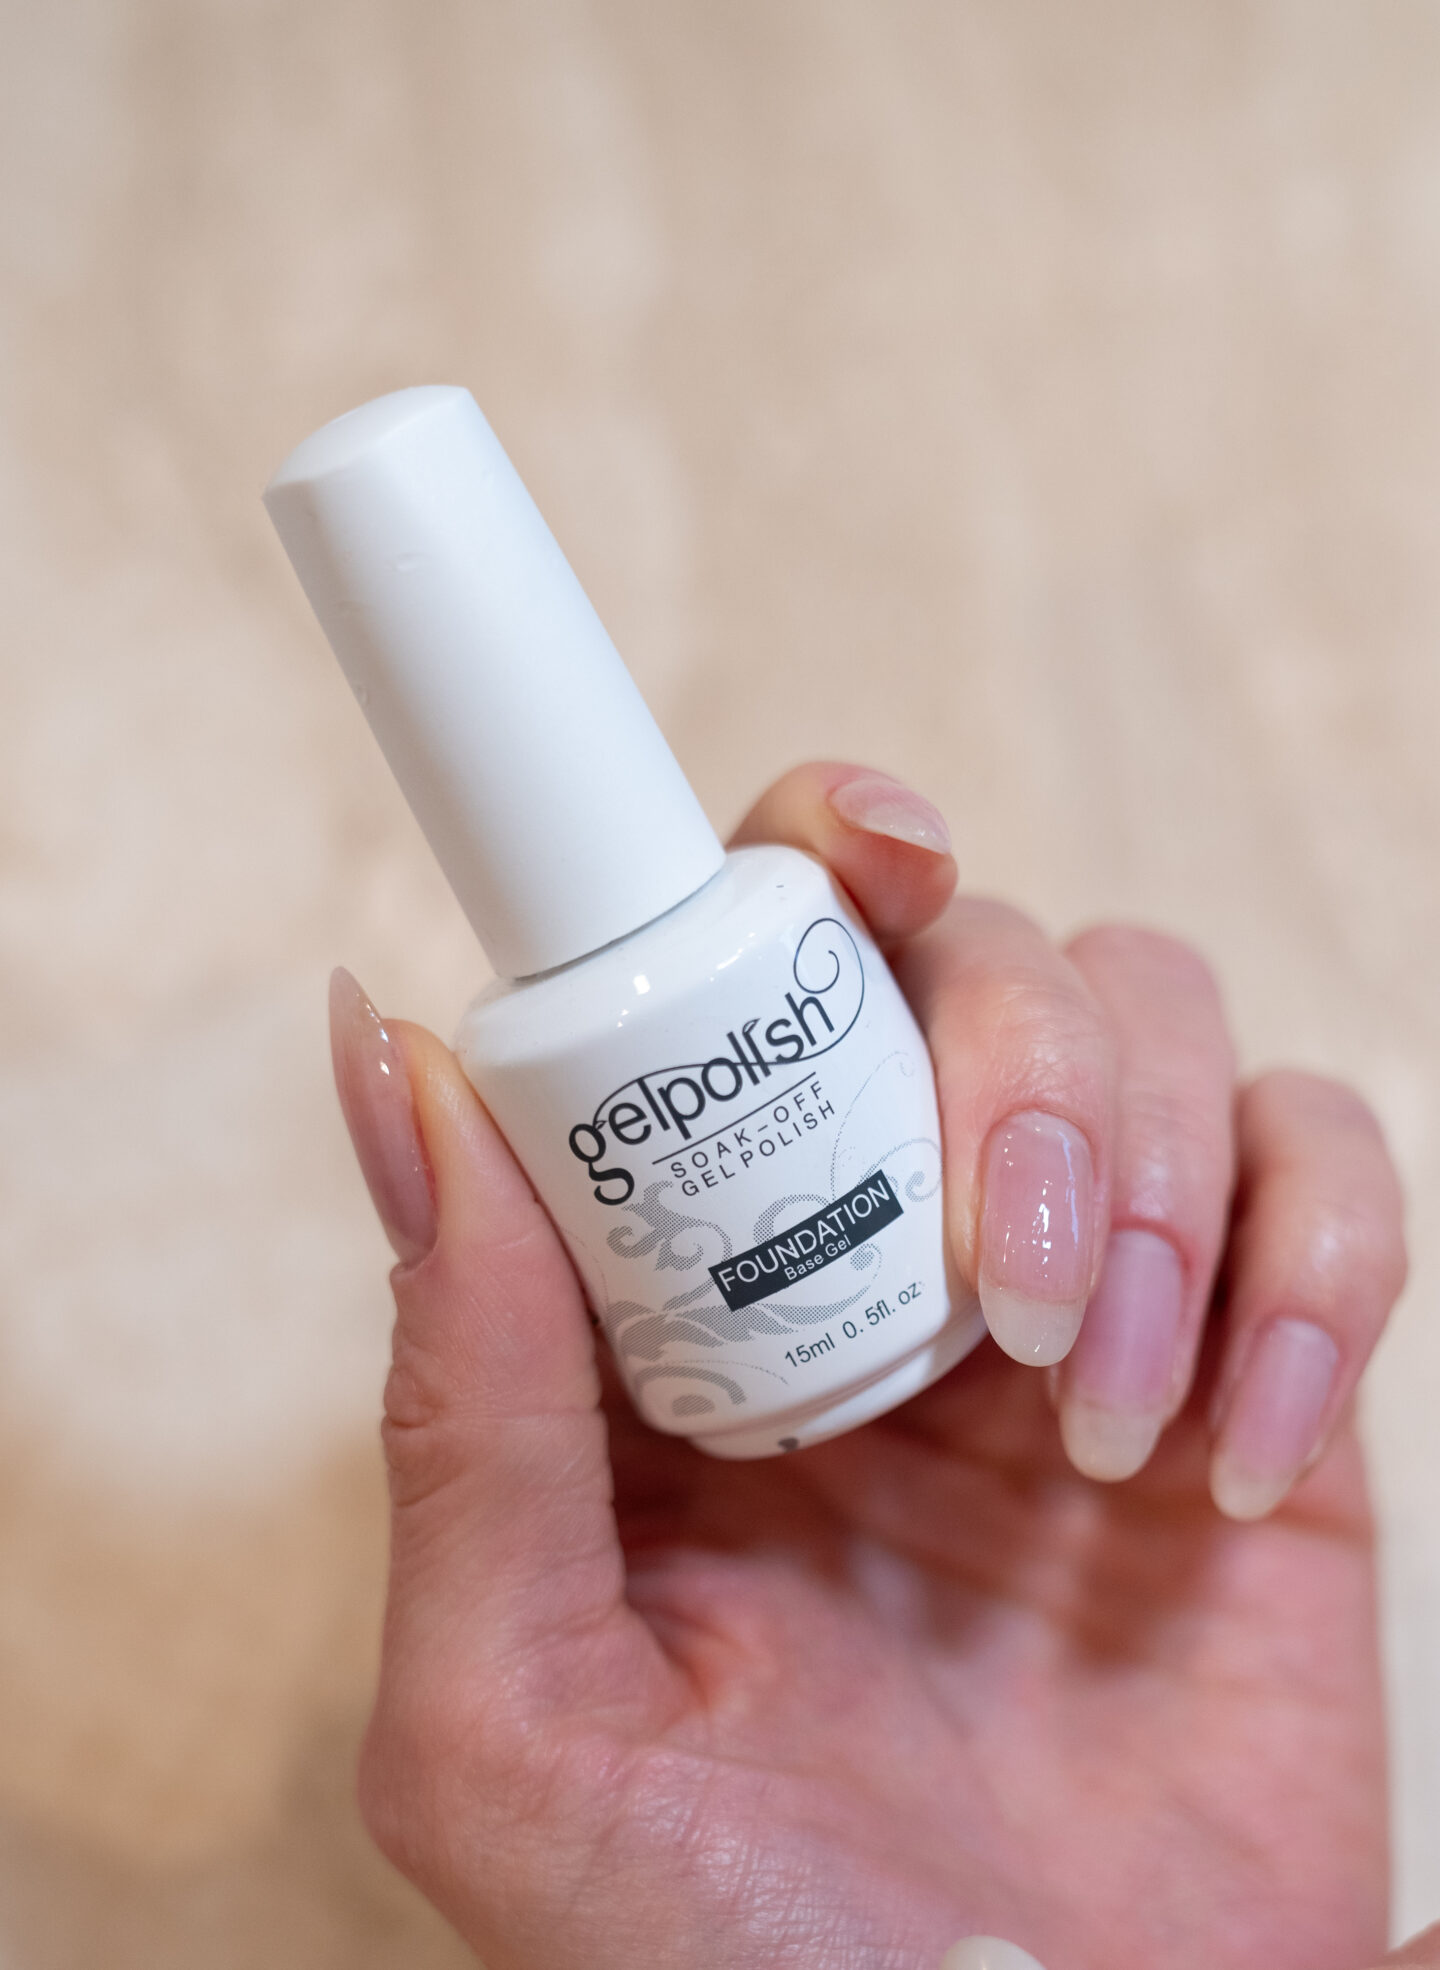
Once the hard gel is cured, I apply a thin layer of gel base coat. This layer is crucial for ensuring the gel color adheres properly. After applying the base coat, I cured it under the LED lamp, and now I am ready for polish!
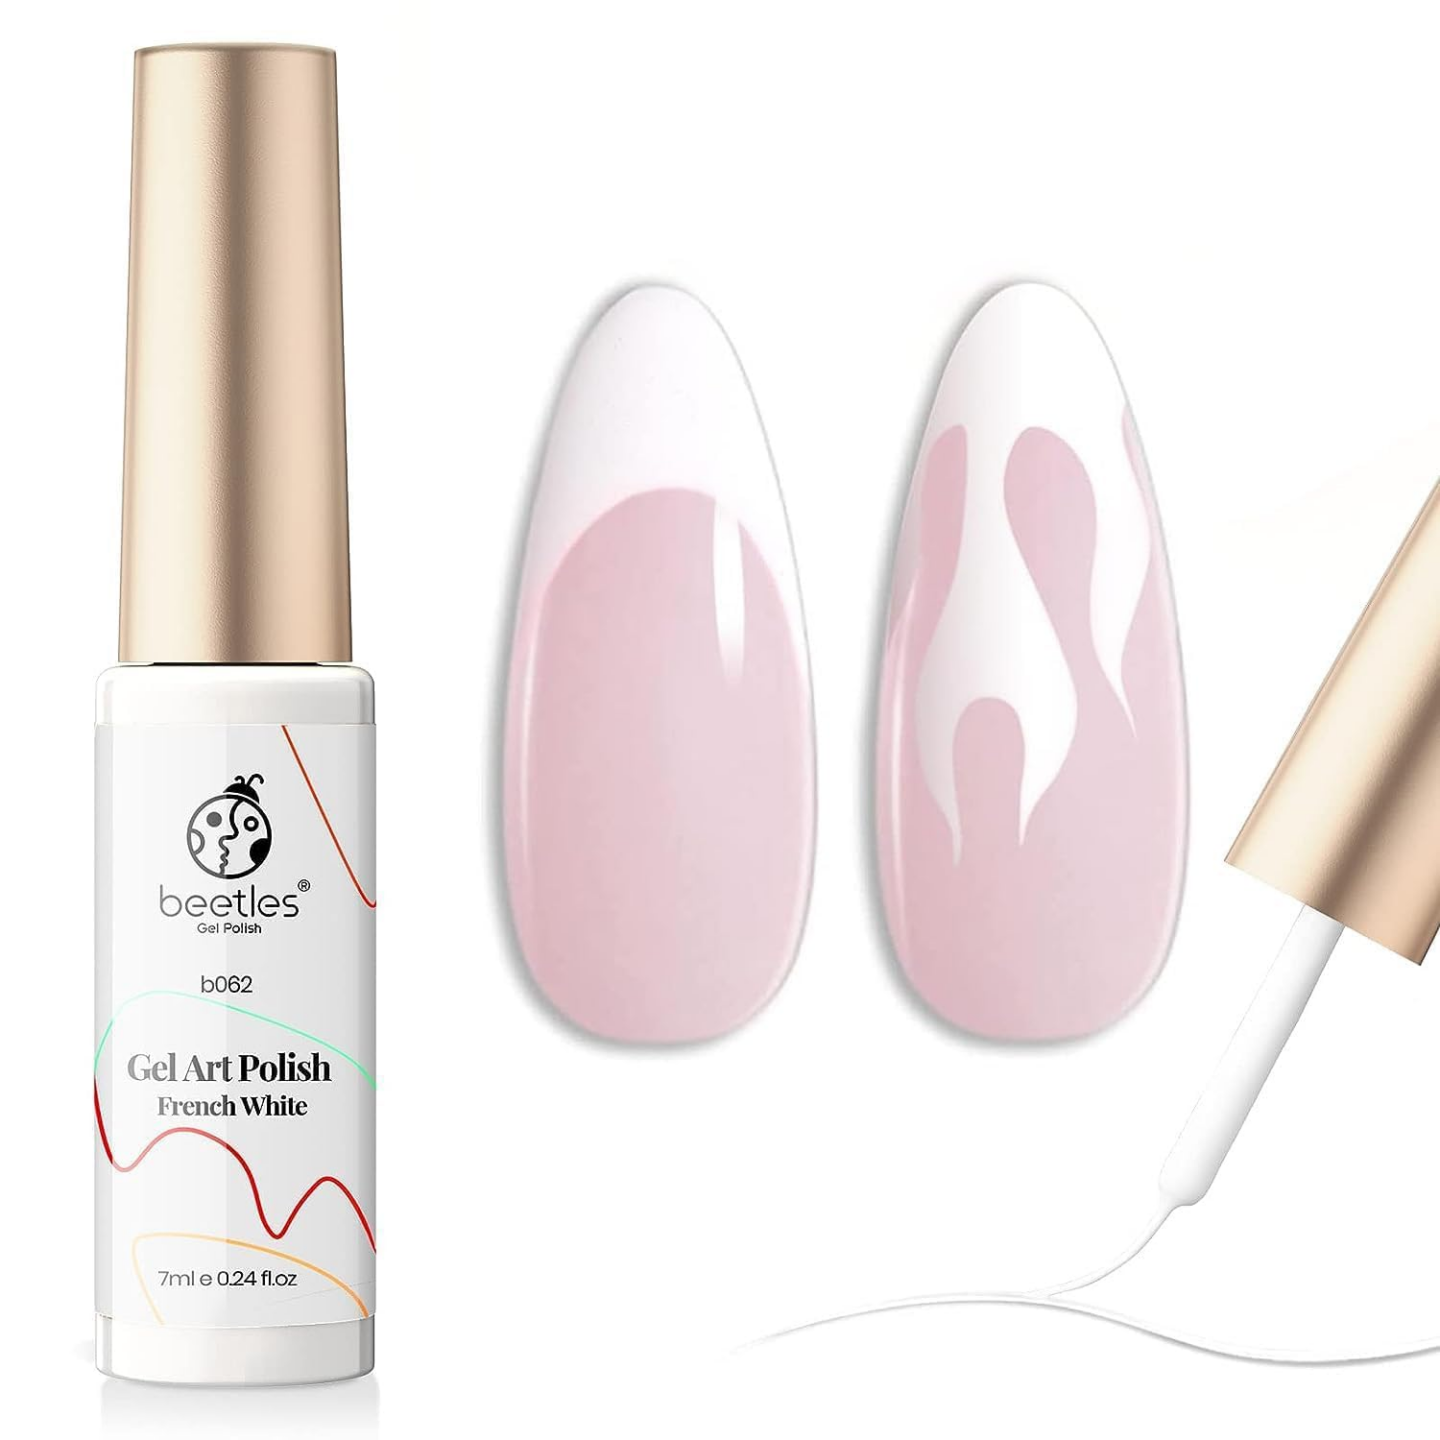
6. Choosing and Applying Gel Color

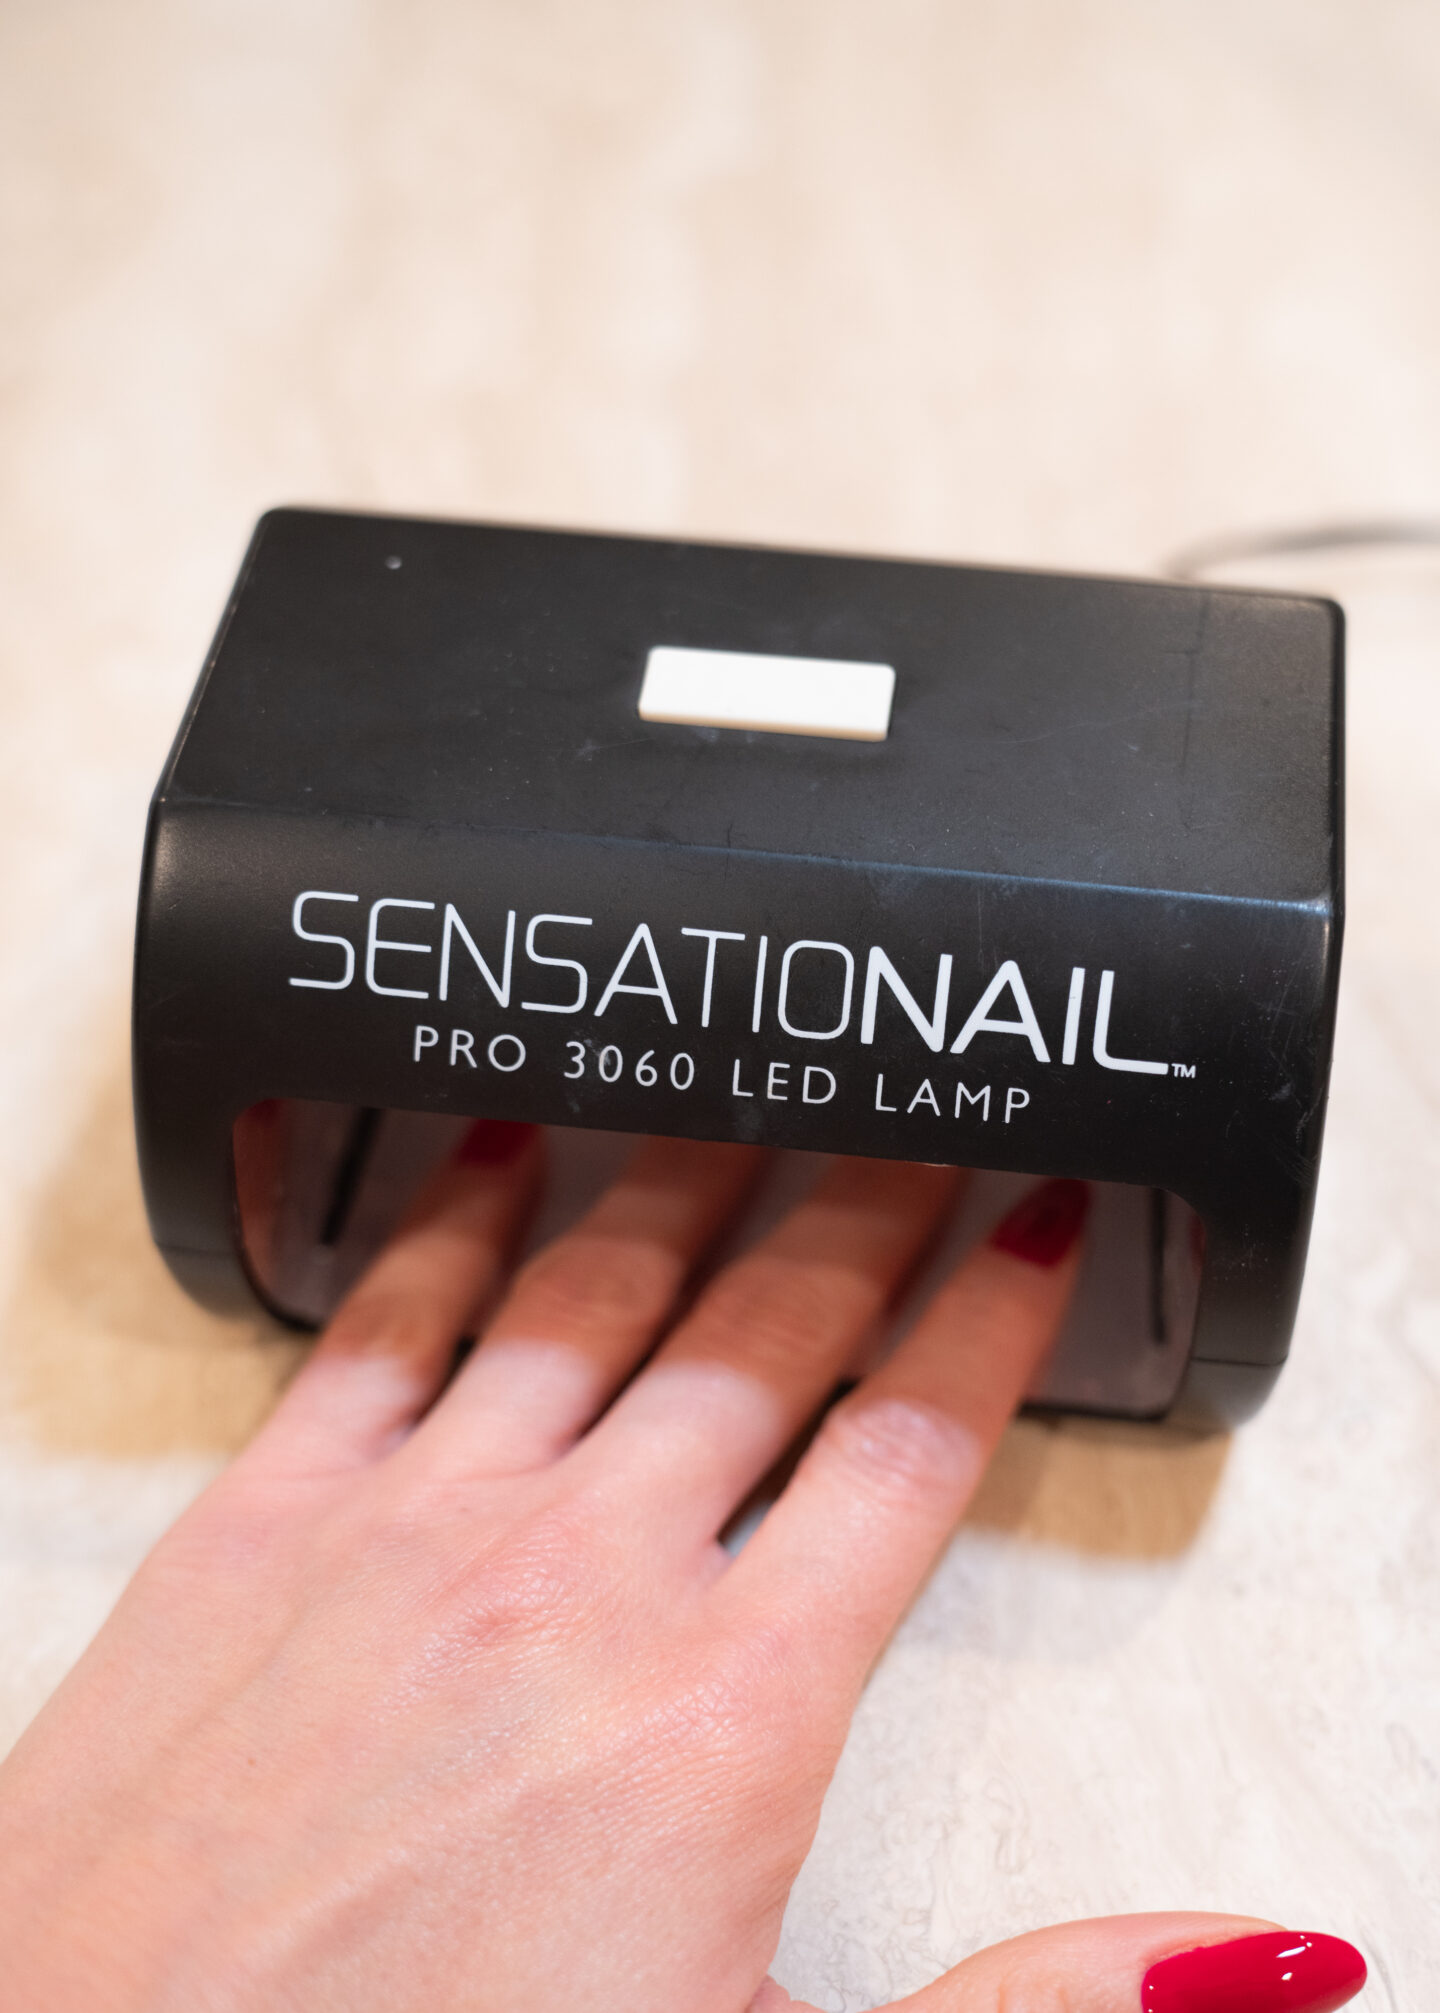
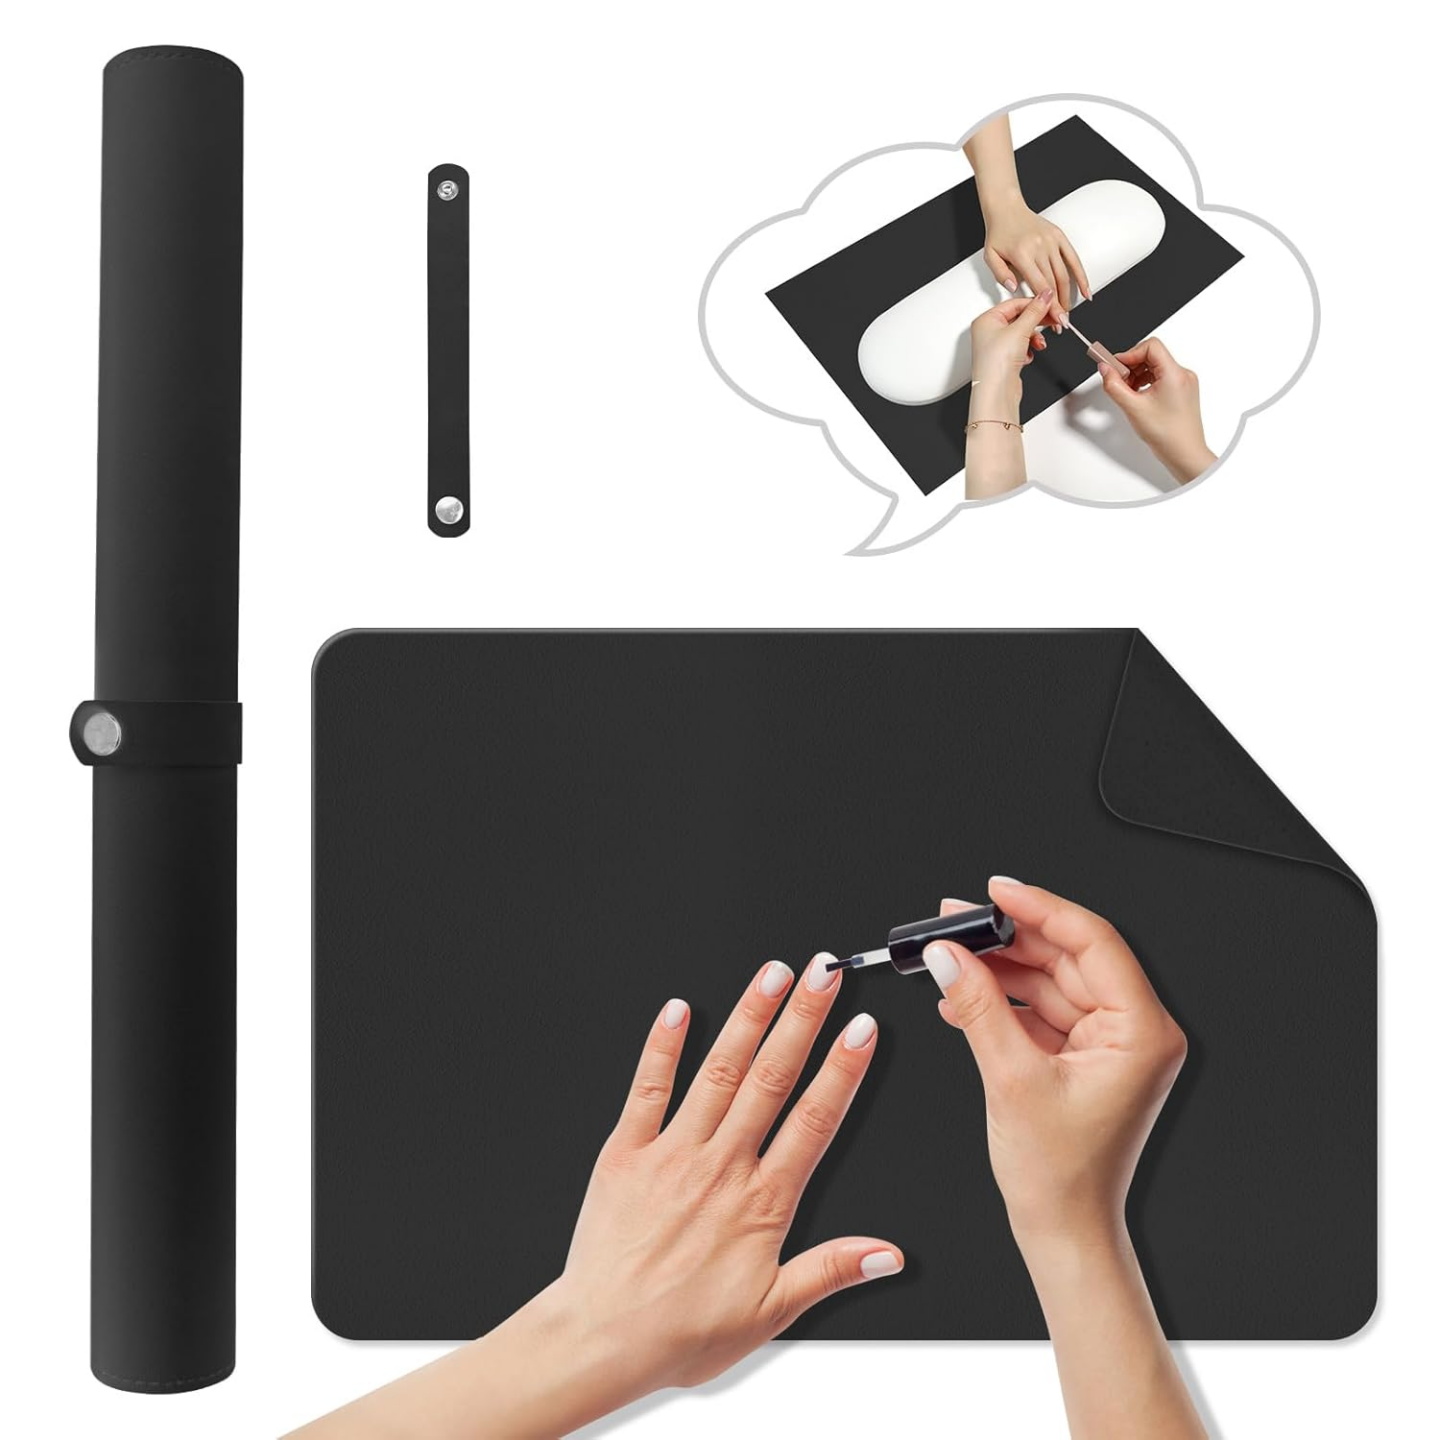
The fun part! Usually, I stick to neutrals, but I felt a bit daring for this post, so I decided on red. Applying gel polish in a thin layer is best for precision and avoids pooling near the cuticles. I start with a stroke down the center of the nail, followed by strokes on each side. After applying the color, I cure each coat under the lamp for 60 seconds. I usually go for two to three coats to get the perfect color depth and coverage.
7. Finishing with a No Wipe Gel Top Coat
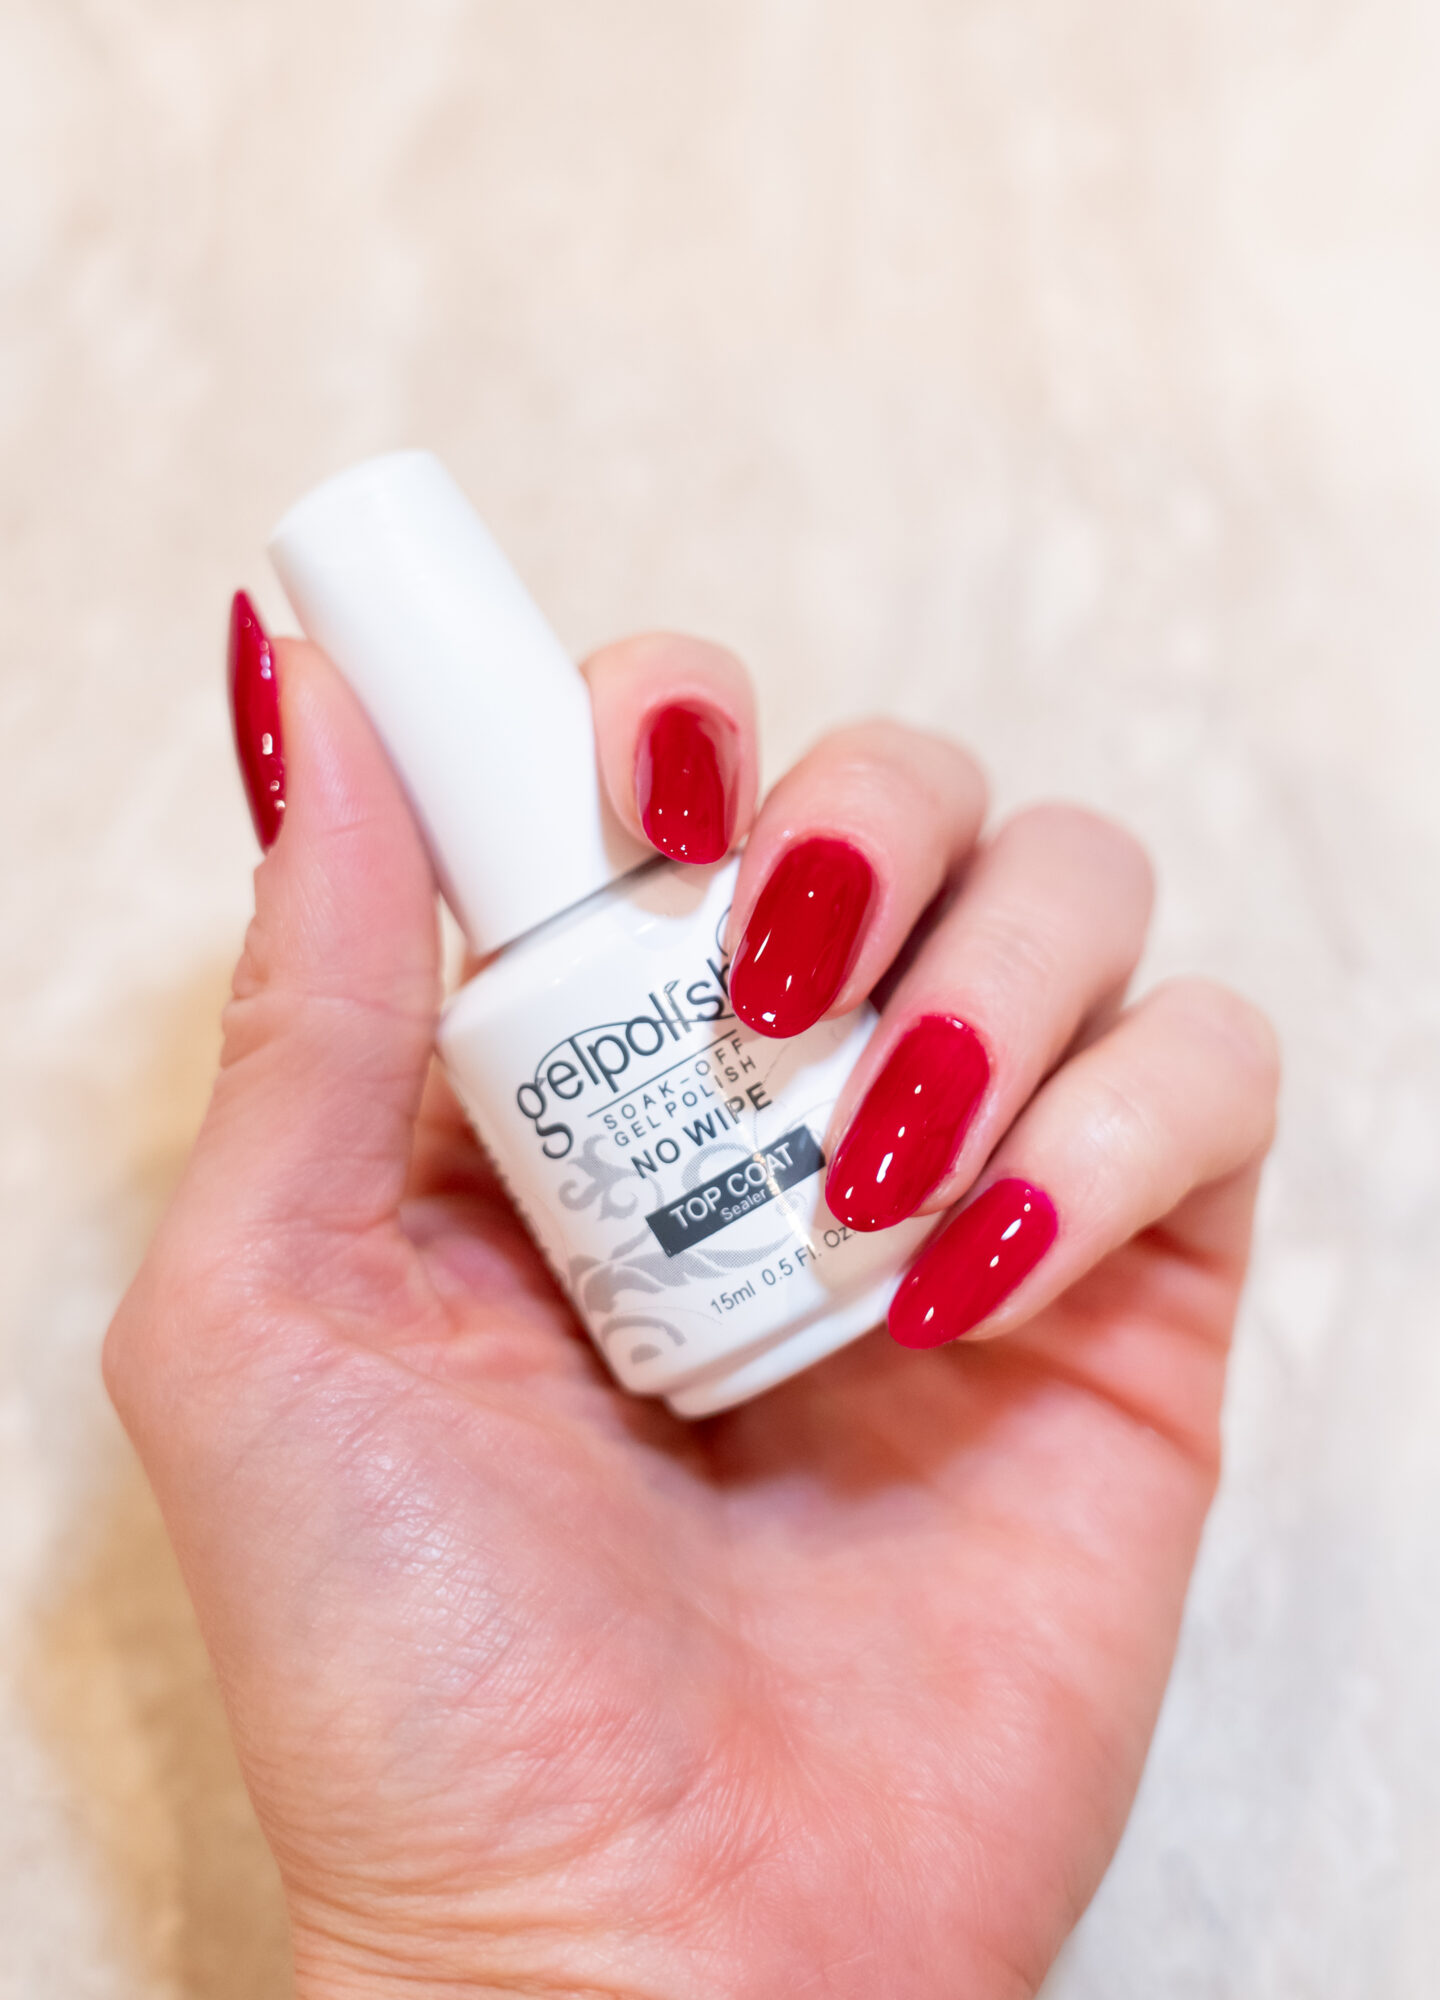
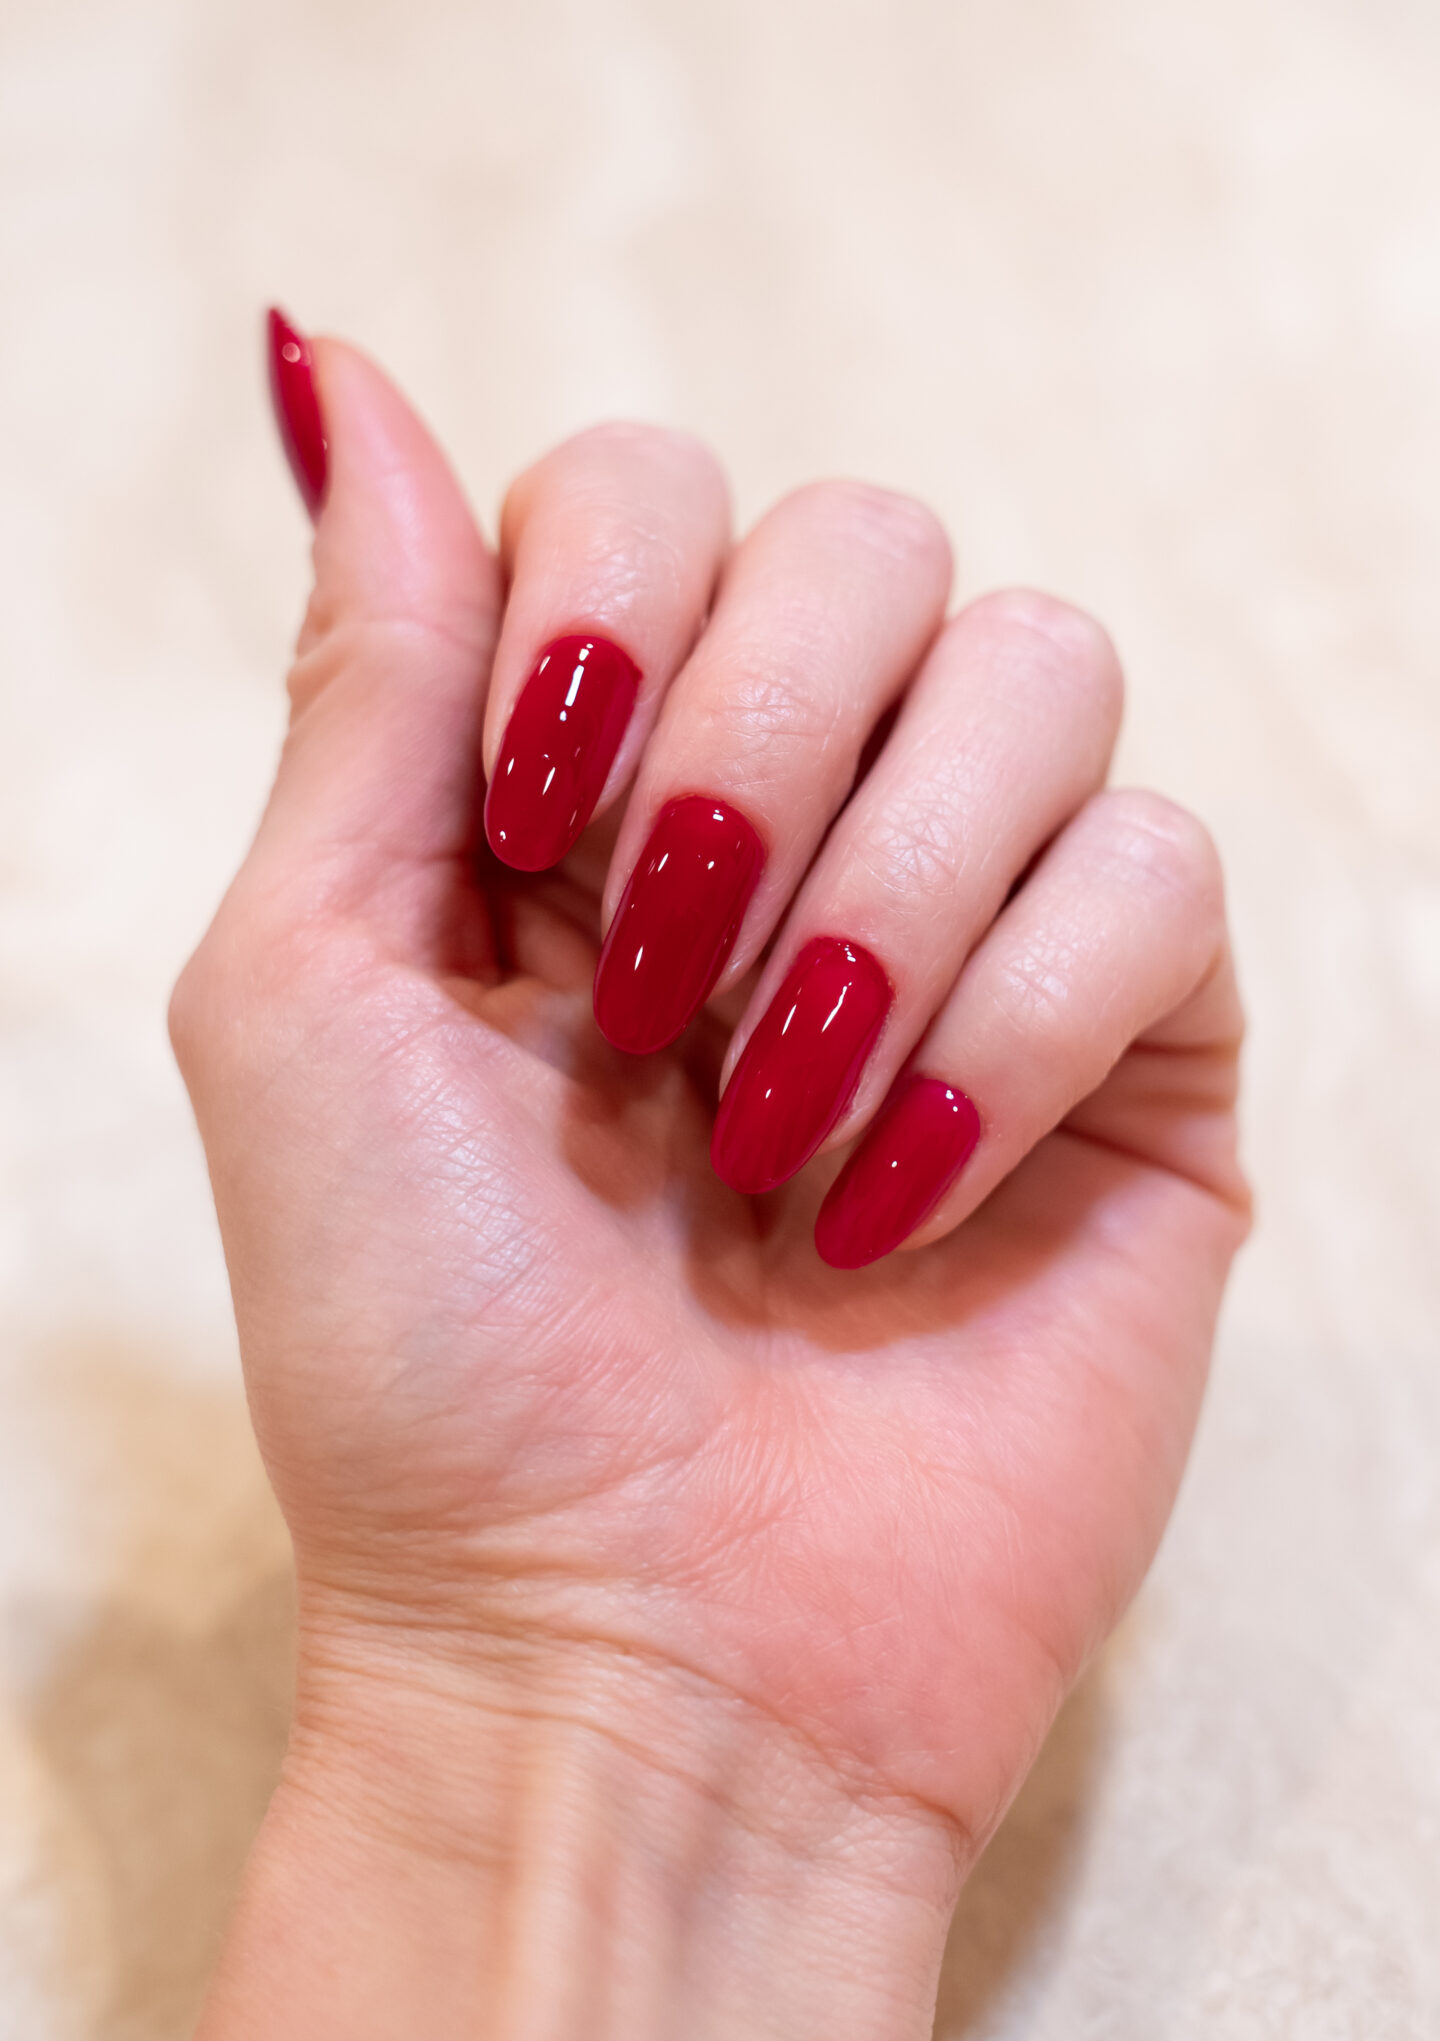
Now it’s time for epic shine! I love to use a no-wipe top coat to seal everything and achieve that salon-worthy shine. I cover the entire nail and the edges to prevent chipping. After applying the top coat, I cure it under the lamp, and wow, a perfect glossy finish!
8. Nourishing My Nails and Hands
As a final step, I apply cuticle oil to keep my cuticles healthy and hydrated. I also follow up with a moisturizing hand cream to keep my hands soft, smooth, and glowy.
Tip: Apply cuticle oil regularly to give your manicure longevity and keep it looking fresh.
By following these steps and using all the right products, you can achieve a salon-worthy gel manicure at home. Having nails that look great and last for weeks, all while saving time and money it’s a win-win!
RELATED: The Ultimate Guide to Finding Your Perfect Eyebrow Shape
Shop My Gel-Nail Essentials

READ LATEST
the


BEST THE JOURNAL
of
Best places to eat, shop, stay, and explore in Palm Springs, California.

Let’S
collab!
For partnerships, collaborations and gifting inquiries get in touch at maggie@maggiekrol.com or click below.

")
+ Show / Hide Comments
Share to: