


Disclosure: We may earn a commission if you purchase through any affiliate links on our website. Thank you for your support.


From Birthdays to Showers: Why Charcuterie Cups are my favorite Appetizers + Ingredient List
If there’s one thing I’ve learned from hosting family and friends over the years, it’s that presentation matters almost as much as taste. And when it comes to crowd-pleasing snacks that look just as good as they taste, DIY Charcuterie Cups take the cake! These portable, no-fuss little bundles of joy are perfect for any gathering—from casual movie nights to elegant dinner parties.
Let’s walk through how you can create your own Instagram-worthy DIY Charcuterie Cups that will leave your guests raving. I’ll share my go-to ingredients, step-by-step directions, and tips on storage, so you’ll have all the tools you need to wow your crowd.
Why I Love Charcuterie Cups?
Charcuterie cups are perfect for several reasons:
- They’re easy to grab and enjoy without the need for plates or utensils.
- You can customize them to suit your guest’s dietary preferences.
- They’re just plain adorable.
- They can be prepped ahead of time for stress free hosting!
When to Use Charcuterie Cups
These versatile appetizers are ideal for:
- Birthdays: Add fun cut-out shapes like stars or letters to personalize for the guest of honor.
- Bridal and Baby Showers: Elegant yet practical for mingling guests.
- BBQs: Perfect for outdoor gatherings where people can grab and go.
- Holiday Parties: Incorporate seasonal themes with festive colors.
- Game Nights: Compact and mess-free for casual settings.
- Small Gatherings: Great for when you want a touch of sophistication without a lot of prep.
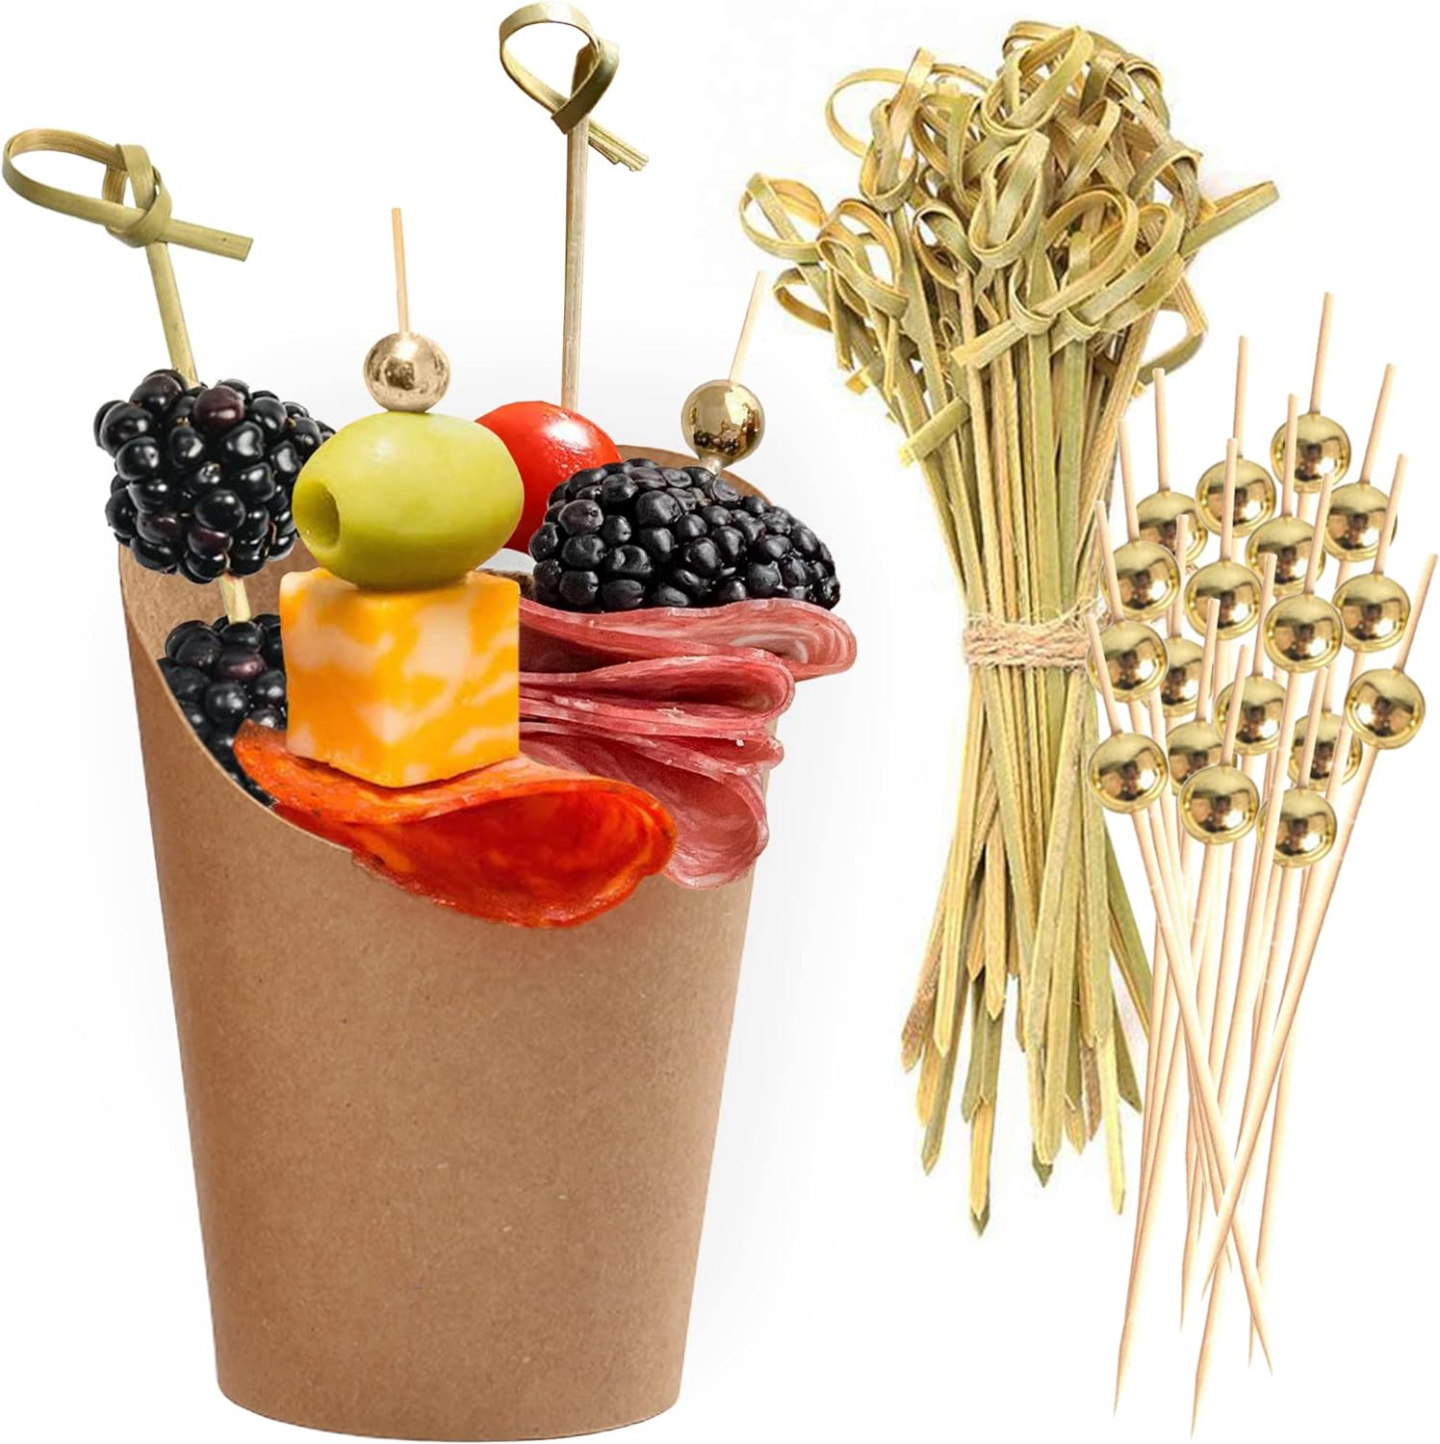
Charcuterie Cups Ingredients List
Here’s a list of ingredients to get you started. Feel free to mix and match based on what you love or what’s in season:
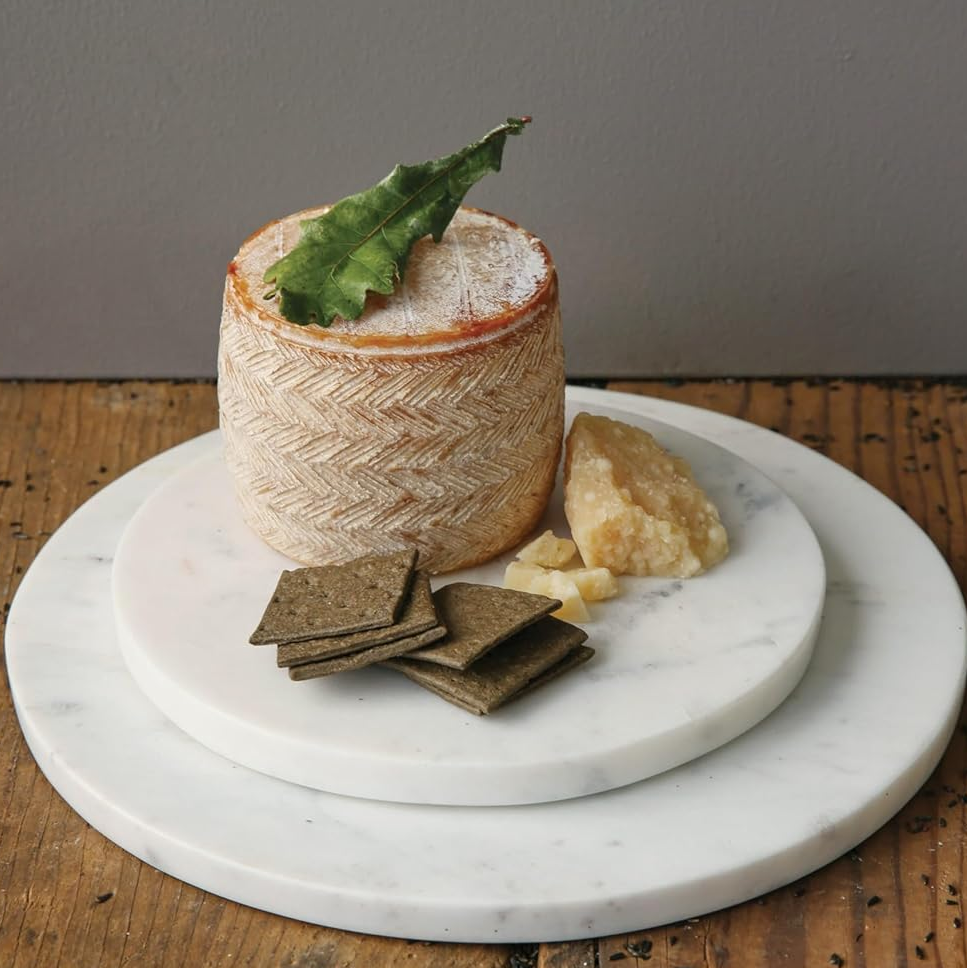
Cheese:
- Cubed cheddar
- Brie wedges
- Goat cheese balls (rolled in herbs or nuts)
- Mini mozzarella balls (marinated or plain)
Meats:
- Salami rosettes
- Prosciutto slices
- Pepperoni sticks
Crunch:
- Breadsticks (grissini)
- Pita chips
- Pretzel sticks
Fruits & Veggies:
- Grapes
- Dried apricots
- Cherry tomatoes
- Cucumber slices
Extras:
- Olives (stuffed or marinated)
- Pickles
- Nuts (almonds, pistachios, or candied pecans)
- Honey or jam (in mini containers)
Garnish:
- Fresh rosemary sprigs
- Edible flowers
Directions: How to Assemble Charcuterie Cups
Ready to get started? Here’s a detailed step-by-step guide:
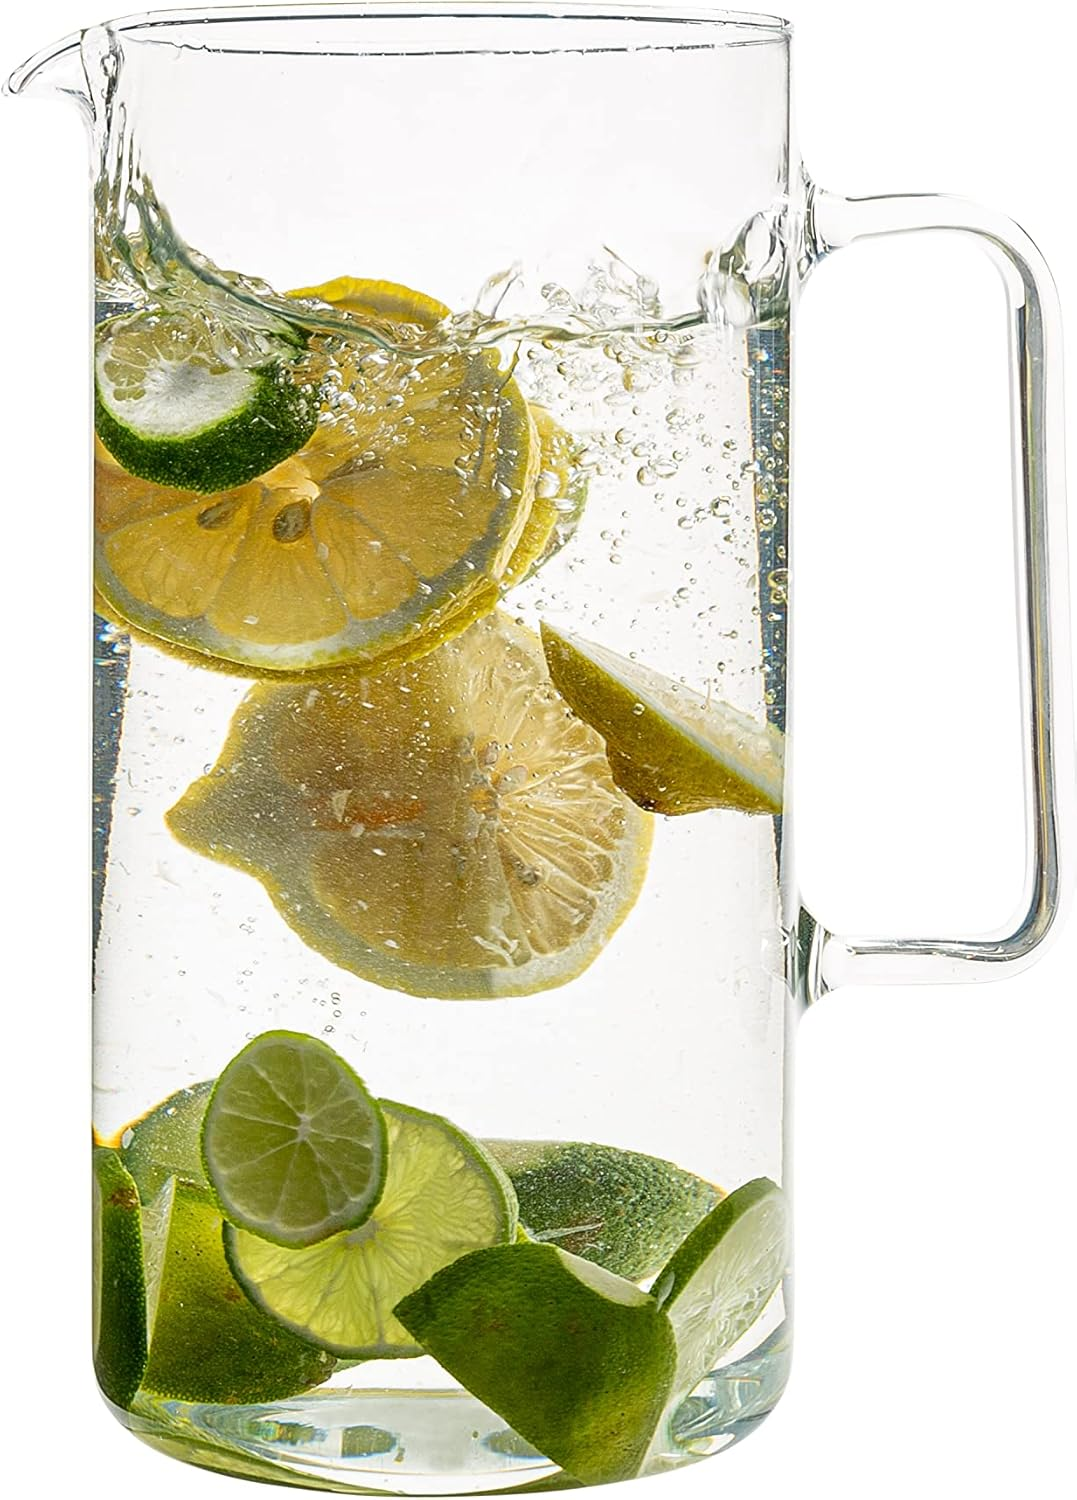
- Choose Your Cups: Opt for clear plastic or paper cups that hold about 9-12 oz. Clear cups let your guests see all the layers of deliciousness.
- Add a Personal Touch: Use mini cookie cutters to create fun shapes from cheese slices or veggies. For special events, cut out letters to spell a name or message.
- Start with a Base: Begin with something sturdy at the bottom like nuts, dried fruits, or even mini crackers. This helps balance the cup.
- Add Height: Insert breadsticks or pretzel sticks next. They’ll give your cups some visual interest and stability.
- Layer in Cheese & Meats: Arrange cubed cheeses and rolled meats like salami rosettes around the edges. Mix textures and colors for a balanced look.
- Fill in with Fruits & Veggies: Add pops of color with grapes, cherry tomatoes, and cucumber slices. This not only adds variety but also keeps things fresh.
- Customize & Garnish: Finish with a sprig of rosemary, an edible flower, or a drizzle of honey in a tiny container. For a truly bespoke look, include a tag with each guest’s name.
Storing & Shelf Life
If you’re prepping in advance, DIY Charcuterie Cups can be stored in the fridge for up to 24 hours. Cover them tightly with plastic wrap or place them in a sealed container to keep everything fresh. Avoid adding breadsticks or crackers until right before serving to ensure they stay crispy.
Bonus Tips for Hosting Success
- Dietary Needs: Label cups with small tags if you’re including options like gluten-free, vegan, or nut-free ingredients.
- Keep It Fresh: Use seasonal fruits and veggies for a touch of freshness that complements the time of year.
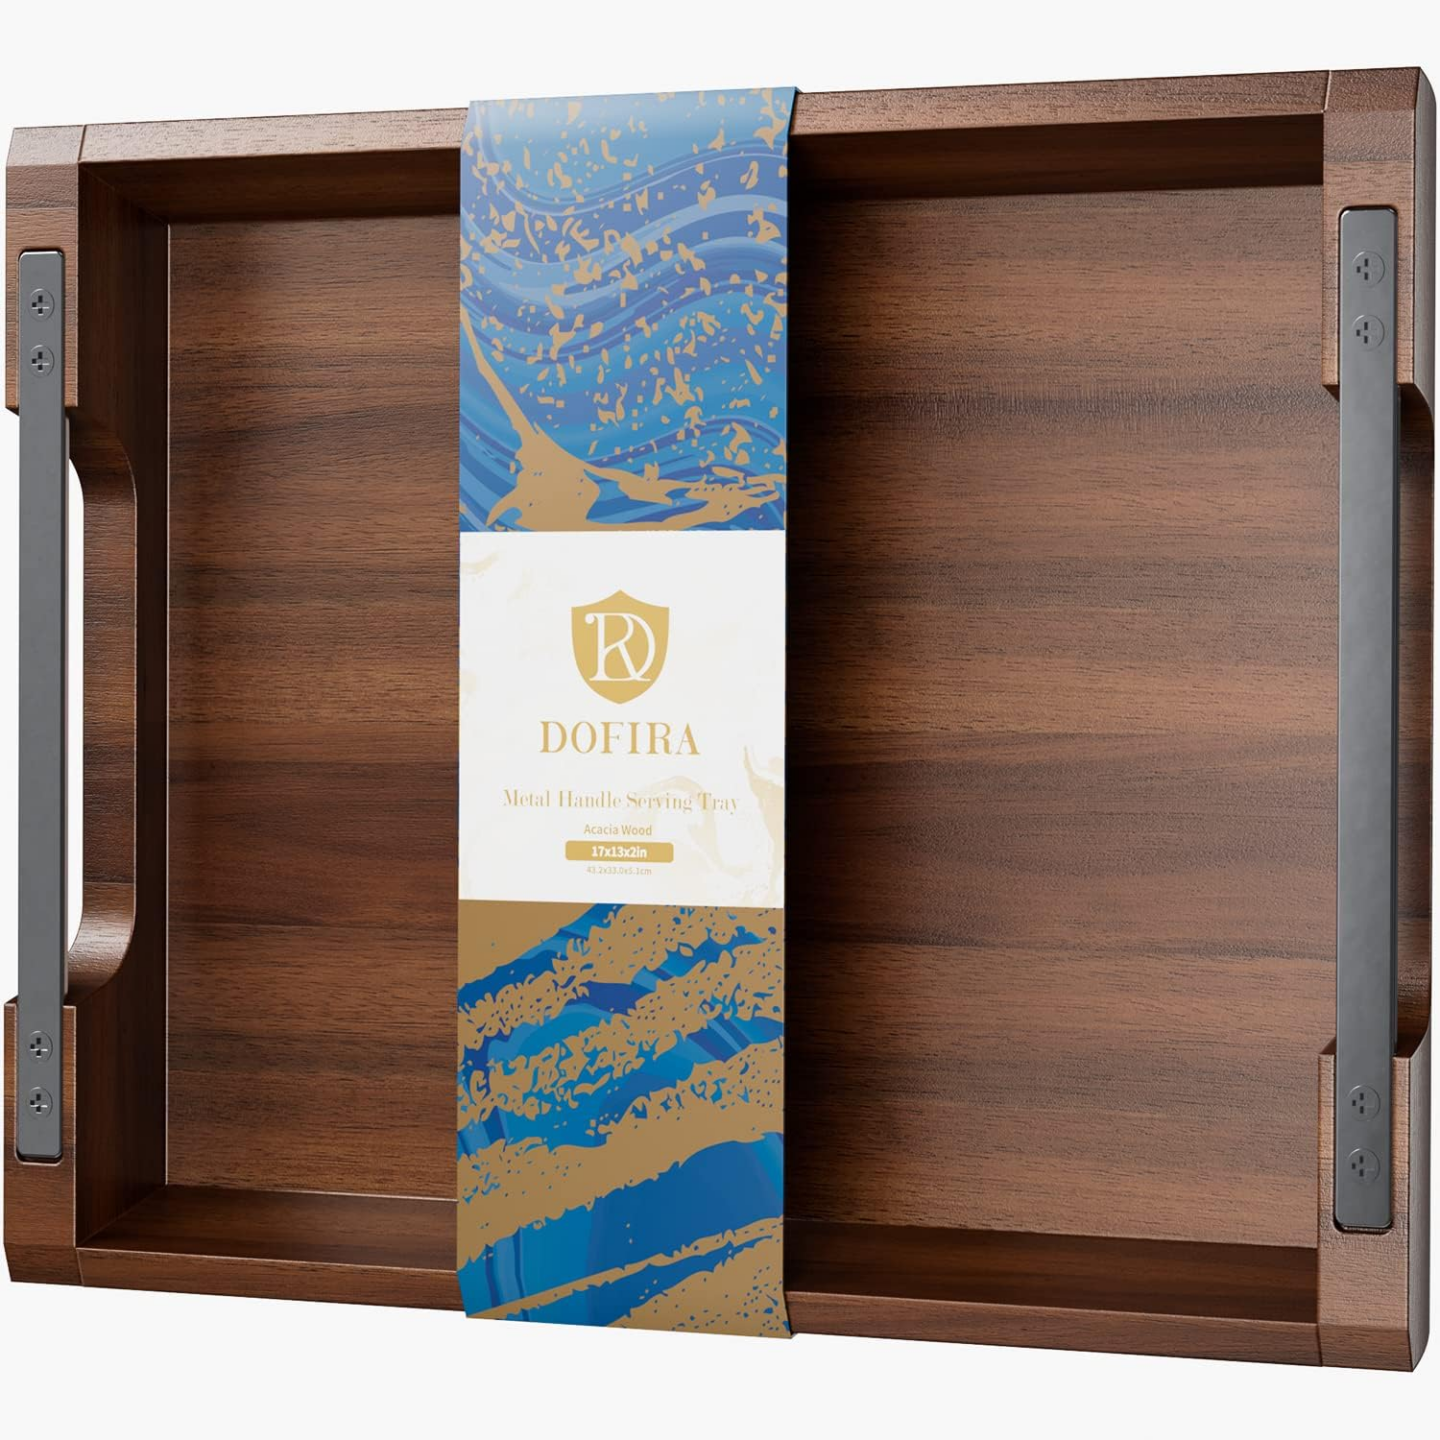
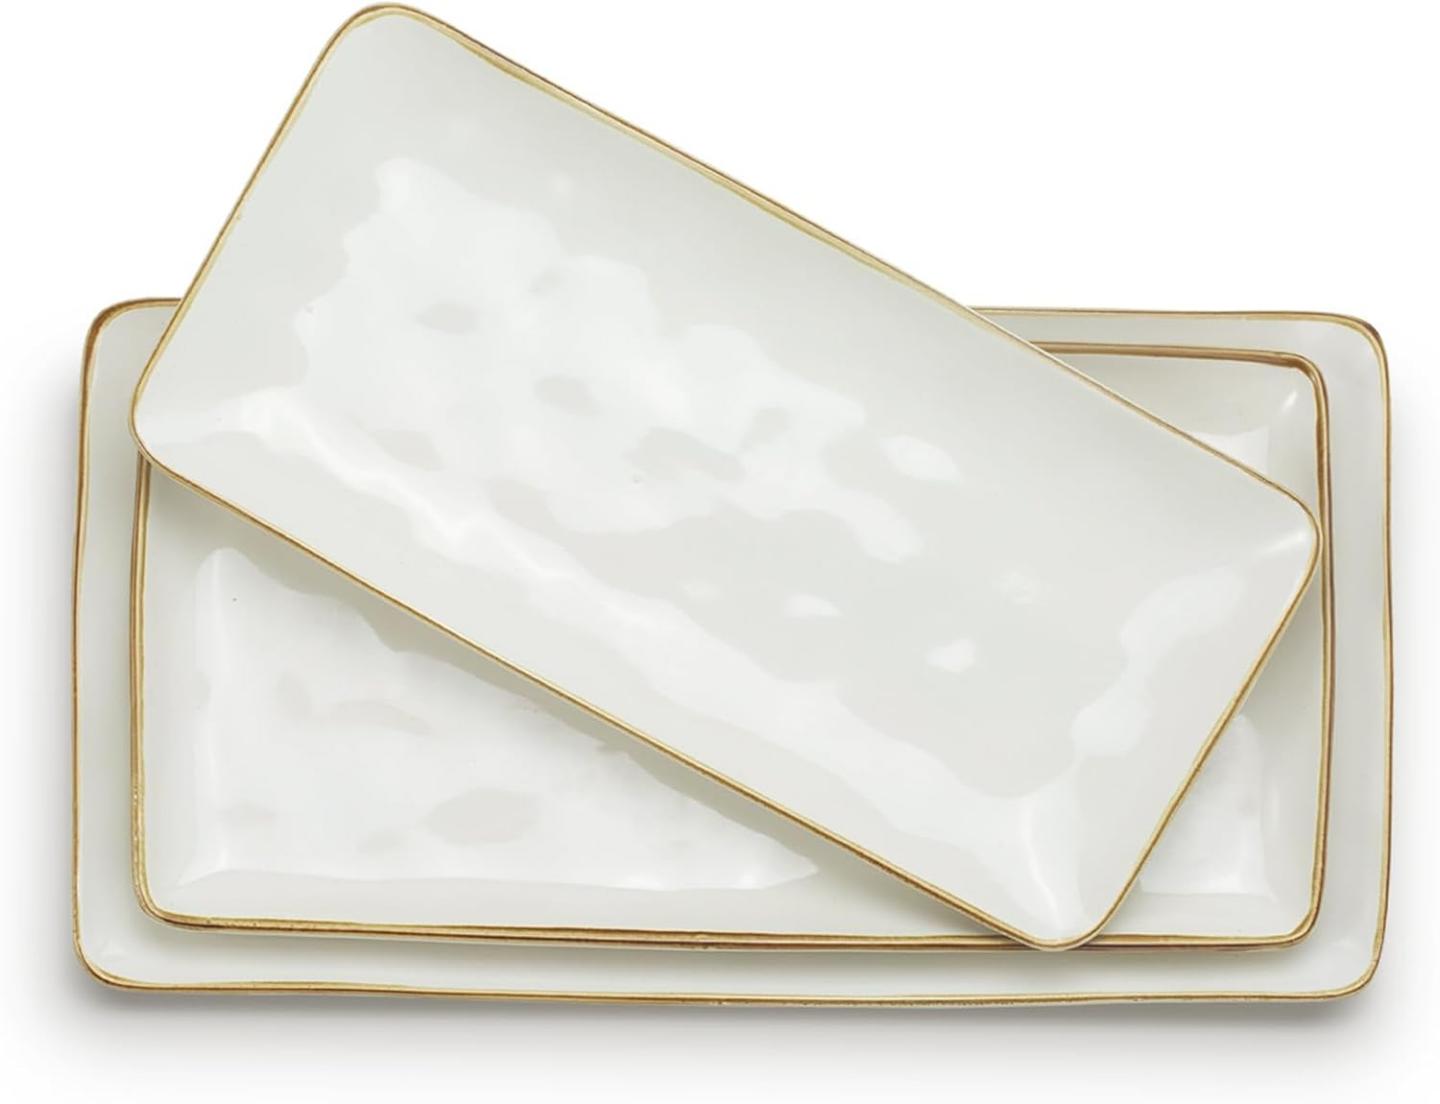
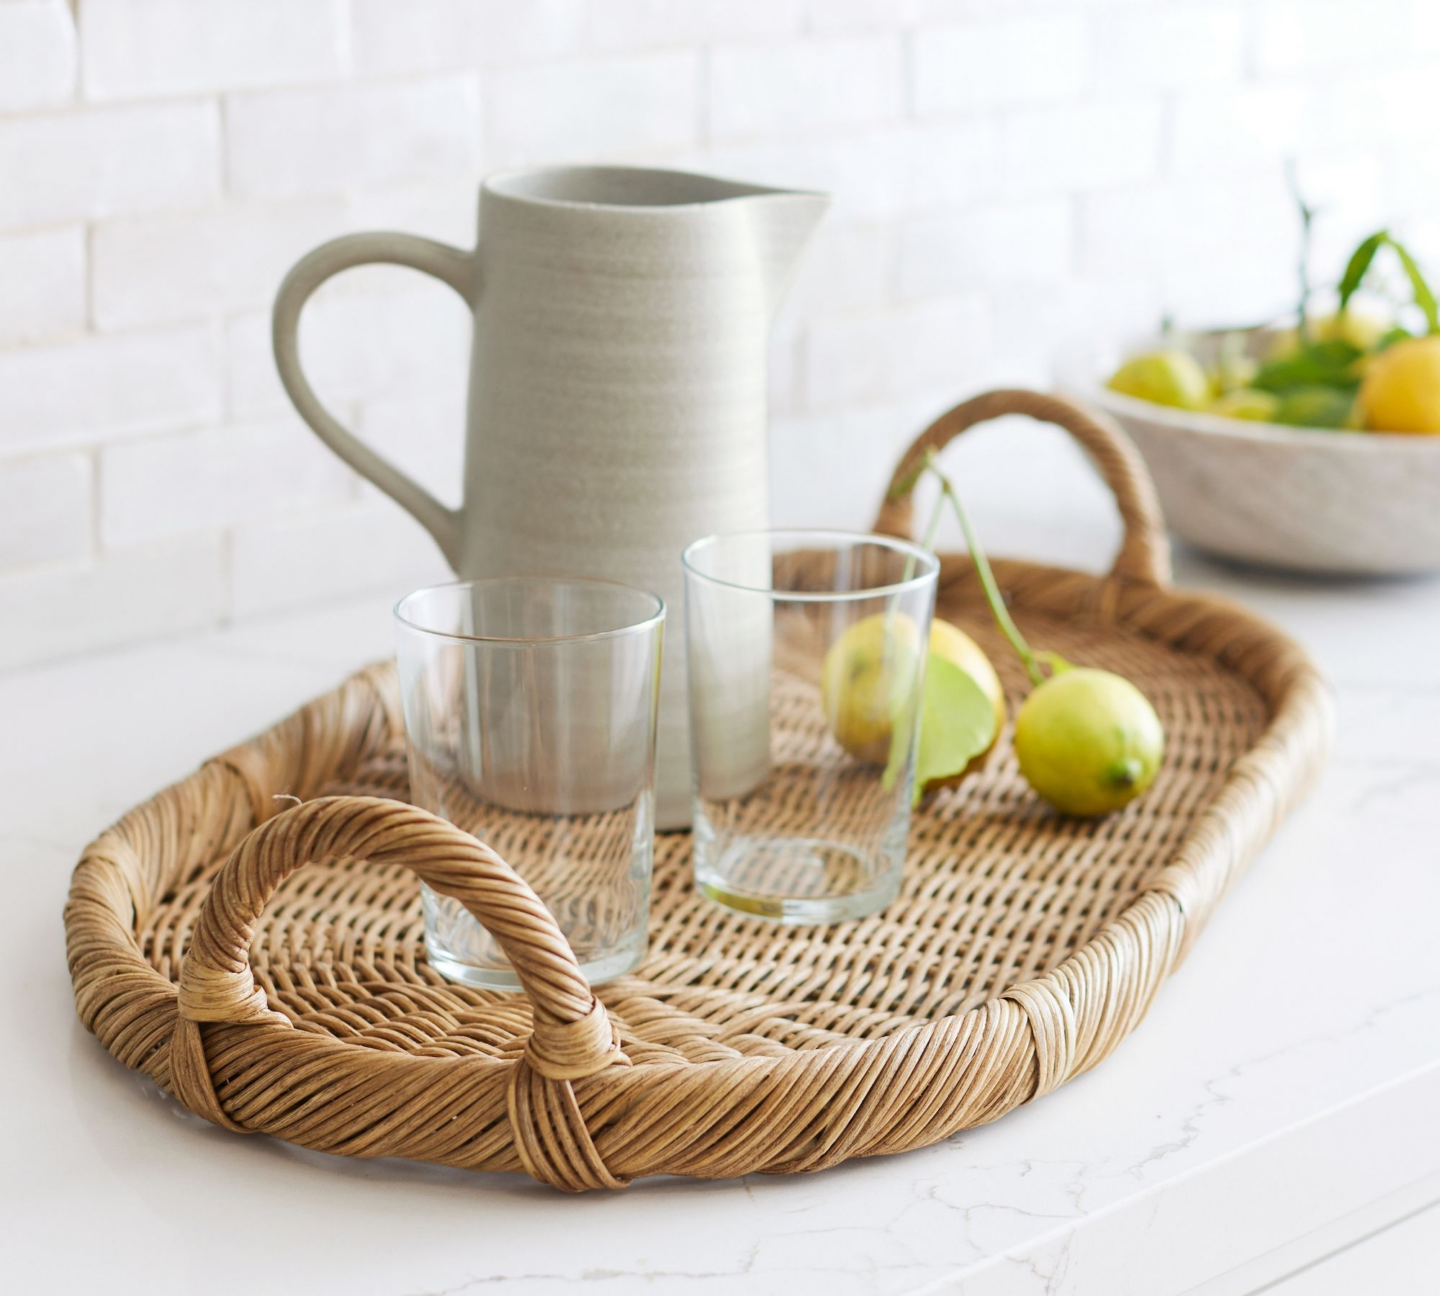
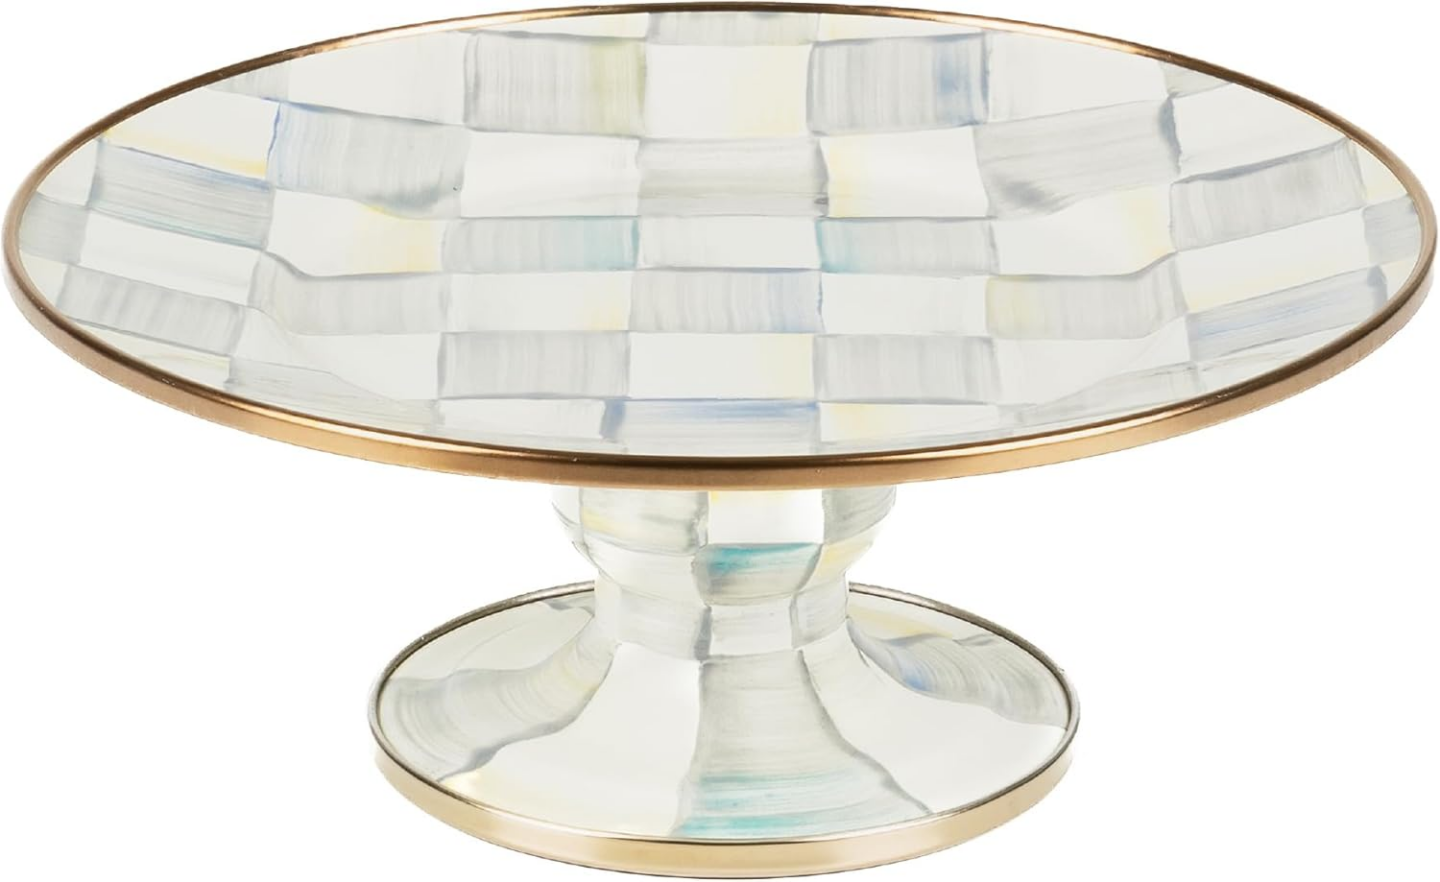
- Presentation is Key: Arrange your cups on a wooden tray or tiered stand for a polished look.
- Get Creative: Experiment with themes—think mini candy canes for the holidays or heart-shaped cheese for Valentine’s Day.
There you have it! A guide to making DIY Charcuterie Cups that will have your guests coming back for seconds (and probably asking for the recipe). Whether you’re a seasoned host or just getting started, these cups are an easy, fun, and impressive way to elevate your gatherings. Cheers to hosting in style!
Hosting Essentials I Love

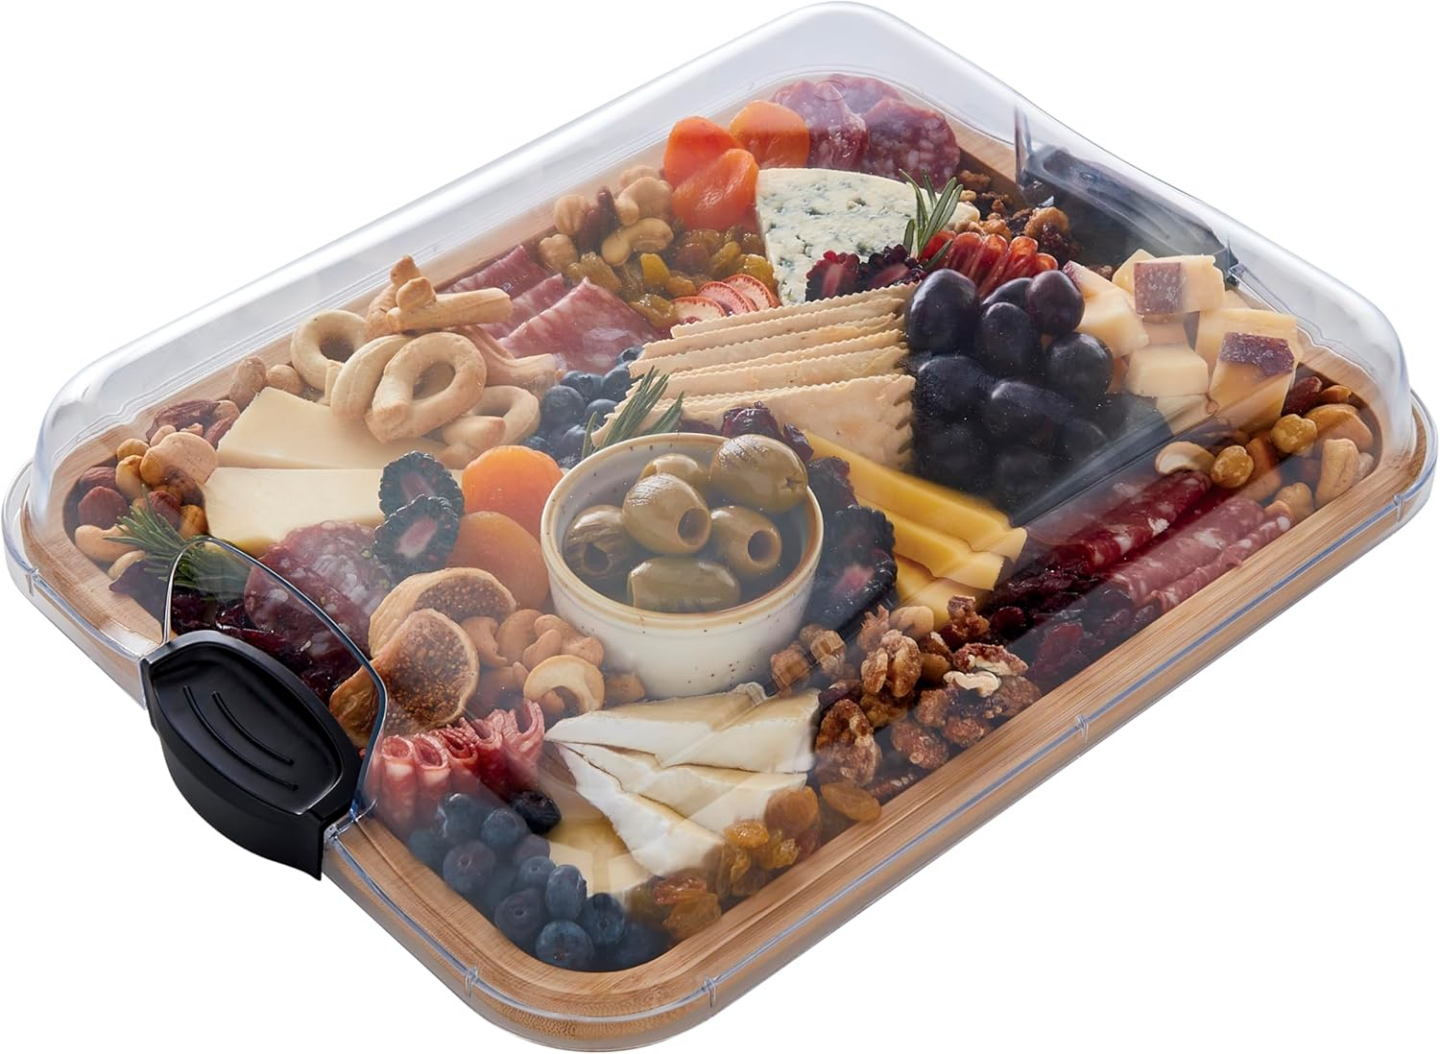

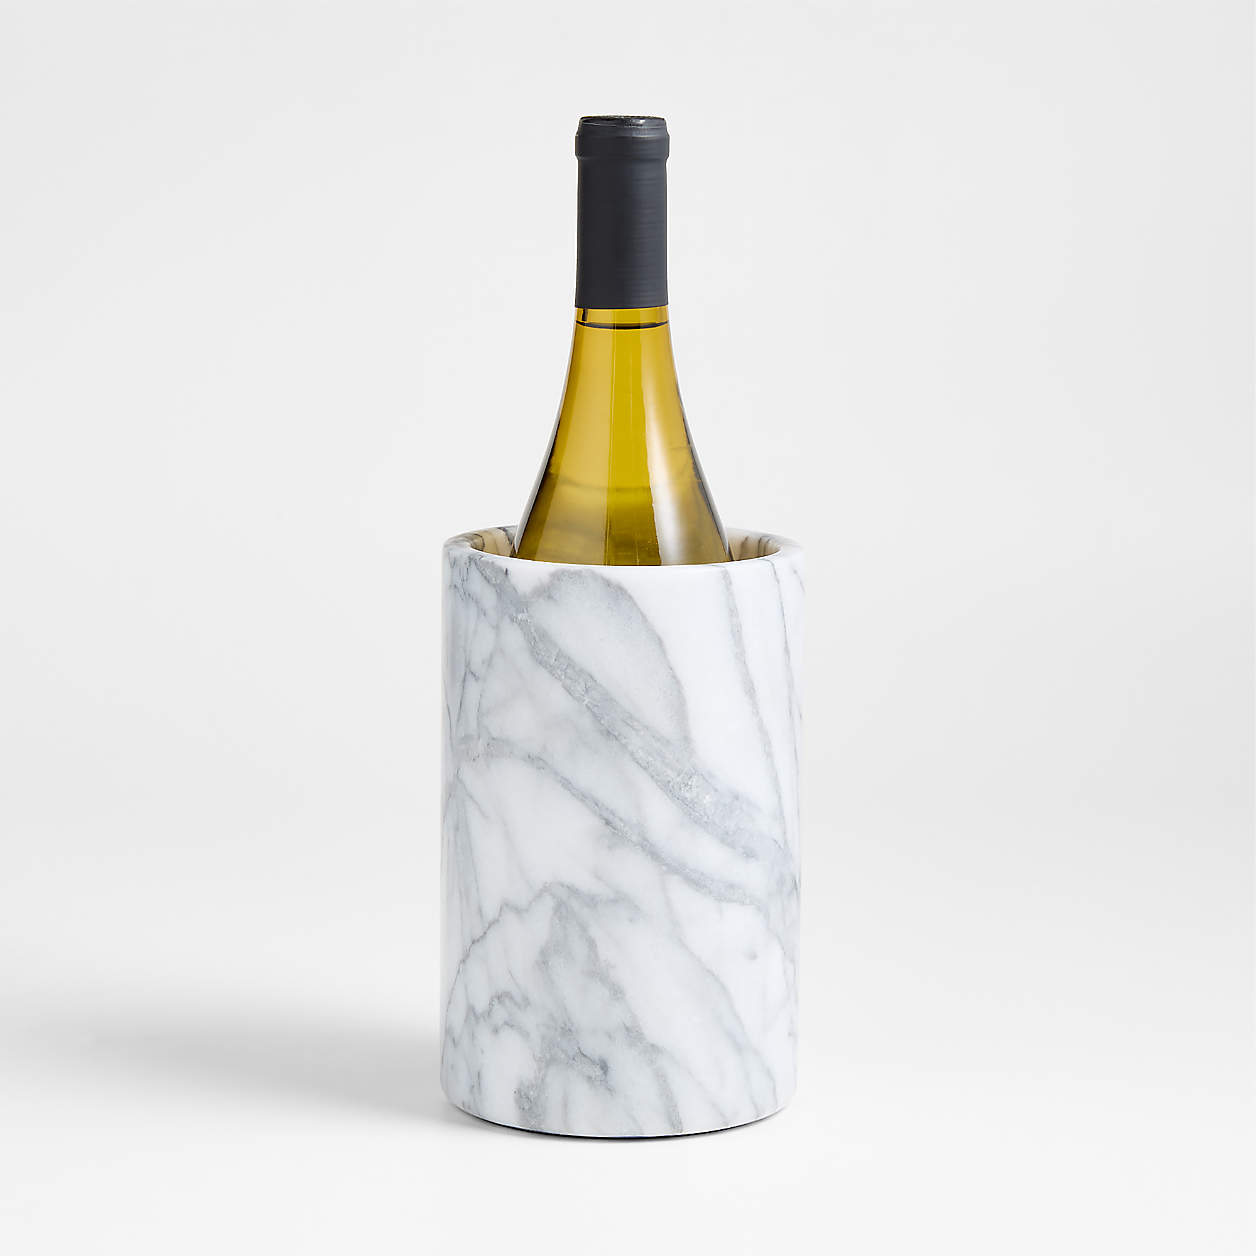
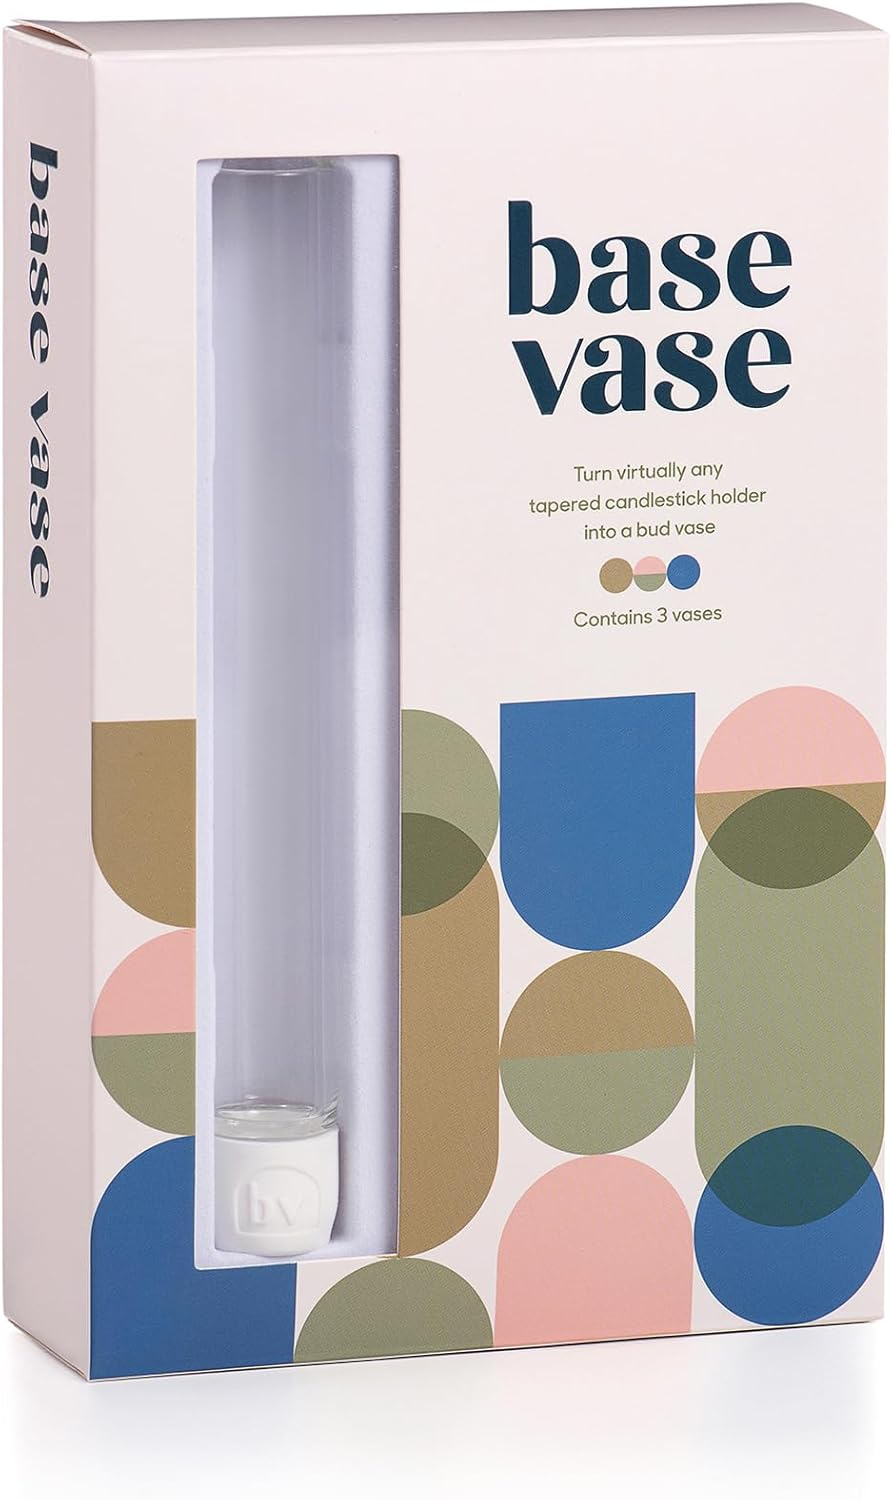
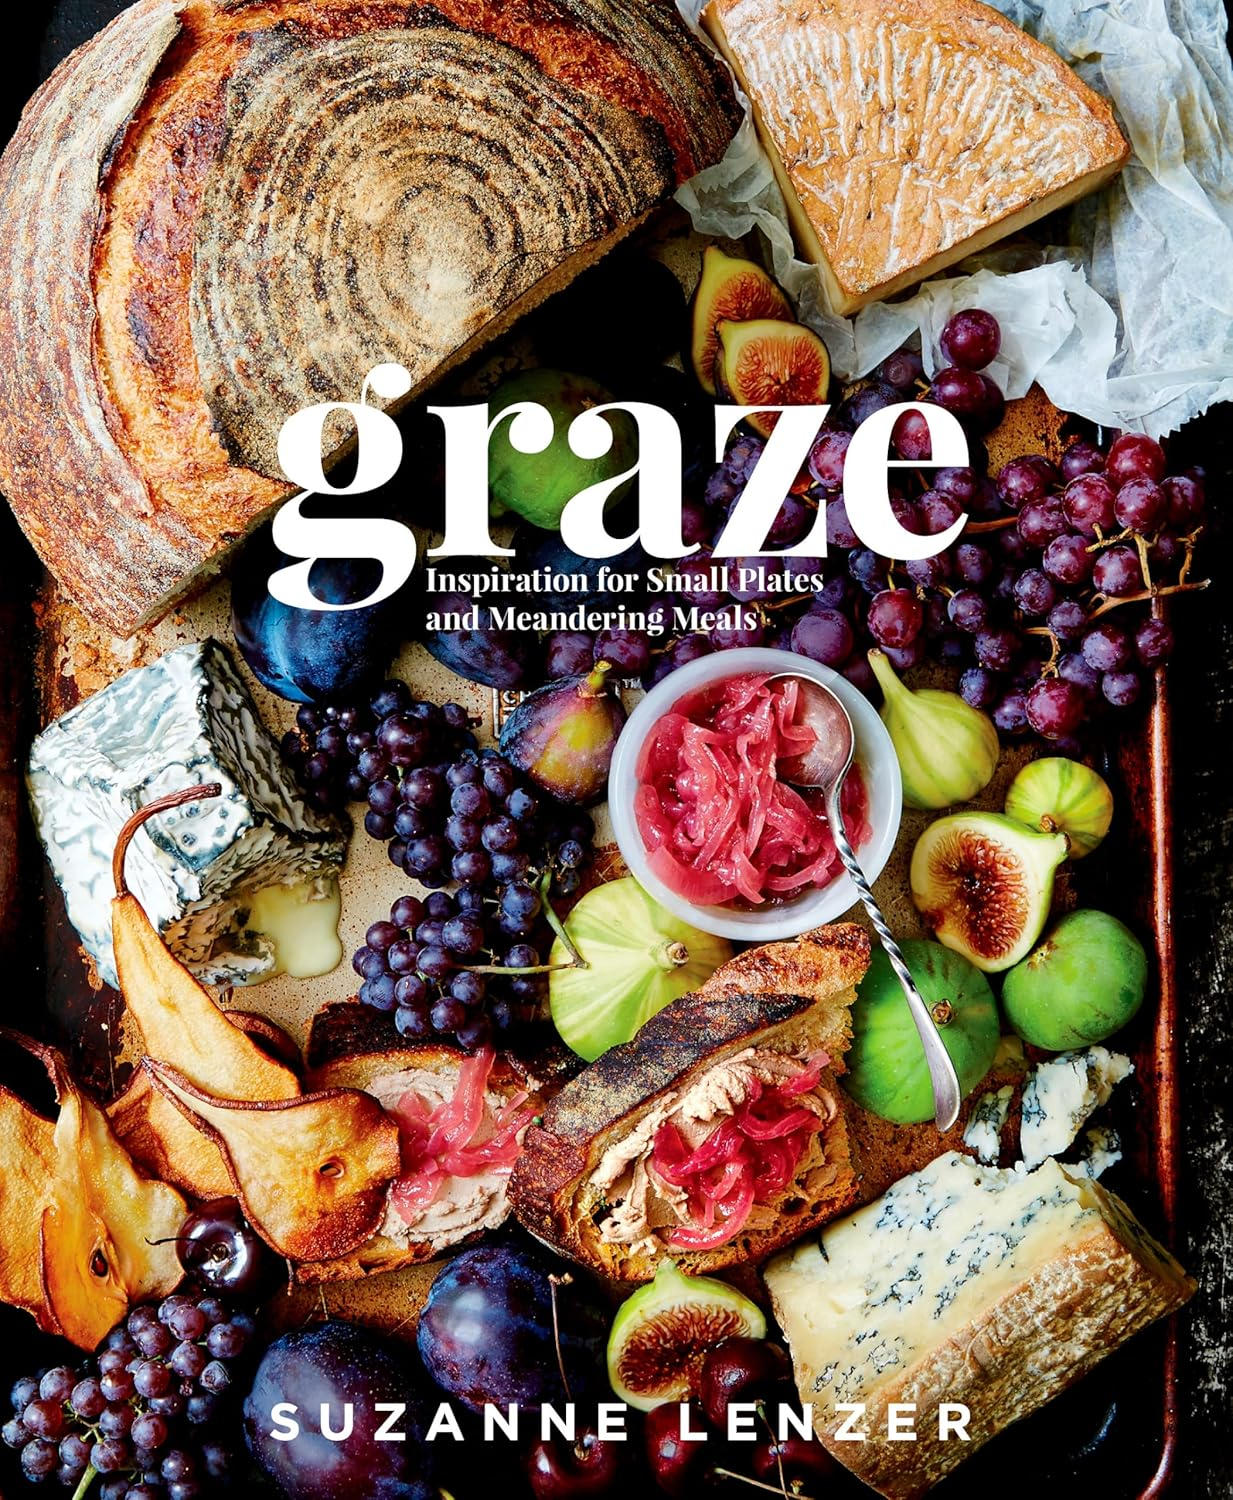

Looking for the perfect gift for the Foodie or Chef in your life? Here’s ideas to inspire you.
Want to explore more from the blog? Check out my travel guides, fashion posts and more.
READ LATEST
the


BEST THE JOURNAL
of

Best places to eat, shop, stay, and explore in Palm Springs, California.

Let’S
collab!
For partnerships, collaborations and gifting inquiries get in touch at maggie@maggiekrol.com or click below.

")
+ Show / Hide Comments
Share to: